When a page has several buttons, a request like “update the button in the pricing section” can leave room for interpretation. Divi AI Agents can work with your page structure, but attaching the exact element makes your target clearer.
Context lets you reference a module, preset, variable, page, or other item directly in your request. Instead of describing everything from scratch, you can point to the content or settings you want the agent to use.
In this post, we’ll explore how to add Context in the Divi 5 Visual Builder, choose references for different tasks, and combine them with Scope. We’ll also save recurring references inside Commands and Rules.
Meet Divi AI Agents
Divi AI Agents work inside the Divi 5 Visual Builder. You can use plain-language instructions to inspect a page, ask questions, or make changes to your layout and site. Open the Divi AI Agents panel from the left sidebar of the Visual Builder.
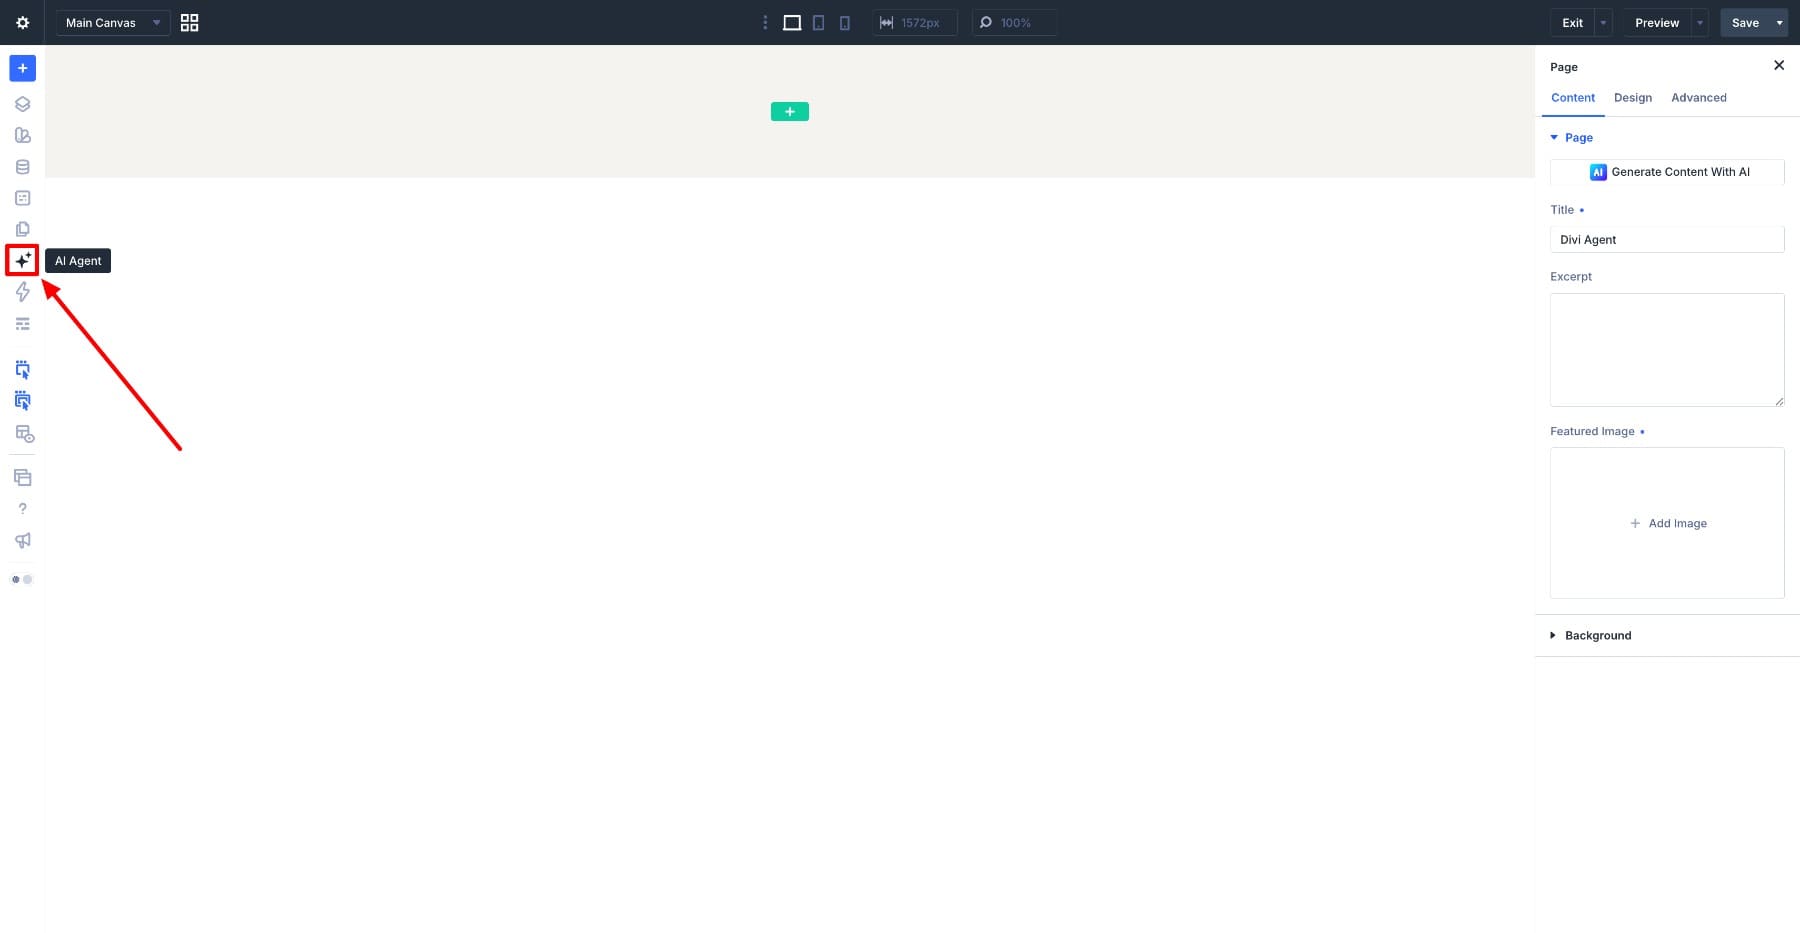
The chat window is where you write requests and access Context, Commands, Rules, and Tools. Use Ask Mode for questions and suggestions, or Build Mode when you want the agent to make changes.
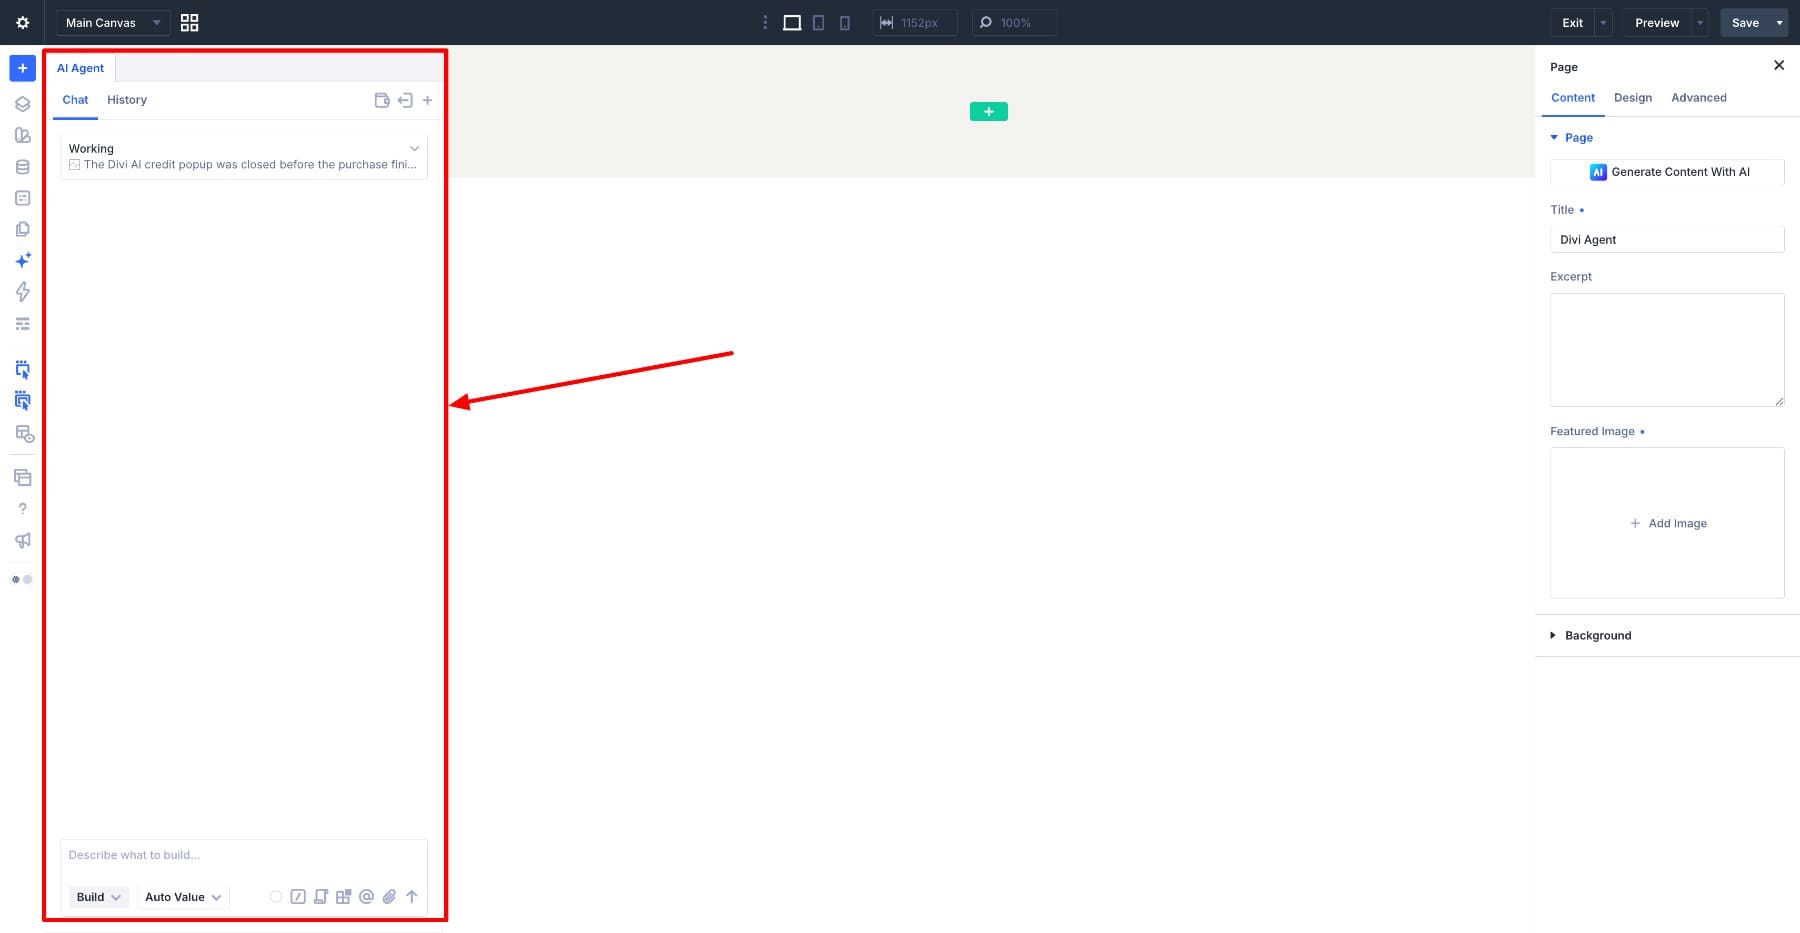
Before adding Context, it helps to understand how it differs from Scope. Both make a request more specific, but they serve different purposes.
How Context And Scope Work In Divi AI Agents
Context supplies information for a request. It might identify an element to edit, a button to match, a preset to apply, or another page to use as a reference. Your prompt explains what the agent should do with it.
Scope keeps the conversation focused on a selected element. Follow-up requests continue to refer to that element until you clear or change the Scope, so you do not have to identify the target in every message.
For example, suppose the Browse Courses button in your Get Started section should match the hero button. Attach the hero button as Context and set the Browse Courses button as the Scope.
Then send this request in Build Mode:
The attached button provides the styling reference, Scope identifies the working target, and the prompt specifies what should change. You can use Context and Scope together whenever a task involves both a reference and a separate target. When you move to another part of the page, clear the current Scope and select the next element as needed.
How To Add Context In Divi AI Agents
Context is added through the chat composer. Selected references appear as chips in the message box, so you can review them before sending your request.
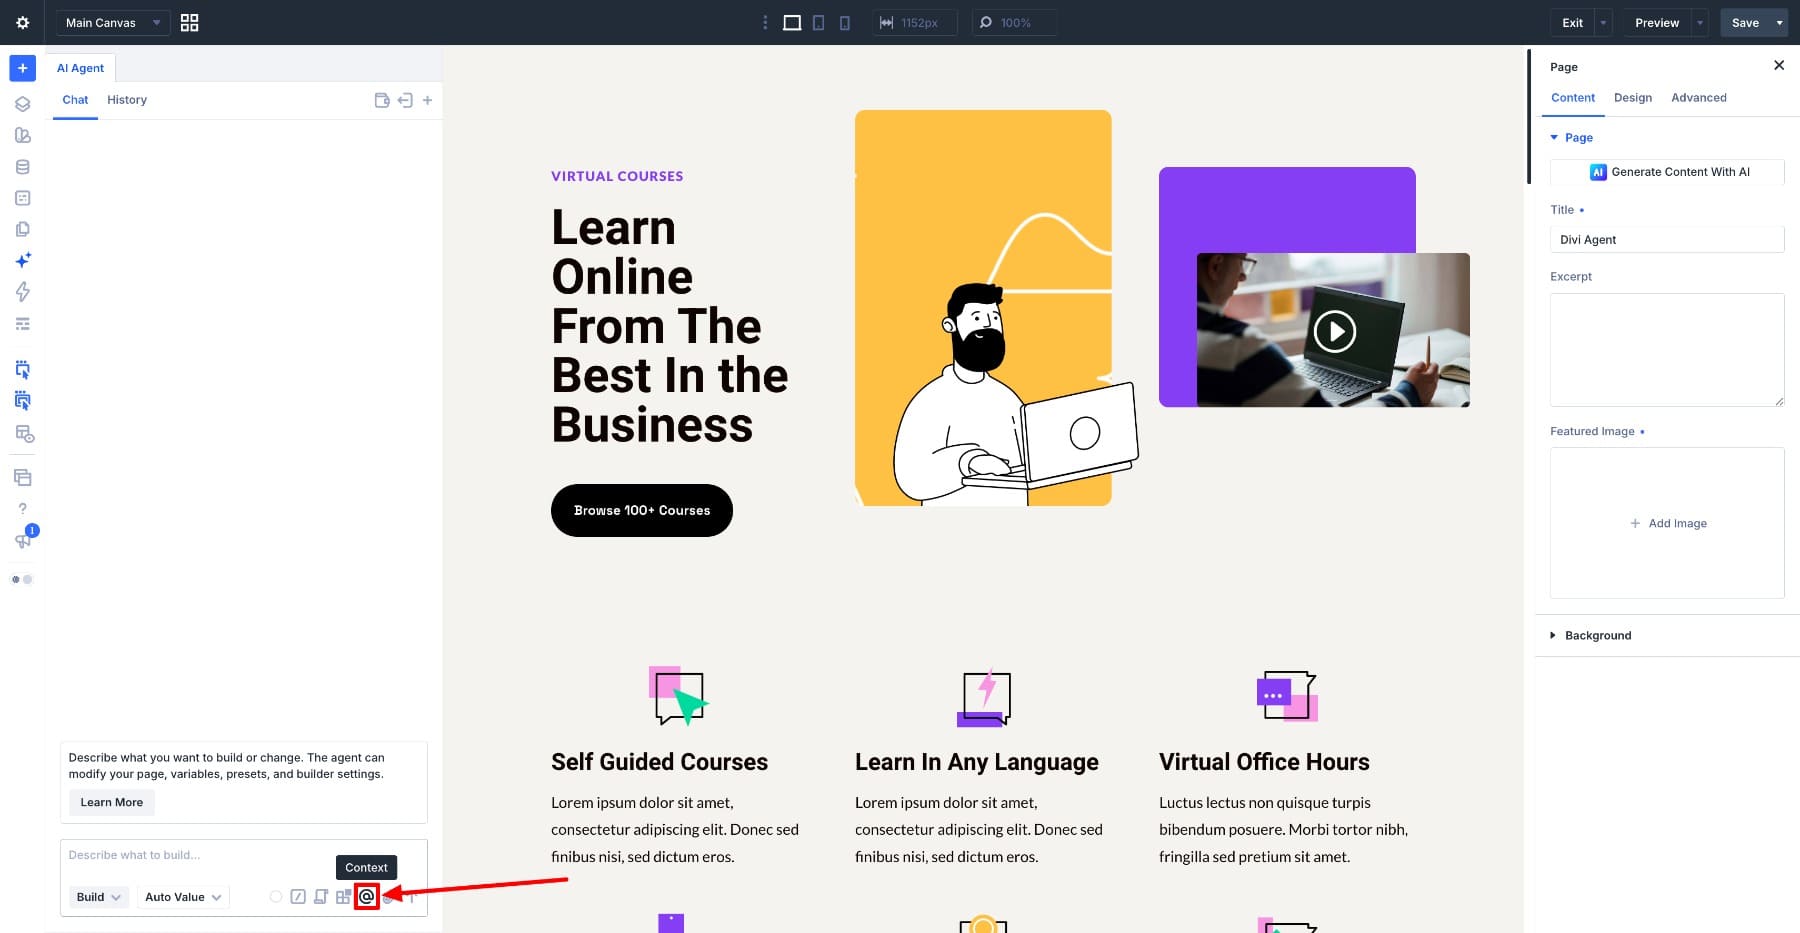
Click the Context icon or type @ to open the Select Context window. Browse by type or search for the item you need, then select it to attach it to your message.
Attaching an item does not apply or change it by itself. Include a prompt that explains whether the agent should inspect it, use it as a reference, or modify it.
Choose The Right Context For The Task
The Select Context window includes Presets, Variables, Elements, Tools, Canvases, and content from across your site. Each provides a different kind of reference.
Start with the information your request needs. If the style already exists as a preset, attach that preset. If you only need a saved URL or color, a variable may be enough.
1. Use Presets For Saved Styles
The Presets group includes saved Element Presets and Option Group Presets. Attach one when you want the agent to use its existing settings rather than recreate the appearance from a description.
In this example, the features section contains six headings, from Self Guided Courses to Homework & Tests, that were styled individually. Attach the Course Heading preset, then send this request in Build Mode:
The goal is to assign the saved preset to the headings. Once applied, changes to its shared settings can update those headings together, except where local settings override the preset.
Review the preset assignment after the task to confirm the headings use Course Heading. This is especially useful when replacing individually styled text with a reusable style.
2. Use Variables For Reusable Values
The Variables group contains the Global Variables saved on your site. Attach one to identify an exact reusable value, such as a color, font, number, or link.
The All Access Membership section has two Learn More buttons that should point to the contact page. Attach the Contact Link variable and send:
With the variable assigned to both links, you can change their destination by updating Contact Link. You do not need to replace the URL on each button separately.
As with presets, the distinction is between using the reference and copying its current value. Be explicit when you want the connection to remain reusable.
3. Use Elements As References From The Current Page
Attach an Element when something already on the page provides the reference you need. In the earlier example, the hero button supplied the styling for another button.
An element can also be the target of a request. For example, attach a Text Module and ask the agent to proofread its content. When you include multiple elements, name which one should change and which should remain a reference.
Element Context works well for one-off tasks. If a style should be reused regularly across the site, consider saving it as a Preset and referencing that instead.
4. Use Tools When The Method Matters
Tools provide a different kind of guidance. A Preset, Variable, or Element identifies something the agent can inspect or use. Attaching a Tool points toward a particular capability for the task.
For example, the Popular Courses section contains hardcoded colors. Select that section as the Scope, attach Promote Layout To Global Variables, and send this request in Ask Mode:
This tool is relevant because it examines literal styling values and offers variable conversions. Attaching it does not run the conversion on its own; the prompt and work mode still define what you are asking the agent to do.
Review the suggestions first. When you are ready, switch to Build Mode and specify which changes to apply, including whether existing variables should be reused.
You can browse available capabilities through the Tools button in the composer. For more detail, see our post to Divi AI Agents Tools.
5. Reference Canvases And Other Site Content
Context can point beyond the main page you currently have open.
Use the Canvases group to reference a canvas used for a popup, off-canvas menu, or other layout. For example, attach a newsletter popup when asking the agent to update its copy or coordinate its styling with the current page.
The picker also includes site content such as pages, posts, Divi Library layouts, and menus. Other available content depends on your site’s setup, including content types added by themes or plugins.
You might reference an approved landing page while building a new section, or attach a menu you want to update. State whether the attached content is a reference or the target so the intended change is clear.
6. Use Files, Images, And URLs As References
You can also supply material from outside the builder. Use Attach File for a supported file, or include a URL in your prompt when you want the agent to work from another page.
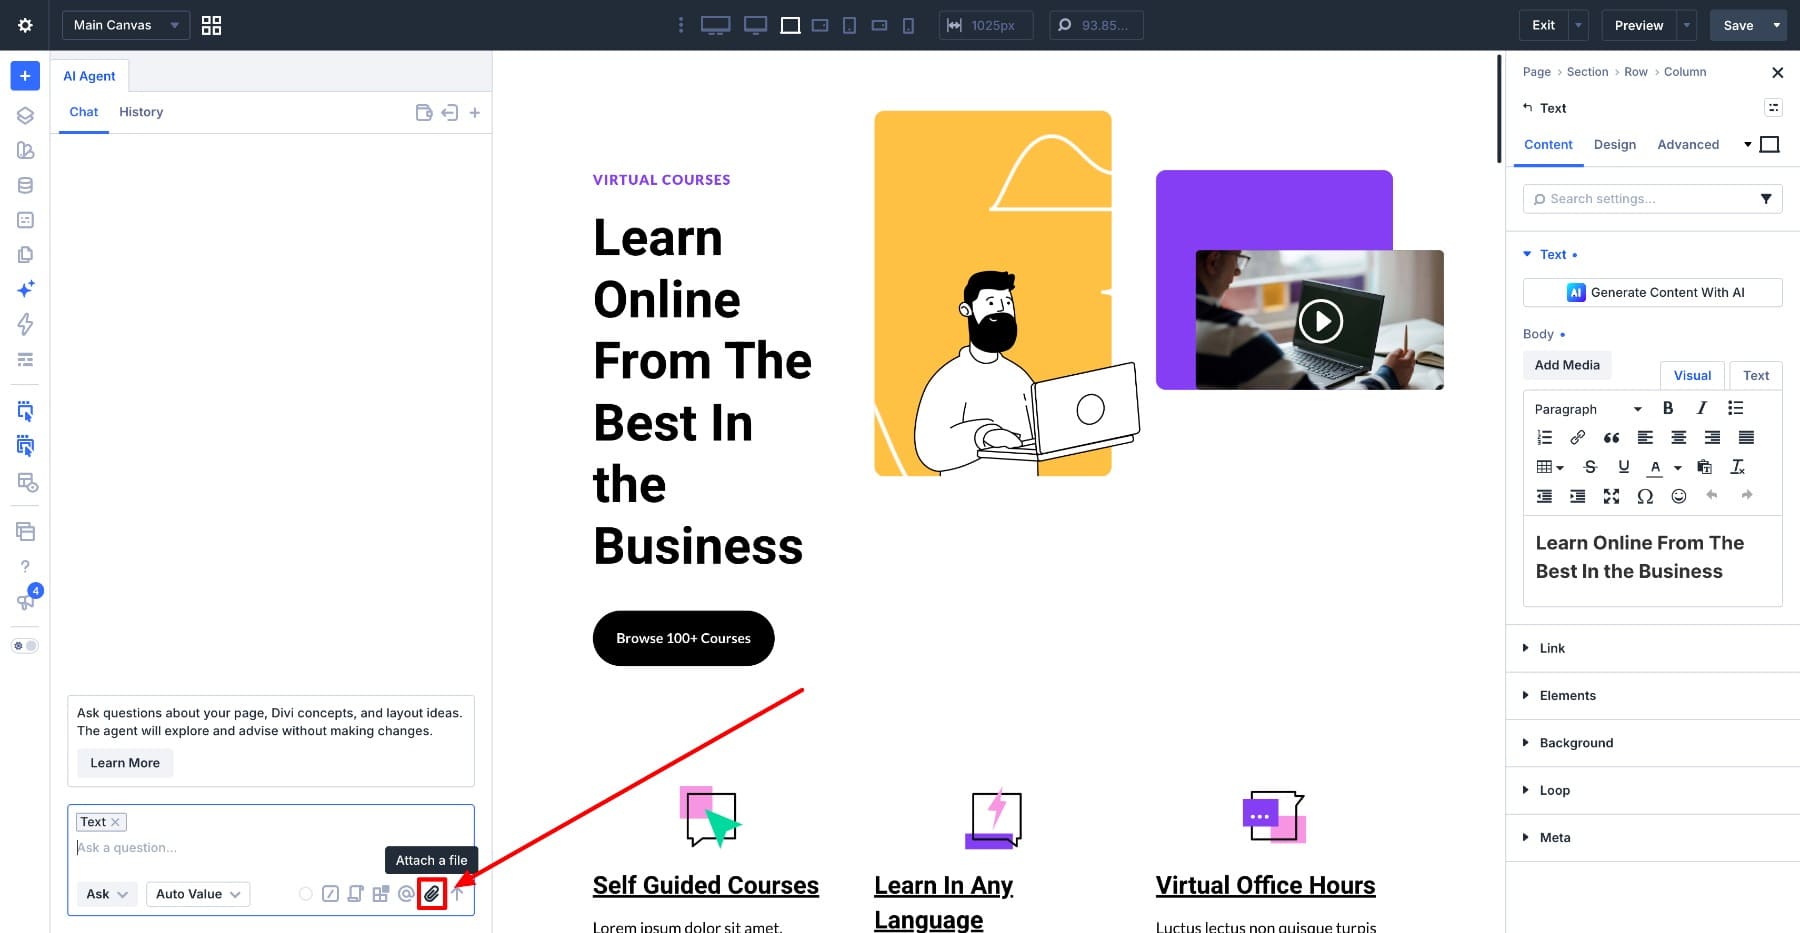
For example, attach a screenshot as a visual reference or a TXT file containing approved copy. Supported attachments include JPEG and PNG images, TXT, HTML, and CSV files, and font files. Do not assume every document format is supported.
Explain what matters in the reference. A screenshot might guide the layout, while an attached text file supplies the wording. If you want to preserve the current colors or typography, include that instruction too.
Keep the references focused. One relevant image or page is often more useful than several similar examples with conflicting details.
Save Context Inside Commands And Rules
Attaching Context to an individual request works well for a one-time task. When an instruction repeatedly depends on the same preset, variable, or tool, you can save that reference inside a Rule or Command.
A Rule provides guidance for how work should be done. A Command stores a task you choose to run. Both can include Context, so you do not have to attach the same reference each time.
Add Context To A Rule
Suppose headings in feature and course cards should use the Course Heading preset. Save the reference with a Rule:
- Open the Divi AI Agents panel and click the Rules icon.
- Click Add New Rule.
- Enter a title such as Card Heading Style.
- In the Rule field, write: Use the attached preset for headings in feature and course cards.
- Click the Context icon and attach the Course Heading preset.
- In When To Use, write: When adding or editing headings in feature or course cards.
- Leave Always Use turned off, then click Save Rule.
With Always Use off, the agent uses the When To Use description to decide whether the Rule is relevant. This makes the instruction available for card-heading tasks without including it automatically in every request.
Turn Always Use on for guidance that should accompany every request. For this example, the narrower condition is a better fit.
Attaching the preset also makes the Rule more precise than wording such as “use our usual heading style.” The saved reference identifies the intended style directly.
Add Context To A Command
Use a Command when the reference belongs to a repeatable task you want to run manually.
Earlier, we reviewed a section’s hardcoded colors with Promote Layout To Global Variables. Save that review prompt and tool together so you can reuse them on another section:
- Click the Commands icon in the chat window.
- Click Add New Command.
- Enter a title such as Suggest Color Variables.
- In the Command field, add: Find the hardcoded color values in this section and suggest which ones to convert into Global Variables. List the suggestions without applying them.
- Click the Context icon and attach the Promote Layout To Global Variables tool.
- Click Save Command.
To use it, set the section you want reviewed as the Scope, switch to Ask Mode, and type / in the composer. Choose Suggest Color Variables, then review the inserted prompt and Context before sending.
The Command retains the instruction and tool reference, while Scope identifies the section for each run. Check that Scope points to the intended section before reusing the Command elsewhere.
Save Context That Still Makes Sense Later
Before saving a reference inside a Rule or Command, consider whether it will remain useful on another page.
Site-level presets and variables are good candidates for recurring instructions. Tools can also support repeatable workflows. A specific page, menu, or canvas may be useful when you deliberately want to reference that same item each time.
An element from the current page is more specific. Saving it does not automatically make it refer to an equivalent element on the next page.
Keep the reusable parts in the saved instruction and supply the changing target through Scope or the current prompt. This helps a Command stay useful without carrying an outdated reference into a different task.
Keep Context Focused
Adding more Context does not automatically make a request clearer. Each reference adds information for the agent to consider, so include what the task needs and leave unrelated material out.
The Context Usage meter shows how much of the conversation’s available working context is in use. The conversation includes more than the chips in your current prompt; earlier messages and other material also contribute.
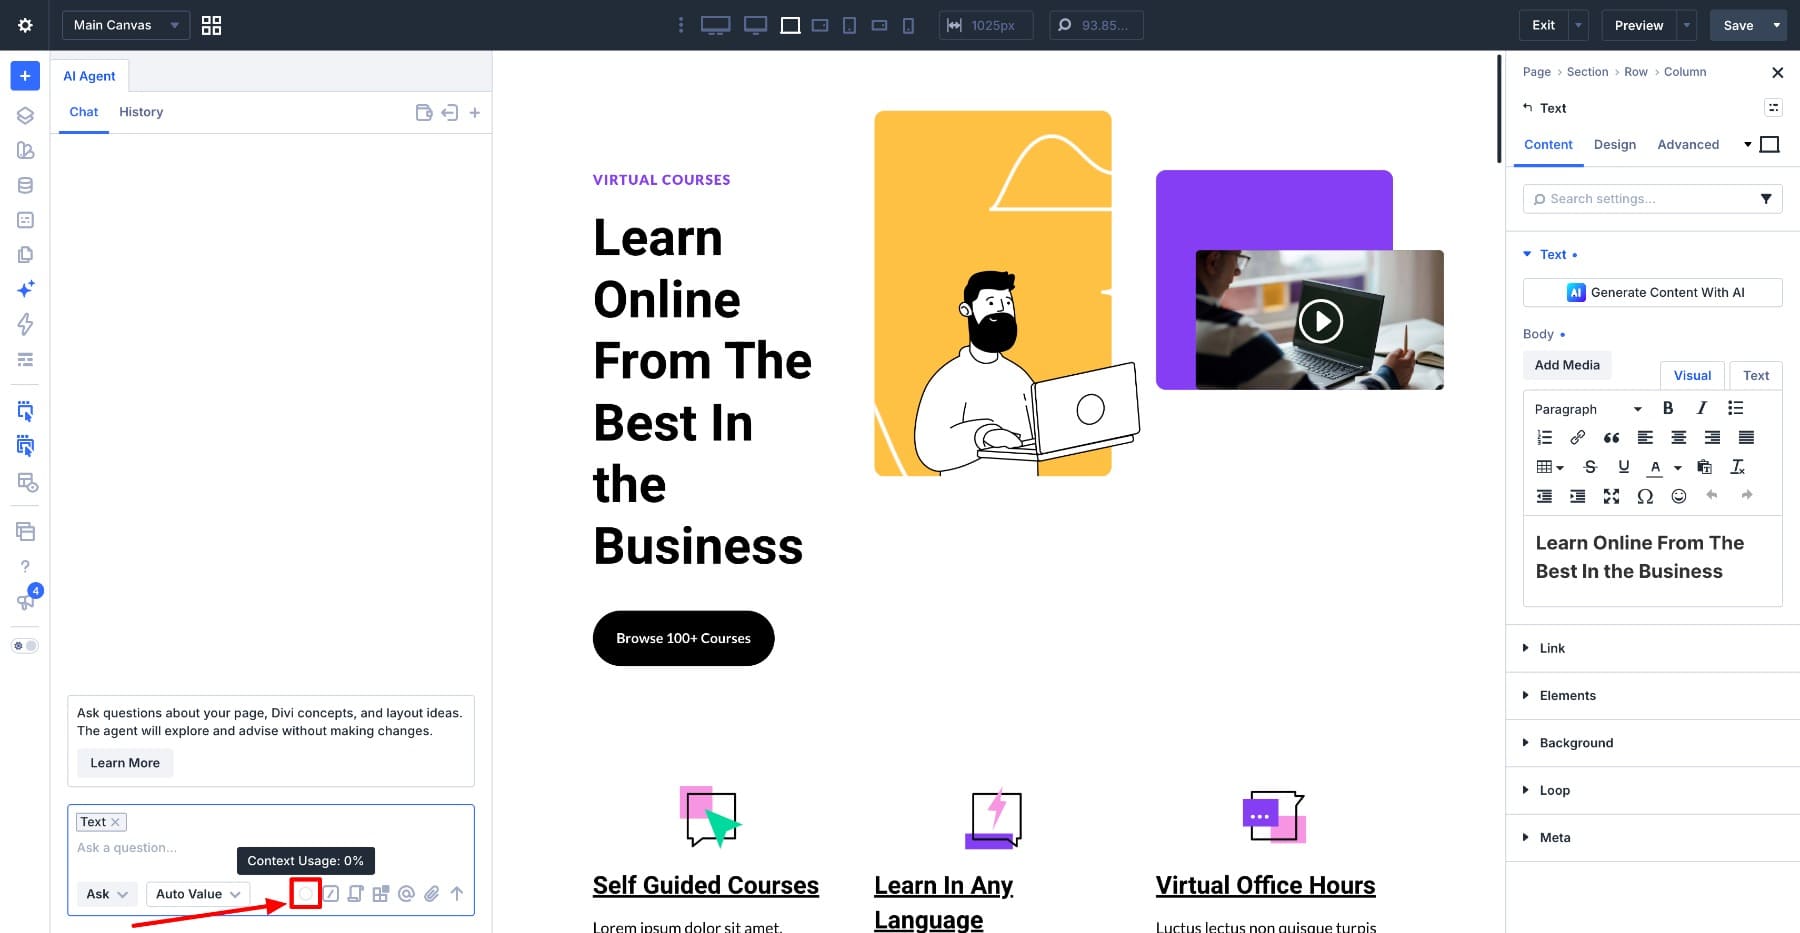
When you move to an unrelated job, consider starting a new chat. This separates the next task from the previous conversation without changing your page or deleting saved Commands and Rules.
Before sending a request, remove any attached references that no longer apply. Removing a chip from a new prompt does not erase information already discussed earlier in the chat.
For ongoing work, keep the important target and constraints clear. Attach the preset you want used, identify the page that should guide the design, and update Scope when the working target changes.
Give Divi AI Agents Better Context
A useful prompt explains the task. Context supplies the specific references behind it, whether that is a saved preset, a link variable, an existing element, or a design screenshot. Start with the item the agent needs to identify, then explain how it should be used. Combine Context with Scope when the reference and working target are different, and save recurring references inside Commands or Rules.
You do not need to attach everything. A small set of relevant references, paired with a clear instruction, gives Divi AI Agents a more precise starting point.
The post How To Use Divi AI Agents Context appeared first on Elegant Themes Blog.