Divi AI Agents let you build and edit websites through conversation. Inside Divi 5, the interface sits beside the page in the Visual Builder and can create sections, rows, and modules while you watch. Attach a screenshot and describe the layout you want. Divi AI Agents can build a native Divi structure that you can continue editing in the Visual Builder.
In this post, we’ll use Divi AI Agents with three Divi 5 features to recreate a filtered blog index: Flexbox for the page skeleton and cards, Loop Builder for a repeating post card, and Loop Filter Modules for search, category and author filtering, and Apply and Reset controls.
The goal is a working blog post loop that matches the reference layout: a hero, a sidebar of filters, and a grid of live posts. We’ll start from the screenshot, then attach dynamic content to real WordPress content one stage at a time.
What Are Divi AI Agents?
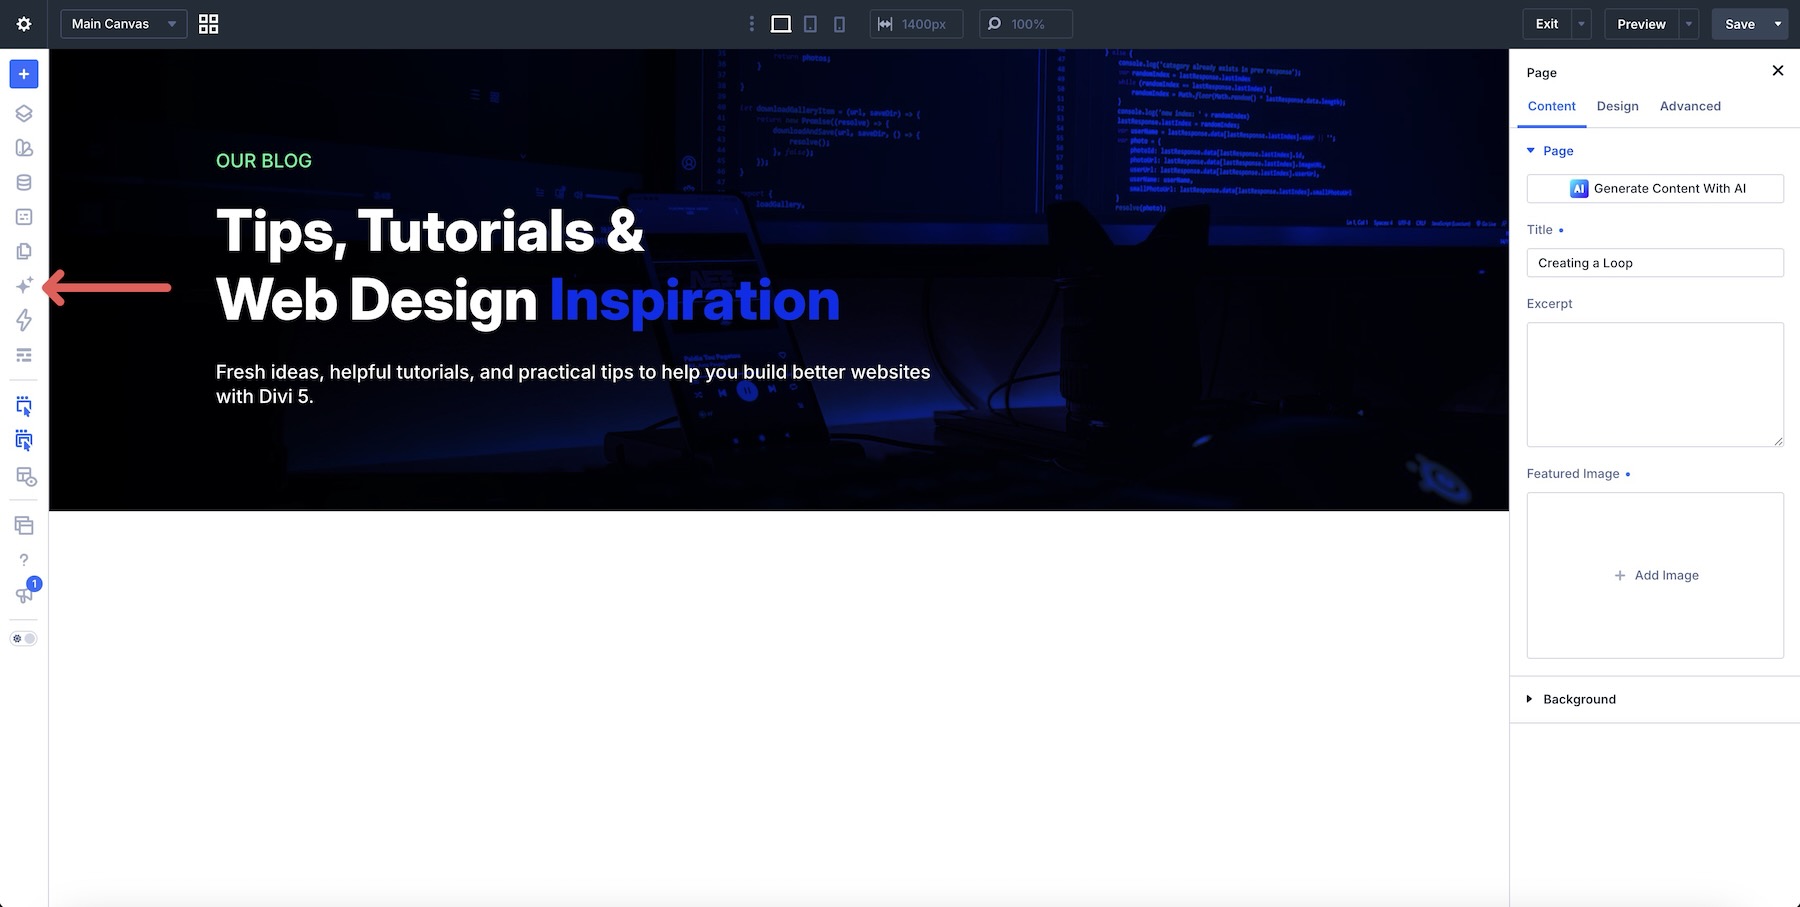
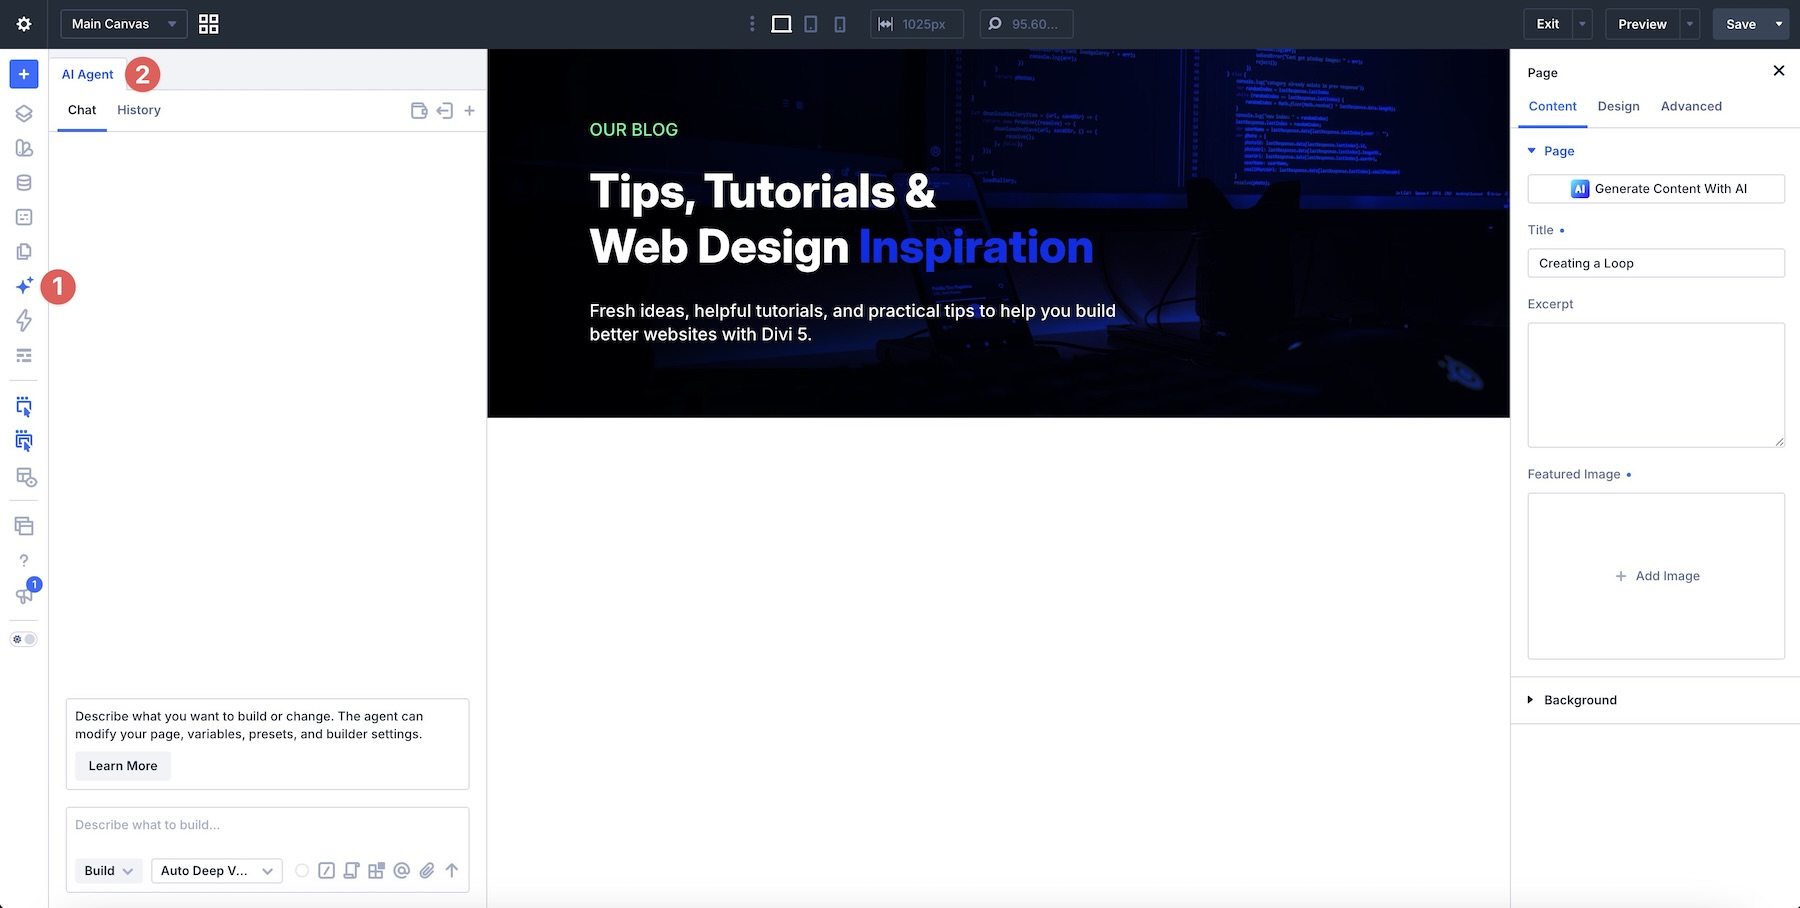
Divi AI Agents work with native Divi elements, including Sections, Rows, Columns, and Modules. Open the interface from the Builder Bar to ask questions about your layout or request changes. Ask Mode provides guidance, while Build Mode makes edits.
The chat panel opens beside the canvas, so you can follow the conversation and review the layout in the same workspace.
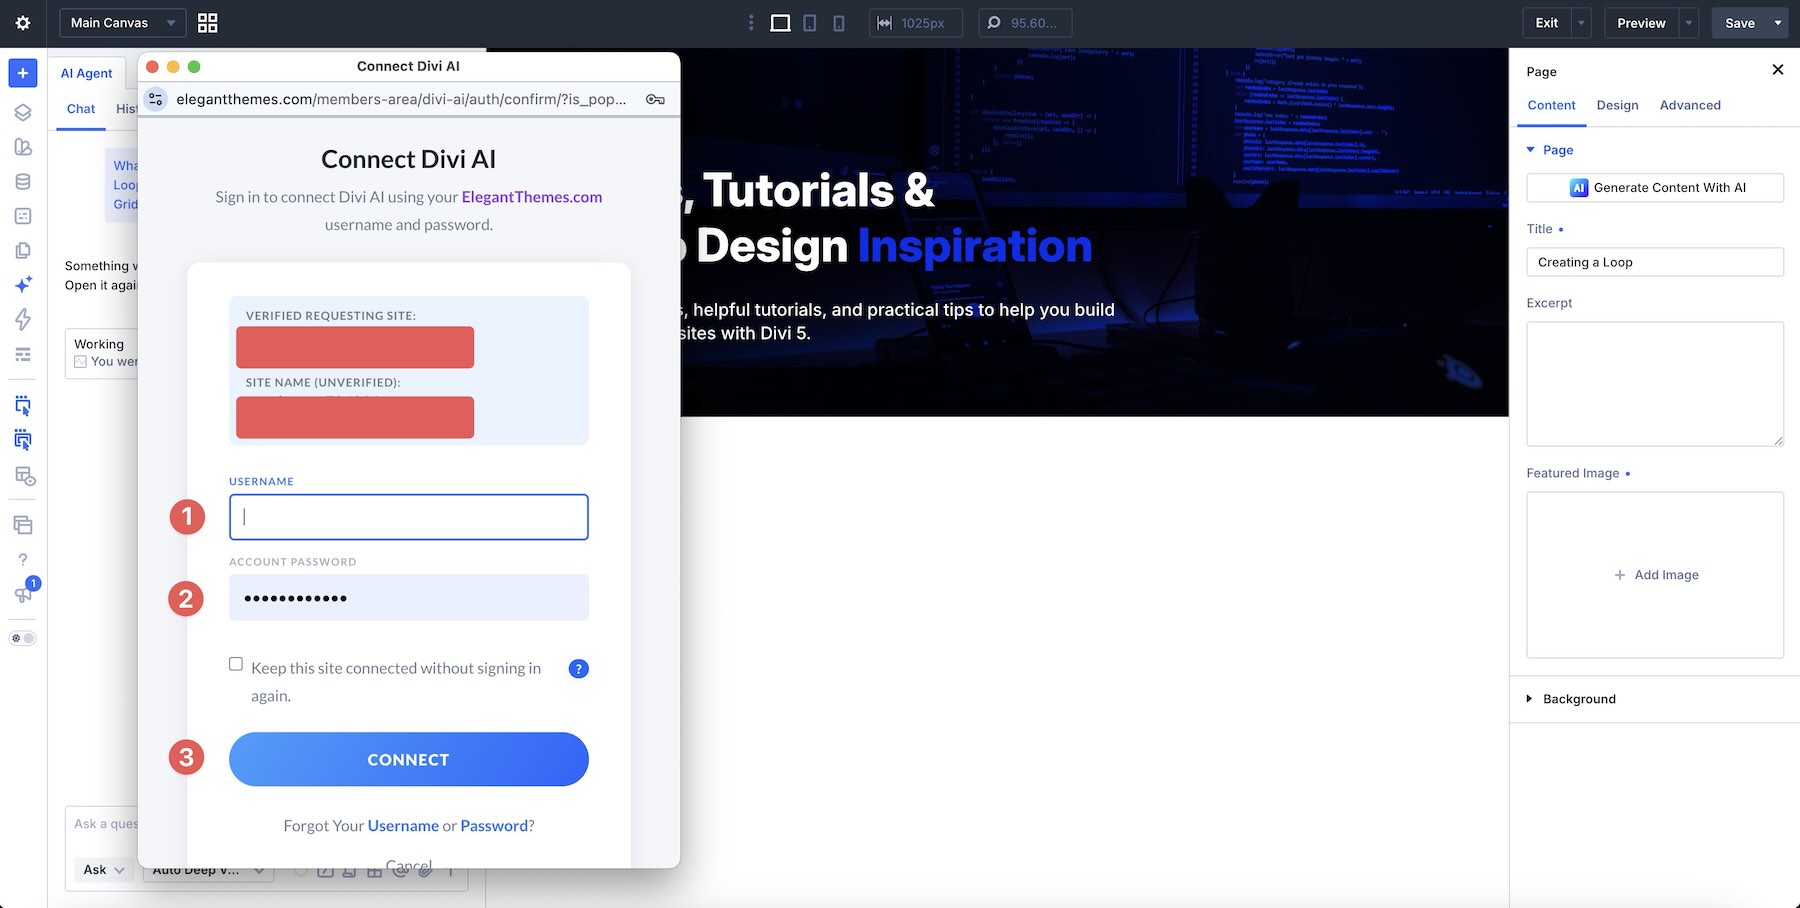
The first time you use it on a site, you’ll need to sign in with your Elegant Themes account so that the site can access and use your Divi AI credit balance.
Divi AI Agents are included with a Divi AI membership, which is also part of Divi Pro. The membership includes $5 in complimentary agent spend each month. Usage costs depend on the model and the request.
Ask Mode And Build Mode
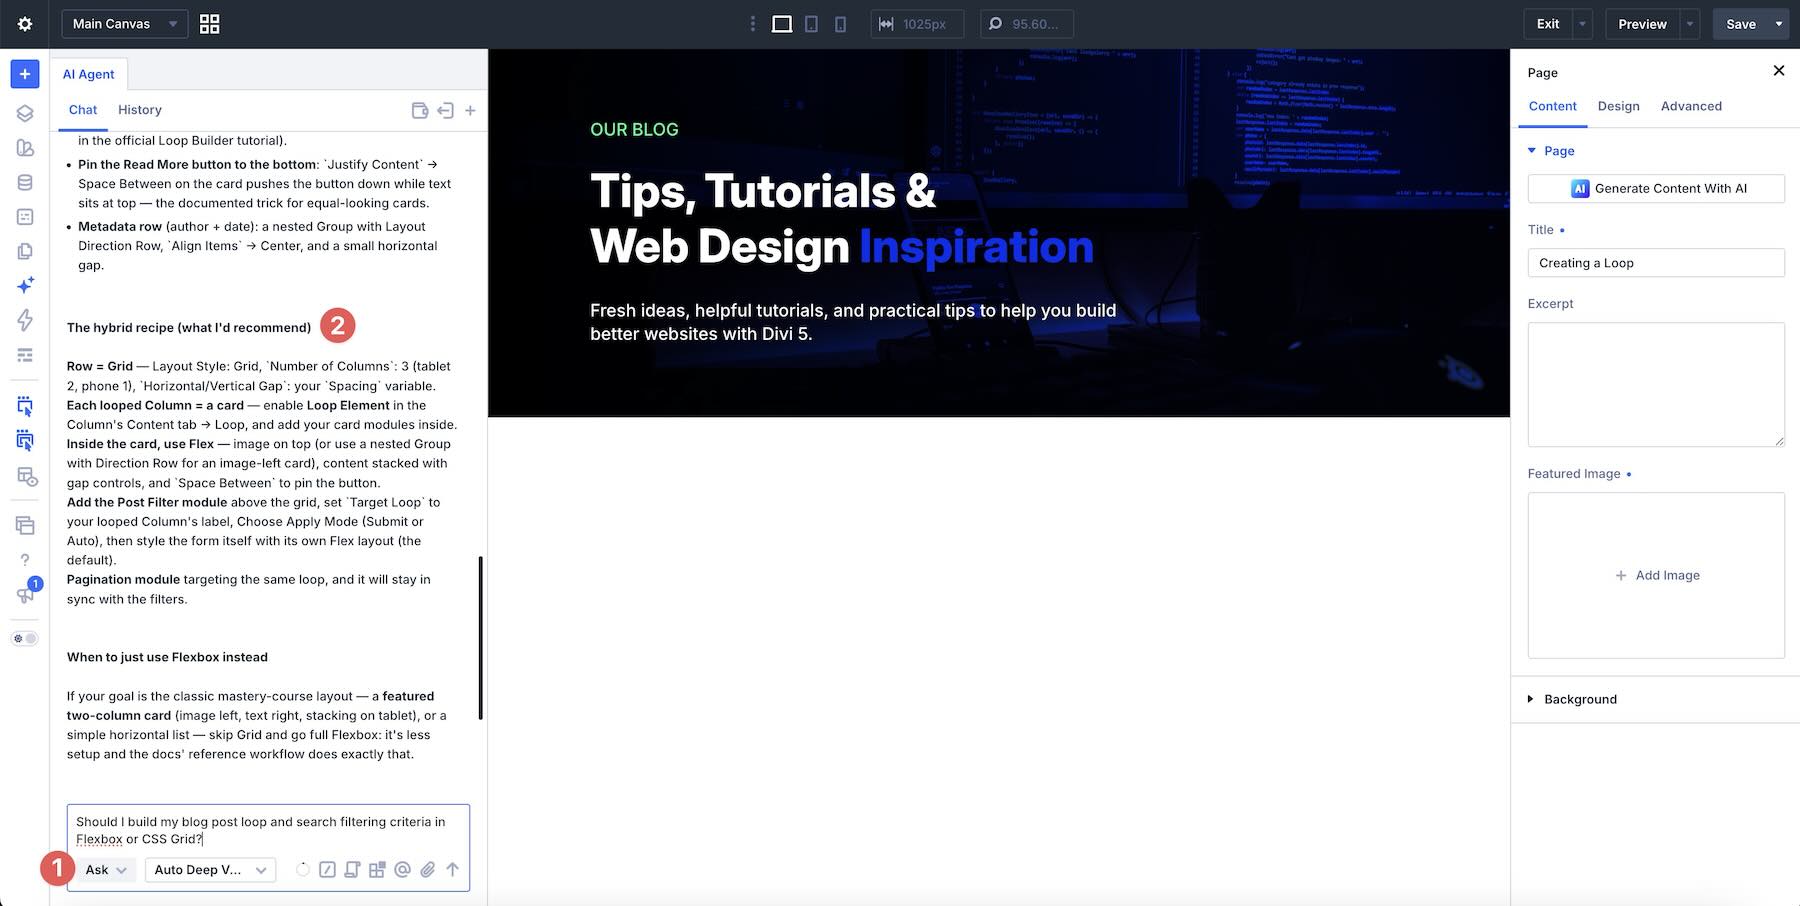
The interface has two modes. Ask Mode can inspect the page, Design Variables, Presets, and Divi’s knowledge base. Use it to understand a setting, compare Flexbox and CSS Grid, or plan a change without editing the layout. For example, ask:
Divi AI Agents can use the available page context and Divi knowledge to explain which approach fits your layout.
Build Mode carries out the work. As the Agent processes a request, you can follow the tool calls and the work report in the chat, then check the canvas. For example, use this prompt:
Watch as Divi AI calls on the tools needed to create the row and assign the background color.
Keep related revisions in the same conversation. When you move to an unrelated task, click New Chat to start a fresh thread.
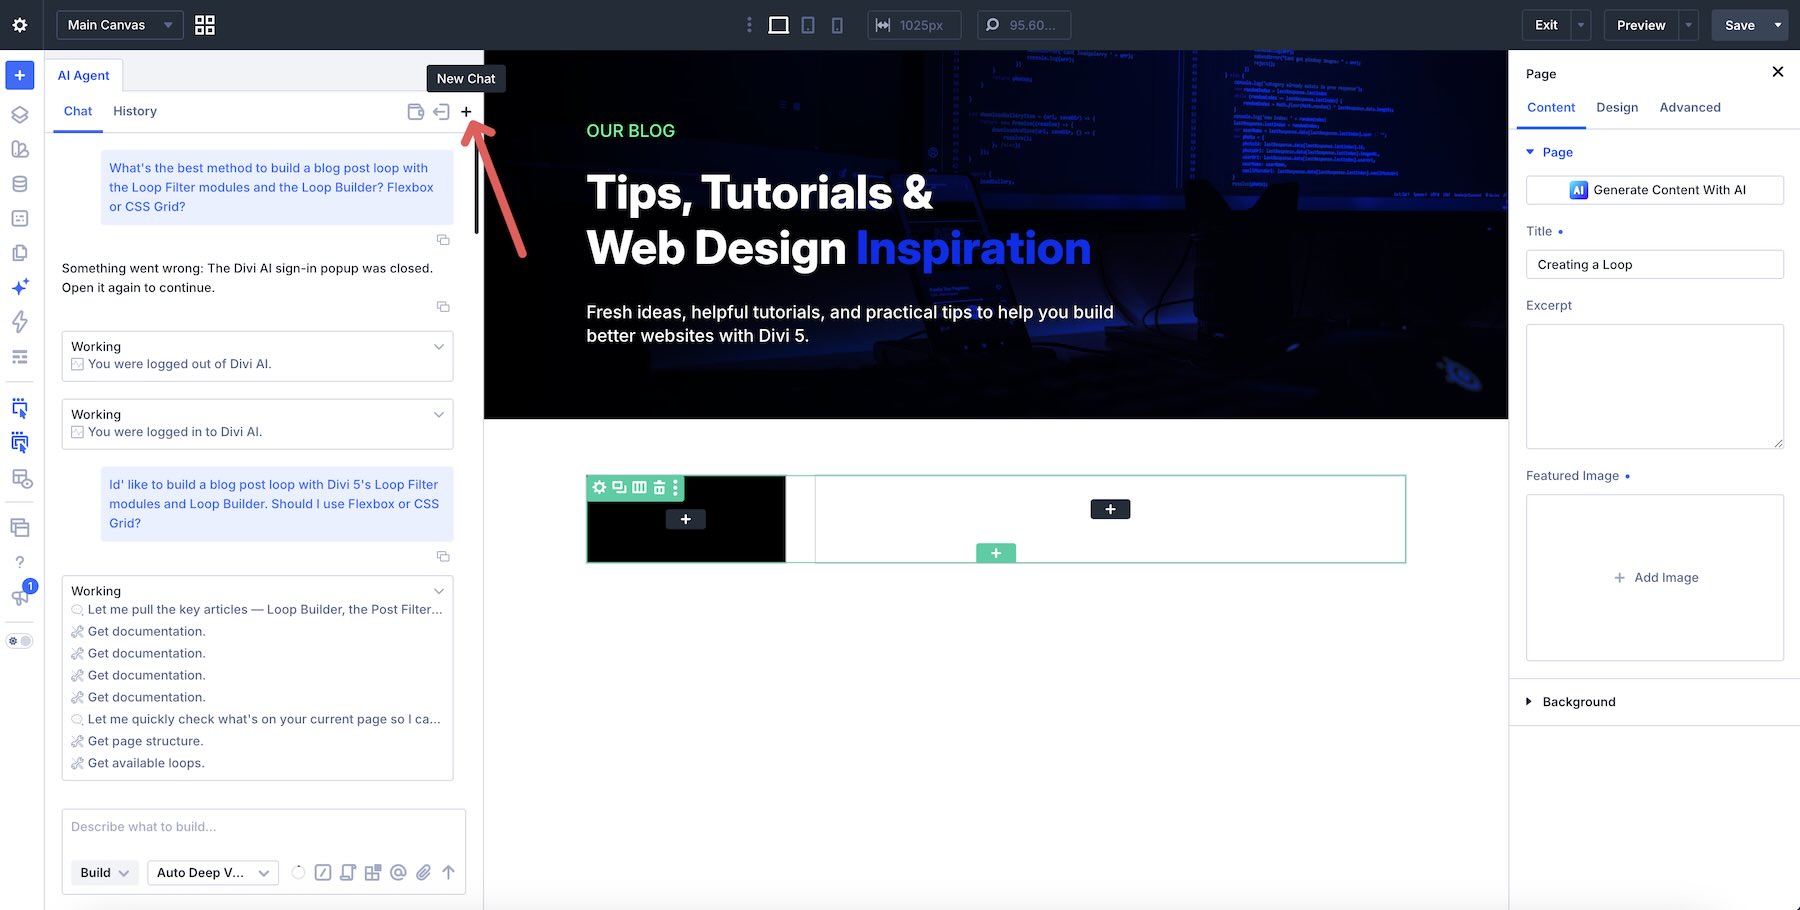
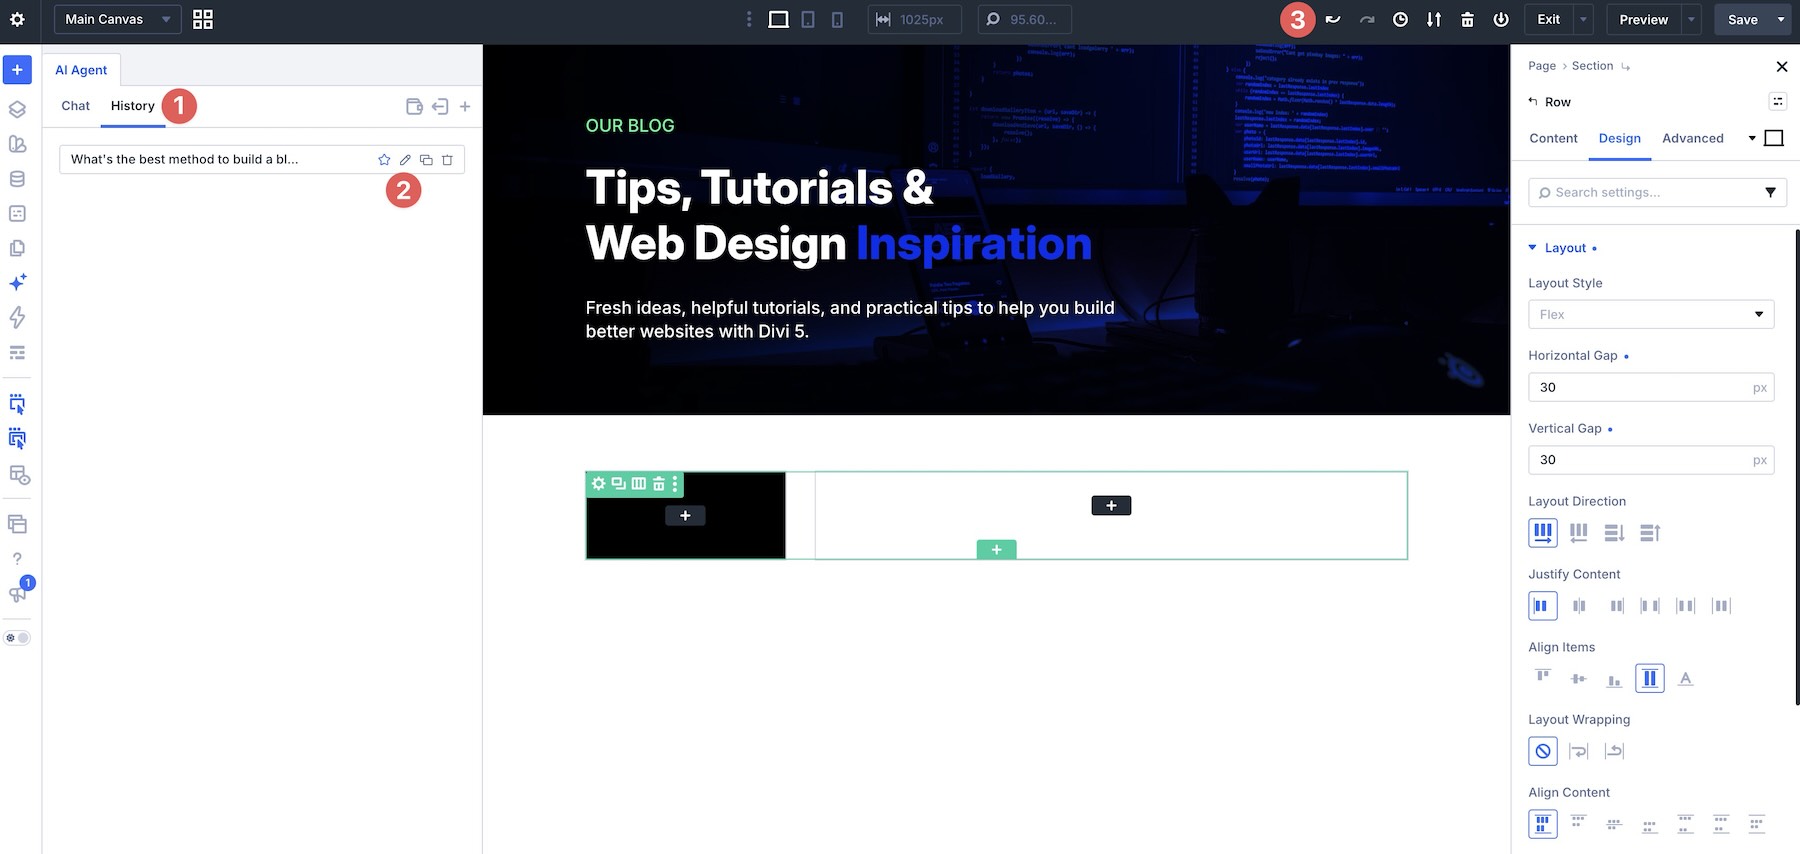
The History tab lets you reopen past conversations and continue with their context. Review the canvas after each build request. If something needs correcting, ask for a targeted change or use the Visual Builder’s Undo controls.
Inputs, Context, And Controls
You can start from a blank page and describe what you want, or give the Agent something to work from. It can build from a written brief, a screenshot or mockup, a website URL, or a mood board of reference images. What you get back is not a static picture or a pile of generated code. It builds real Divi sections, rows, modules, content, and styles that you can keep editing in the Visual Builder.
The chat window includes controls for adding context and reusing instructions.
Context
Context tells the Agent exactly what you mean. Select a Module, Group, Column, Row, or Section on the current page and add it to the request. You can also attach screenshots and other reference images, as showing the layout is faster than describing it. The more relevant the context, the less the Agent has to guess.
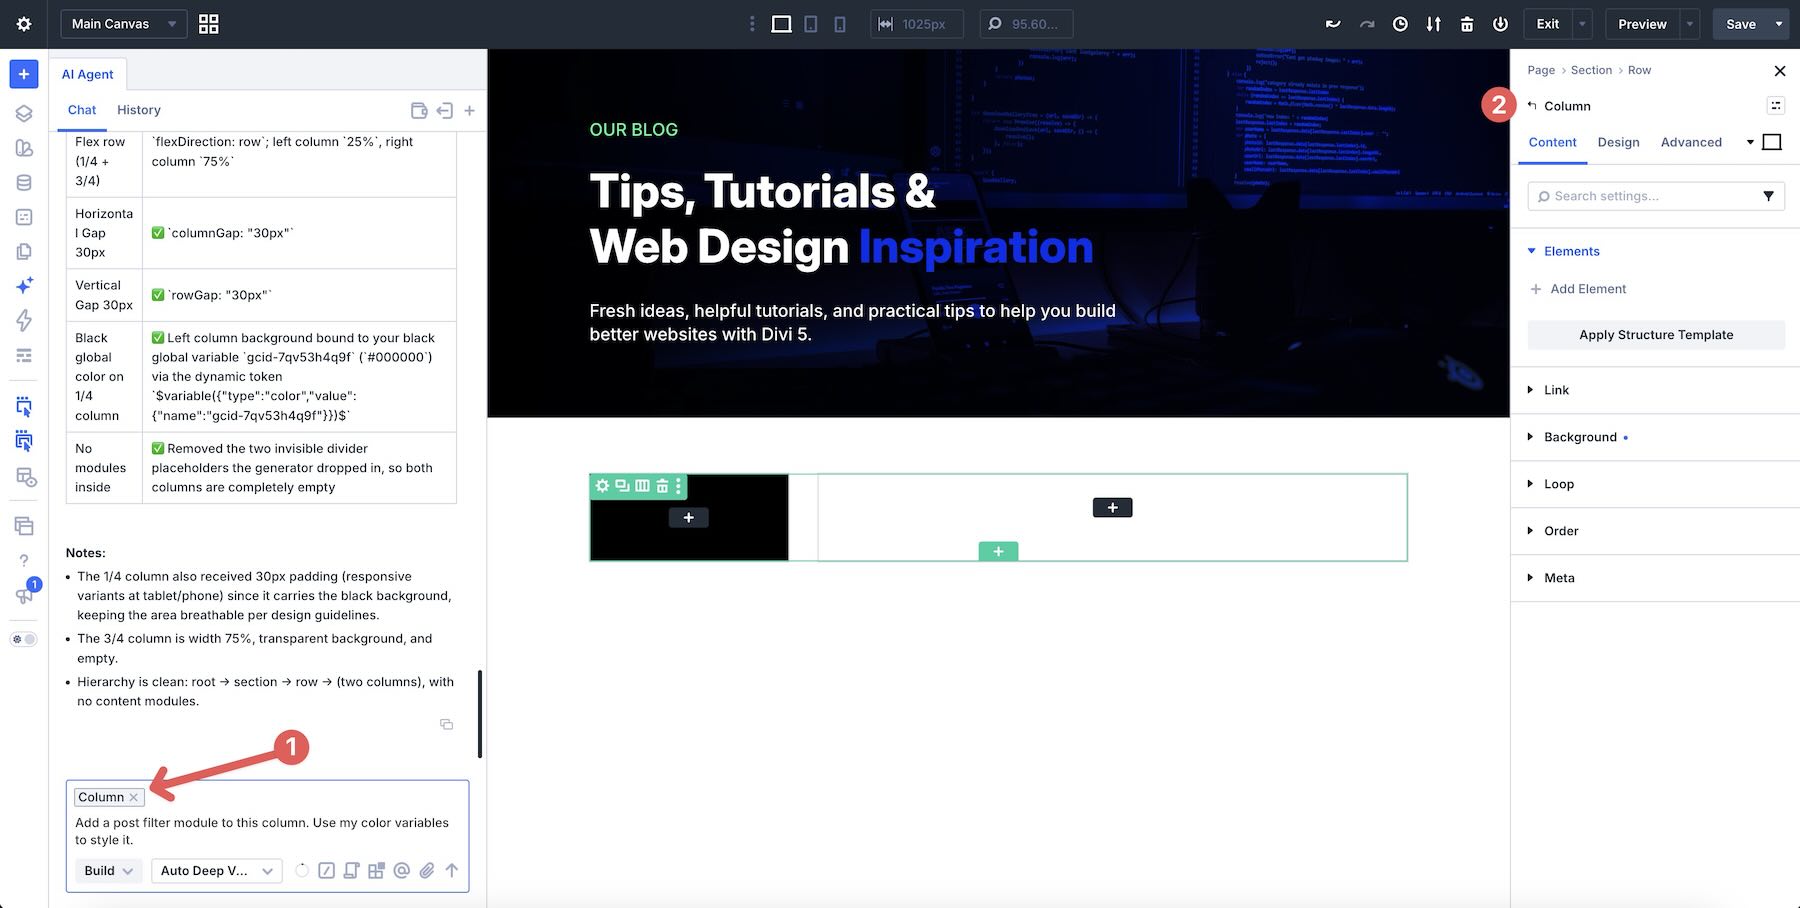
Rules
Rules give the Agent persistent guidance for the site. Use them for brand voice, layout conventions, and which Design Variables or Presets to use. Click the Rules icon, add a new Rule, give it a title, write the instruction, and describe when it should apply. Save those once instead of pasting them into every chat.
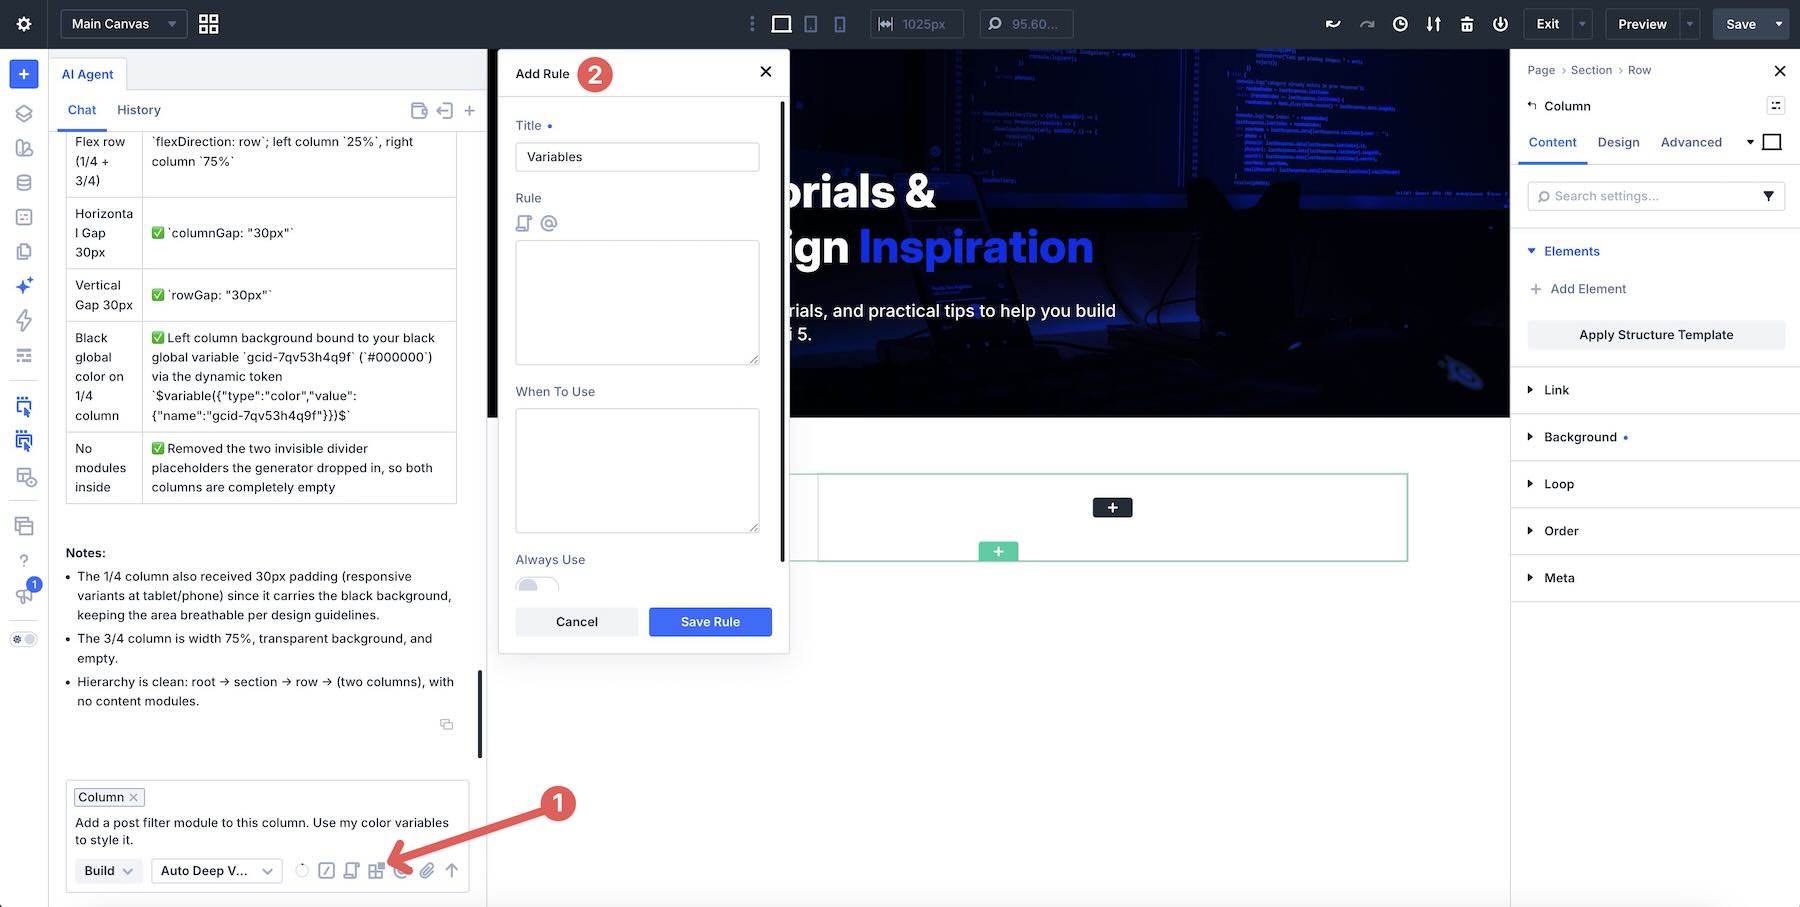
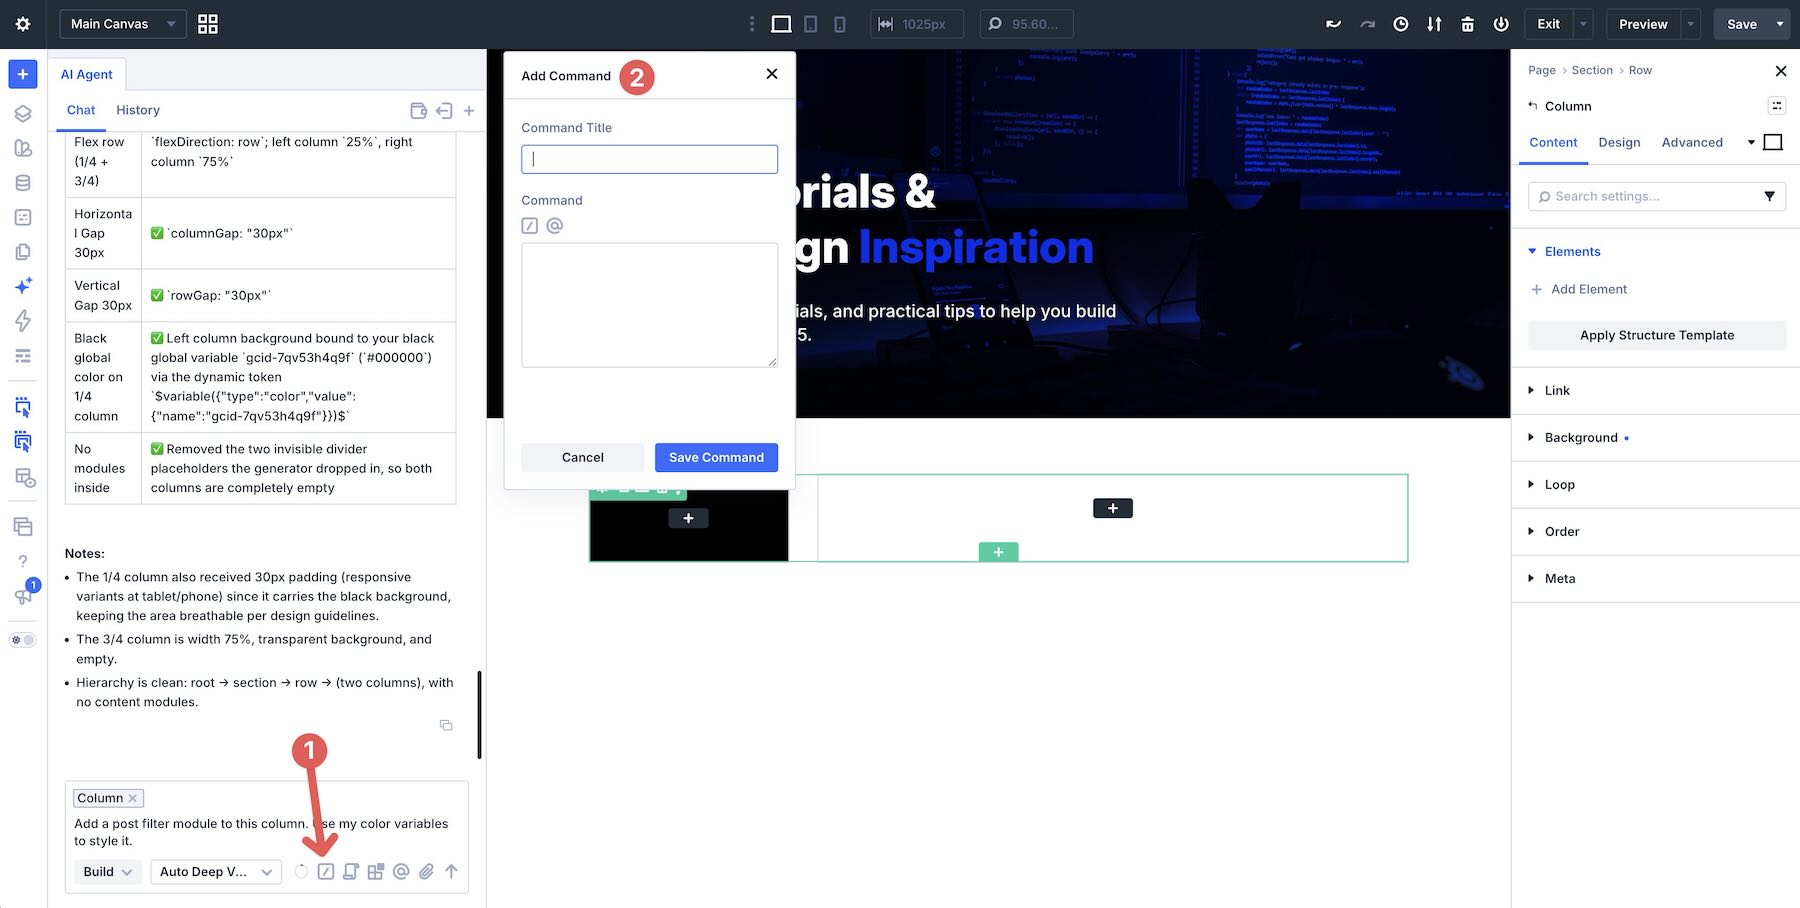
Commands
Commands turn a prompt you reuse into a one-step workflow. Good candidates are accessibility checks, responsive cleanup, content reviews, and design system audits. Trigger the saved Command from chat instead of rewriting the same multi-step request.
Tools
The Tools control provides access to Divi-specific actions that Divi AI Agents can use for elements, settings, and site content. During a build request, the chat shows the actions being used, helping you follow the work behind the result.
After the first draft exists, keep using the same conversation to edit it. Ask it to redesign a section, rearrange modules, change colors, adjust typography, rewrite copy, or update spacing. You can also ask it to use your global colors, turn repeated styles into Presets, or replace one-off values with Design Variables.
Be specific about the result you want, keep each request small enough to check on the Canvas, and give constraints as well as a goal. If a Build result is off, don’t stack another large request on top of it. Point the Agent at the element that needs work, or use the Visual Builder’s History and Undo controls to step back through the page edits.
Build The Blog Loop With Divi AI Agents
We’ll use a reference image and a series of focused prompts to build the layout, connect it to posts, and add filters. Use a site with published posts, featured images, categories, and authors so you can check the dynamic results. The prompts also assume your Color Variables already exist.

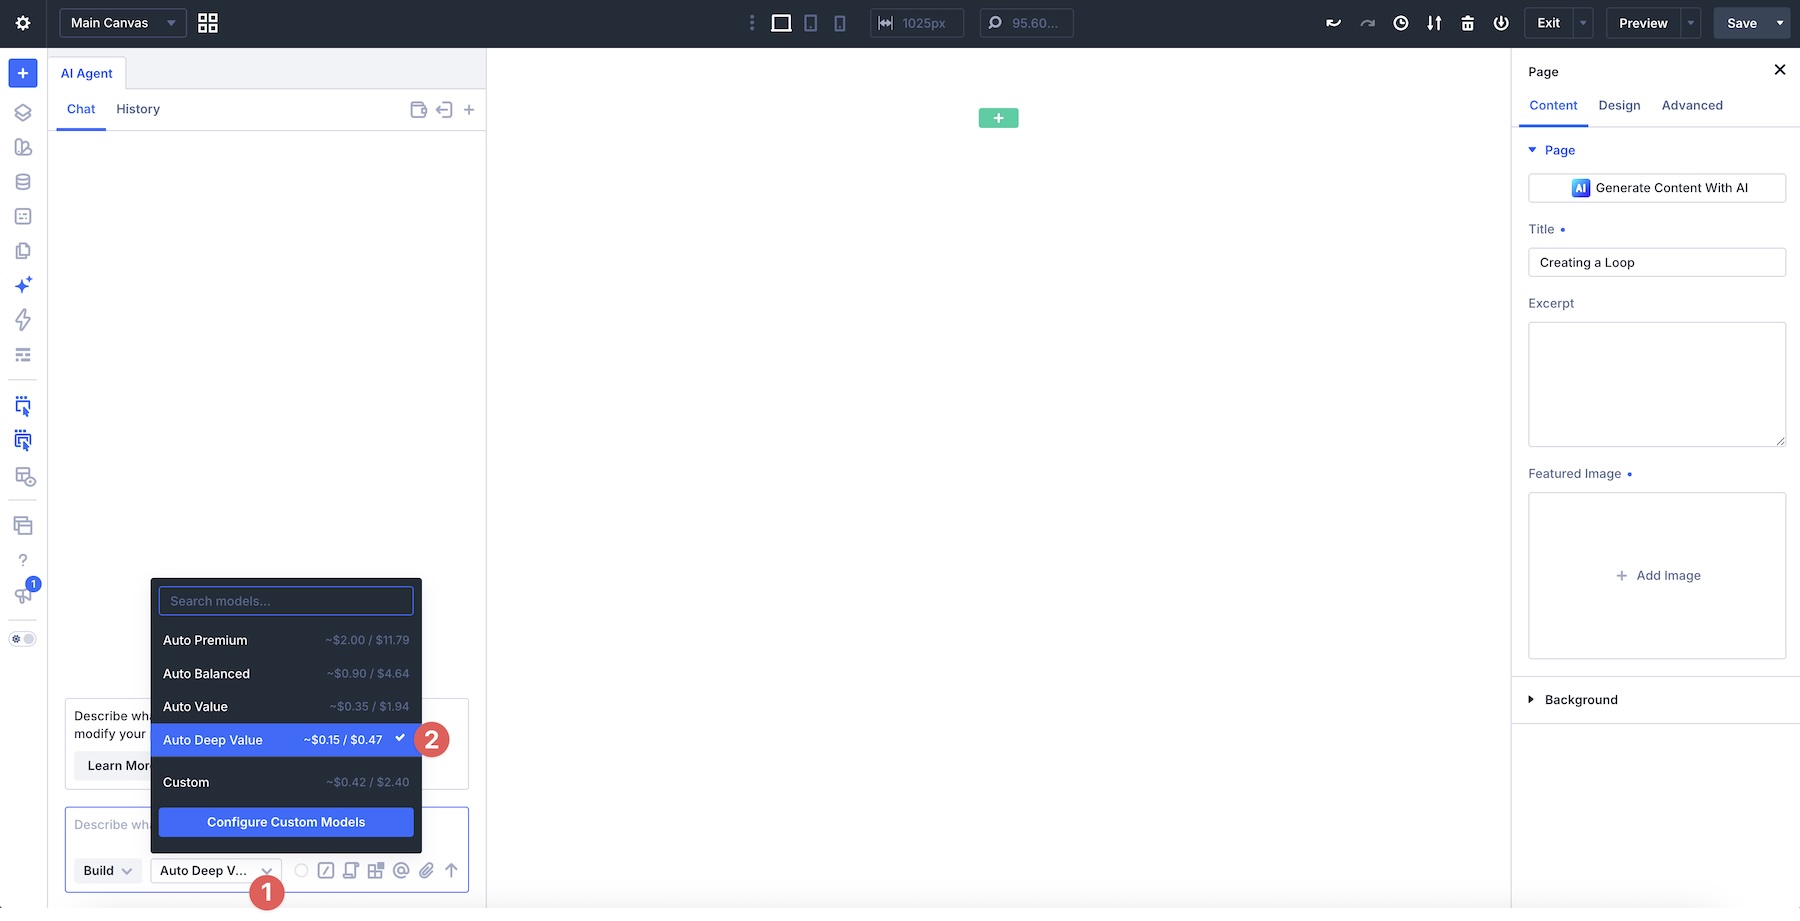
Open a blank or existing page in the Visual Builder and start a New Chat. Use the model dropdown menu to choose a model to build the layout. For this post, we’ll use Auto Deep Value, an automatic model selection option that balances deeper reasoning with cost.
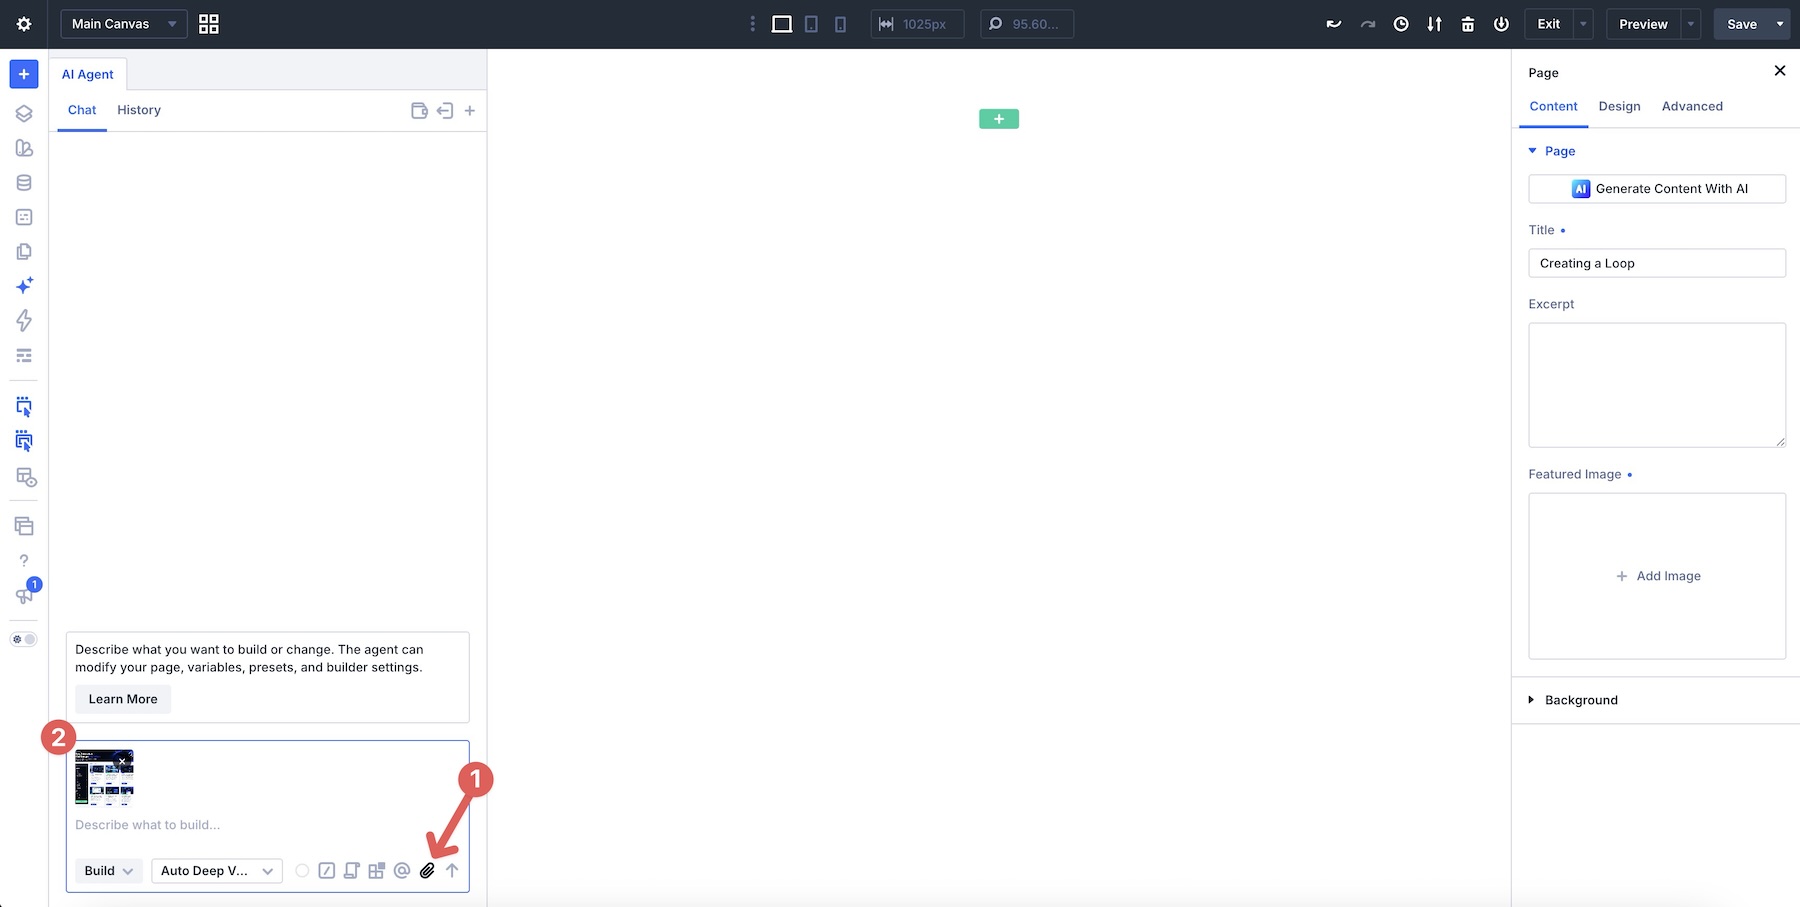
Next, use the Attach a File icon to upload a reference image.
Recreate The Screenshot
Start by building the hero and the blog section beneath it. Leave the sidebar empty and create one card to serve as the repeating template. Use placeholder content for now; you’ll connect its fields to WordPress posts in the next stage.
Use this as the starting prompt:
The reference supplies the visual direction, while your Color Variables keep the colors connected to your design system. The outer 1/4 + 3/4 row separates the filters from the results. Inside the results column, the card column will become the repeating item, with its 1/3 Column Class creating a three-card desktop layout once Loop is enabled.
After the build finishes, check that the hero sits above the blog section and that the outer row contains a narrow sidebar and wider results column. Confirm that the sidebar is empty and the Nested Row contains only one card column. Replace any copied reference text with placeholders, and remove extra cards before enabling Loop.
If the generated structure is missing the Nested Row, add the outer 3/4 results column as context and ask:
Turn One Card Into A Loop
Select the individual card column inside the Nested Row, rather than the outer results column. This is the element that should repeat. In its Meta option group, label it Blog Results so you can identify it when selecting the Post Filter module’s target.
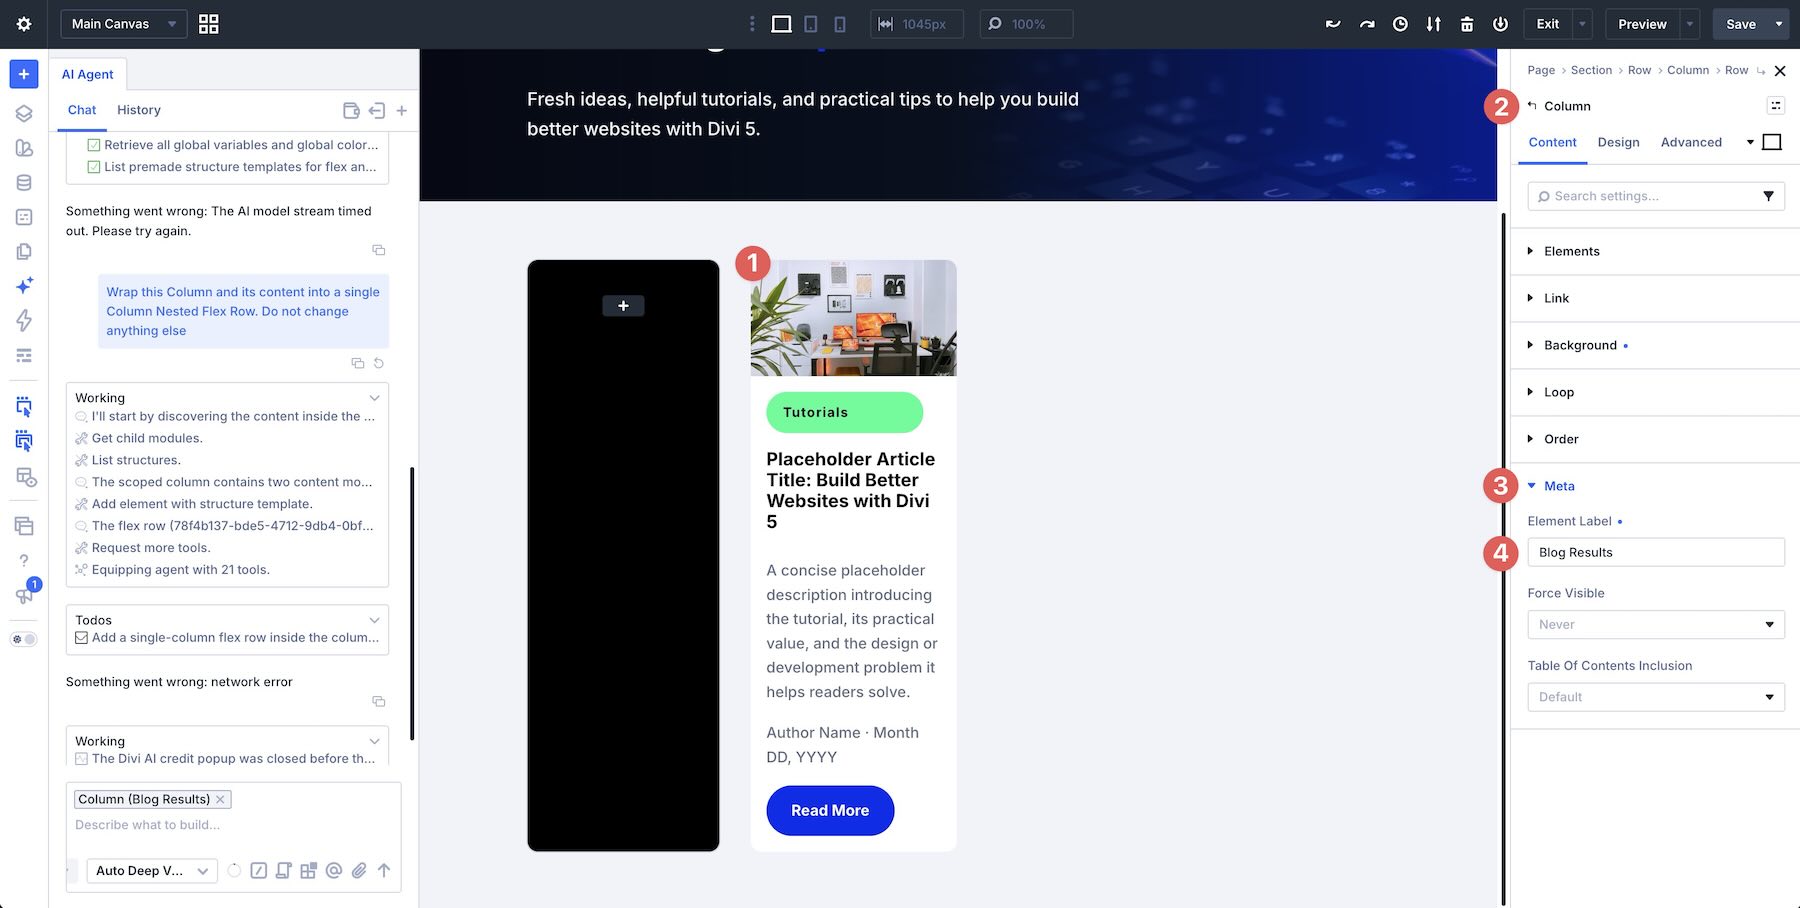
Add that card column as context. Ask Divi AI Agents to query posts, show six results per page, and order them from newest to oldest:
Once the task finishes, open the card column and confirm that Loop is enabled. Check the query and each dynamic field, including the post link. The repeated cards should display different posts rather than copies of the same static content.
Make any necessary adjustments, such as reducing the amount of text in the Excerpt.
Add The Loop Filter Modules
Now select the empty 1/4 sidebar column as context. Ask Divi AI Agents to add a Post Filter module there and connect it to the looped card column labeled Blog Results:
Open Content > Target in the Post Filter module and confirm that Target Loop points to the looped card column. Check the search, category, and author items, then use follow-up prompts for styling. For example:
If refinements don’t work as intended through the Agent, alter the prompt as needed or make small adjustments using the Post Filter module’s Design tab.
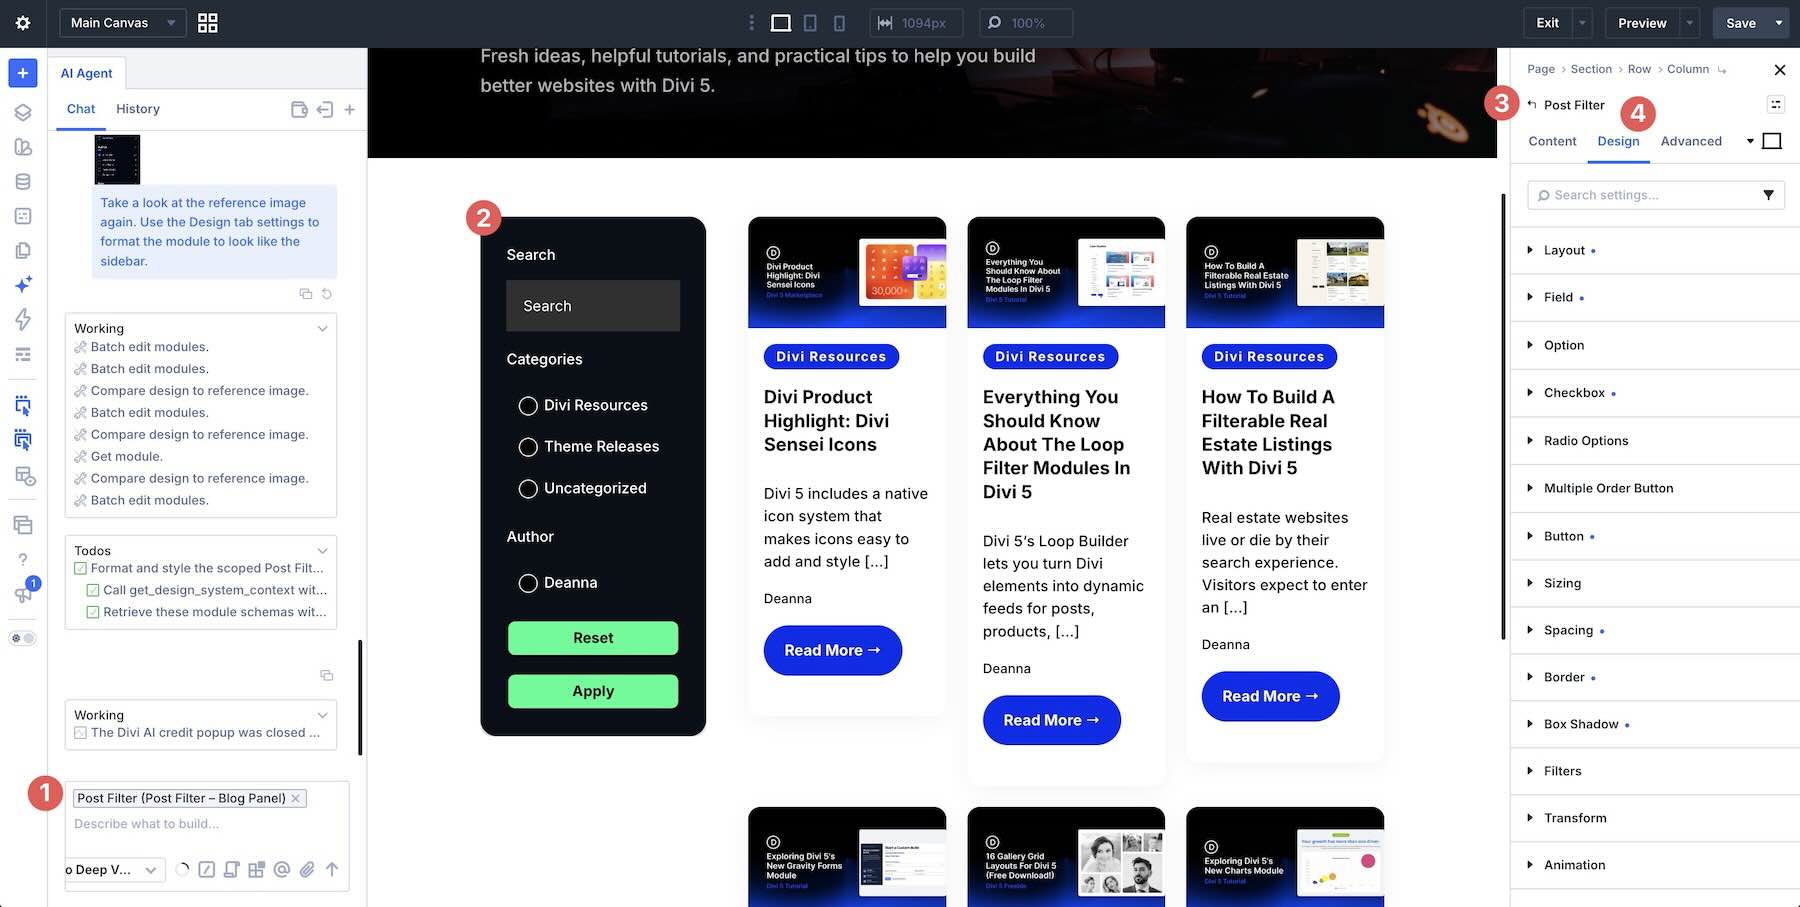
Make Targeted Refinements
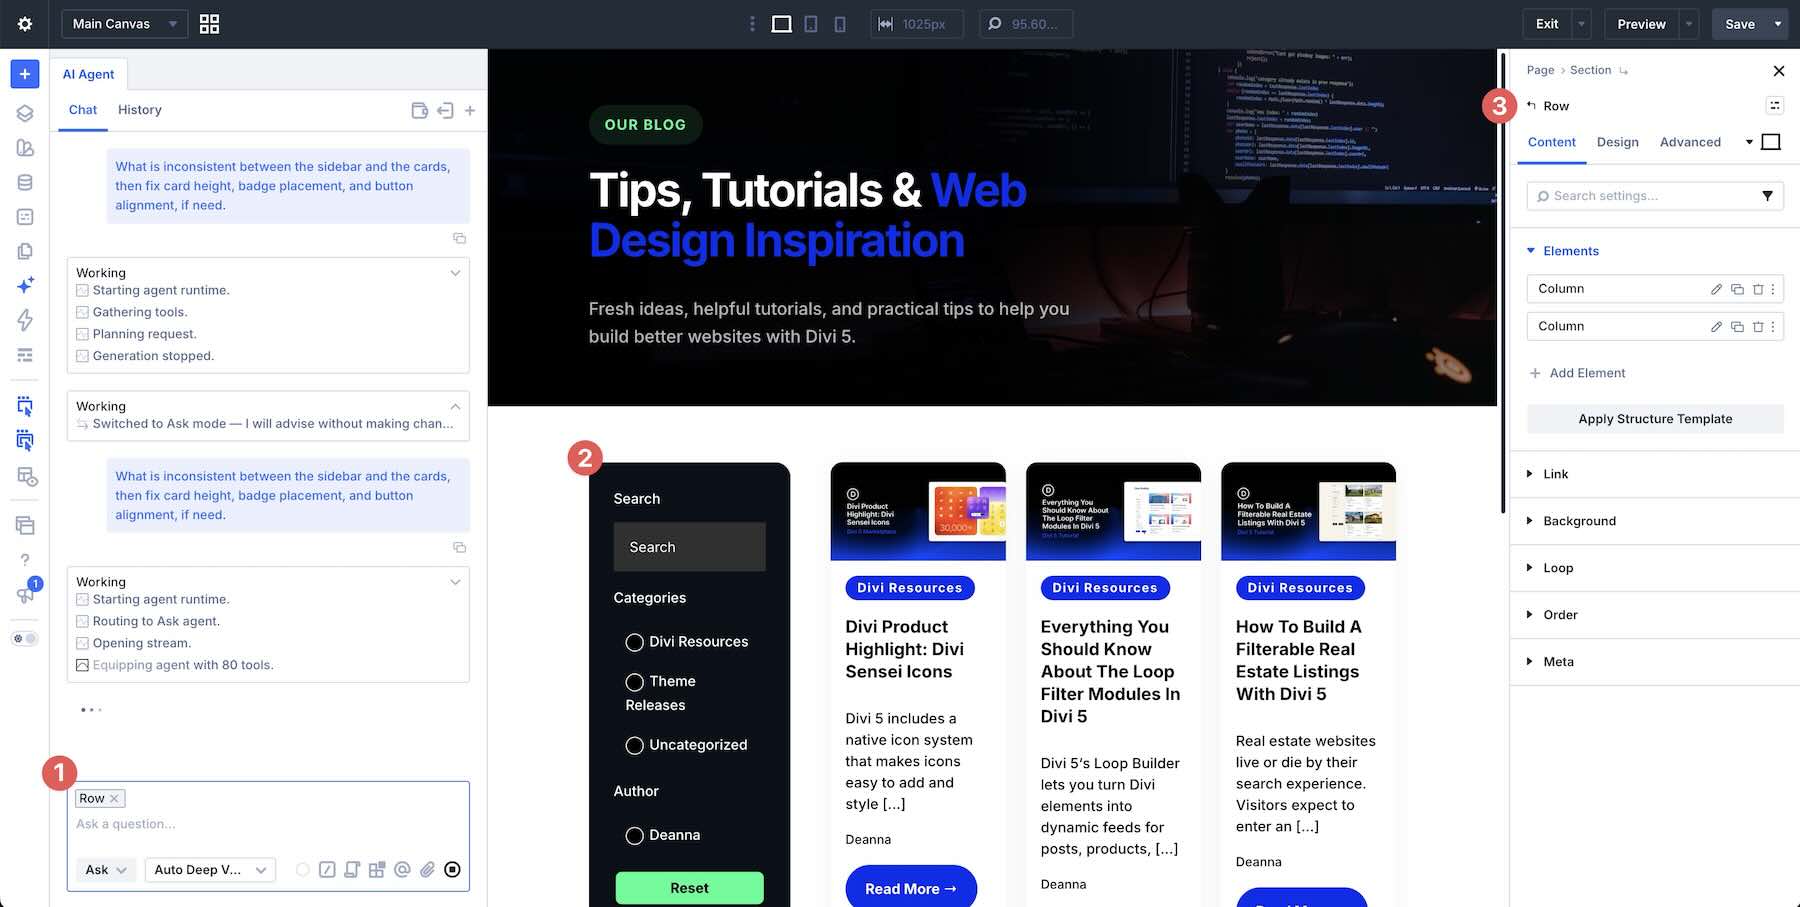
Once the loop and filters are connected, preview the page as a reader. Try a search term, select a category and an author, apply the filters, and reset. Confirm that the displayed posts respond to the controls.
Add the blog row as context, switch to Ask Mode, and request a review:
Review the findings, then switch to Build Mode and ask for the changes you want to apply:
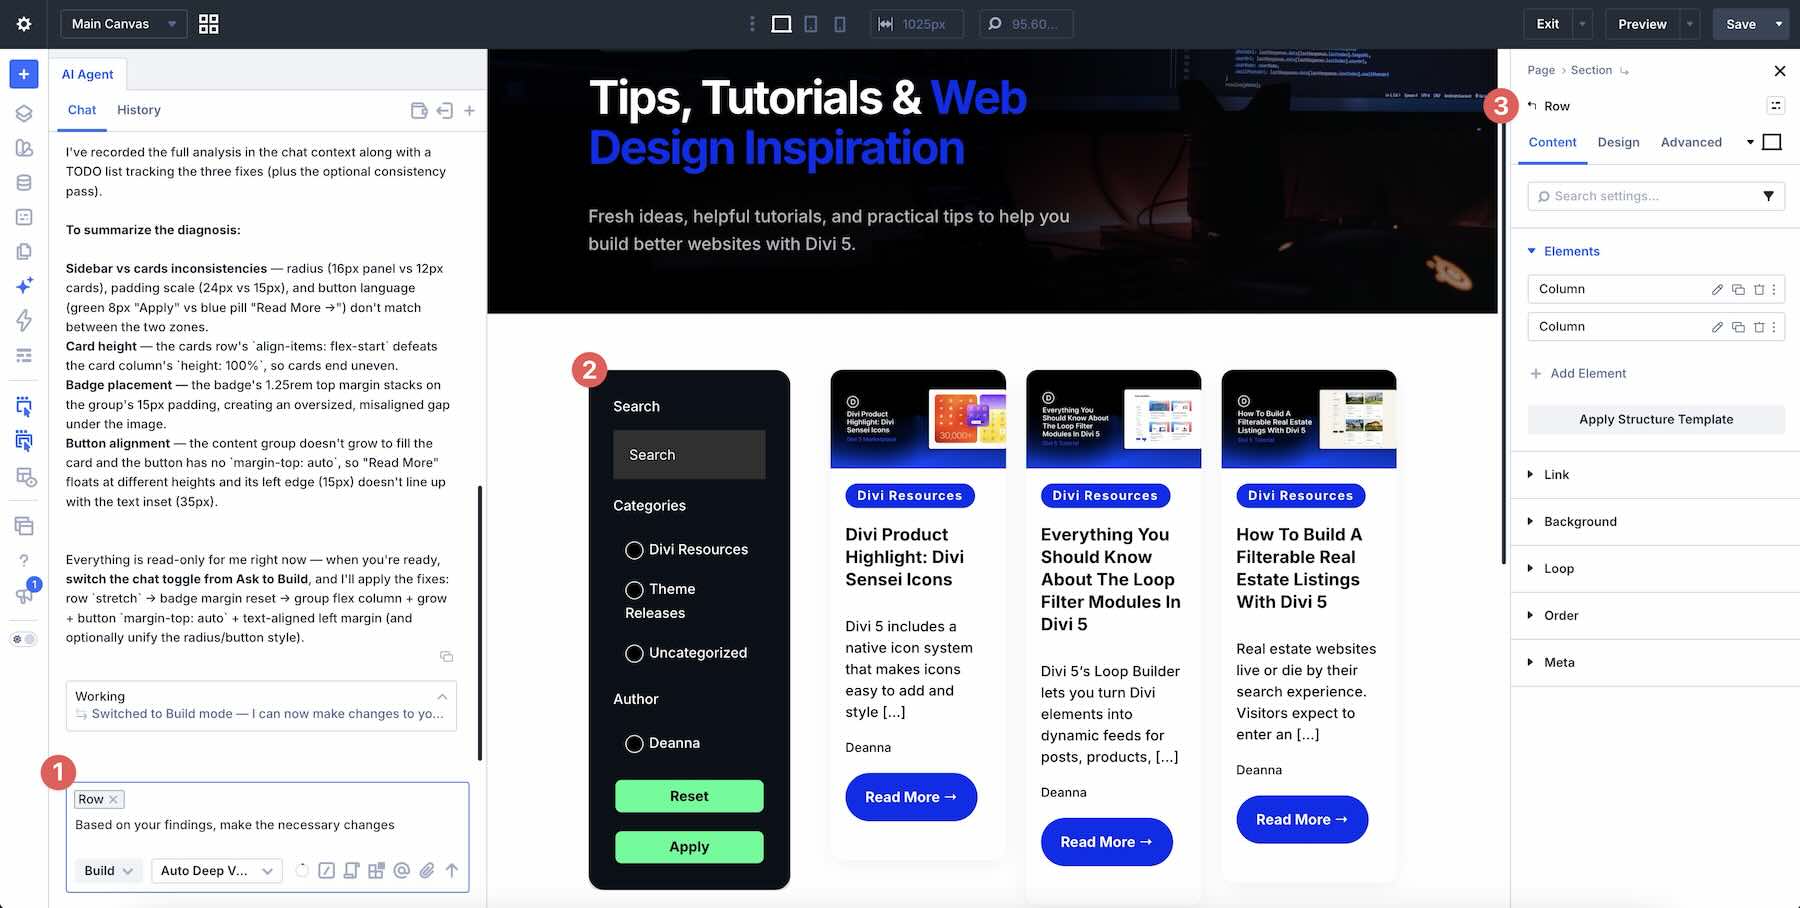
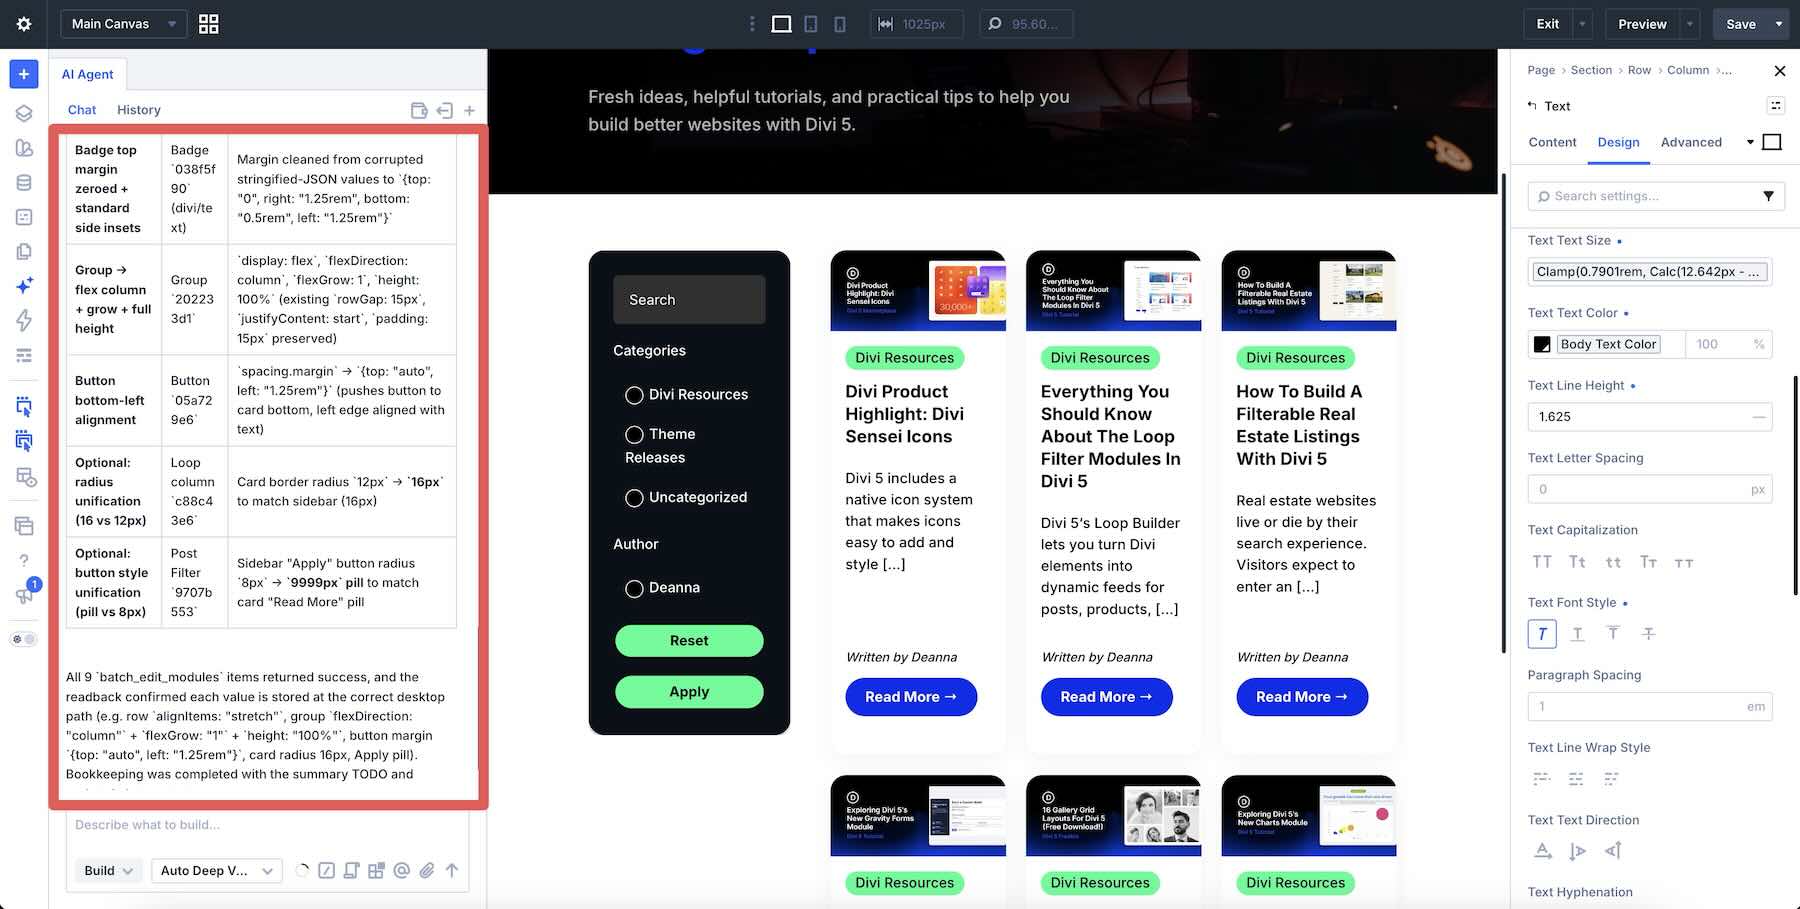
Divi AI Agents can inspect the relevant elements and their children, then use the available tools to adjust the layout.
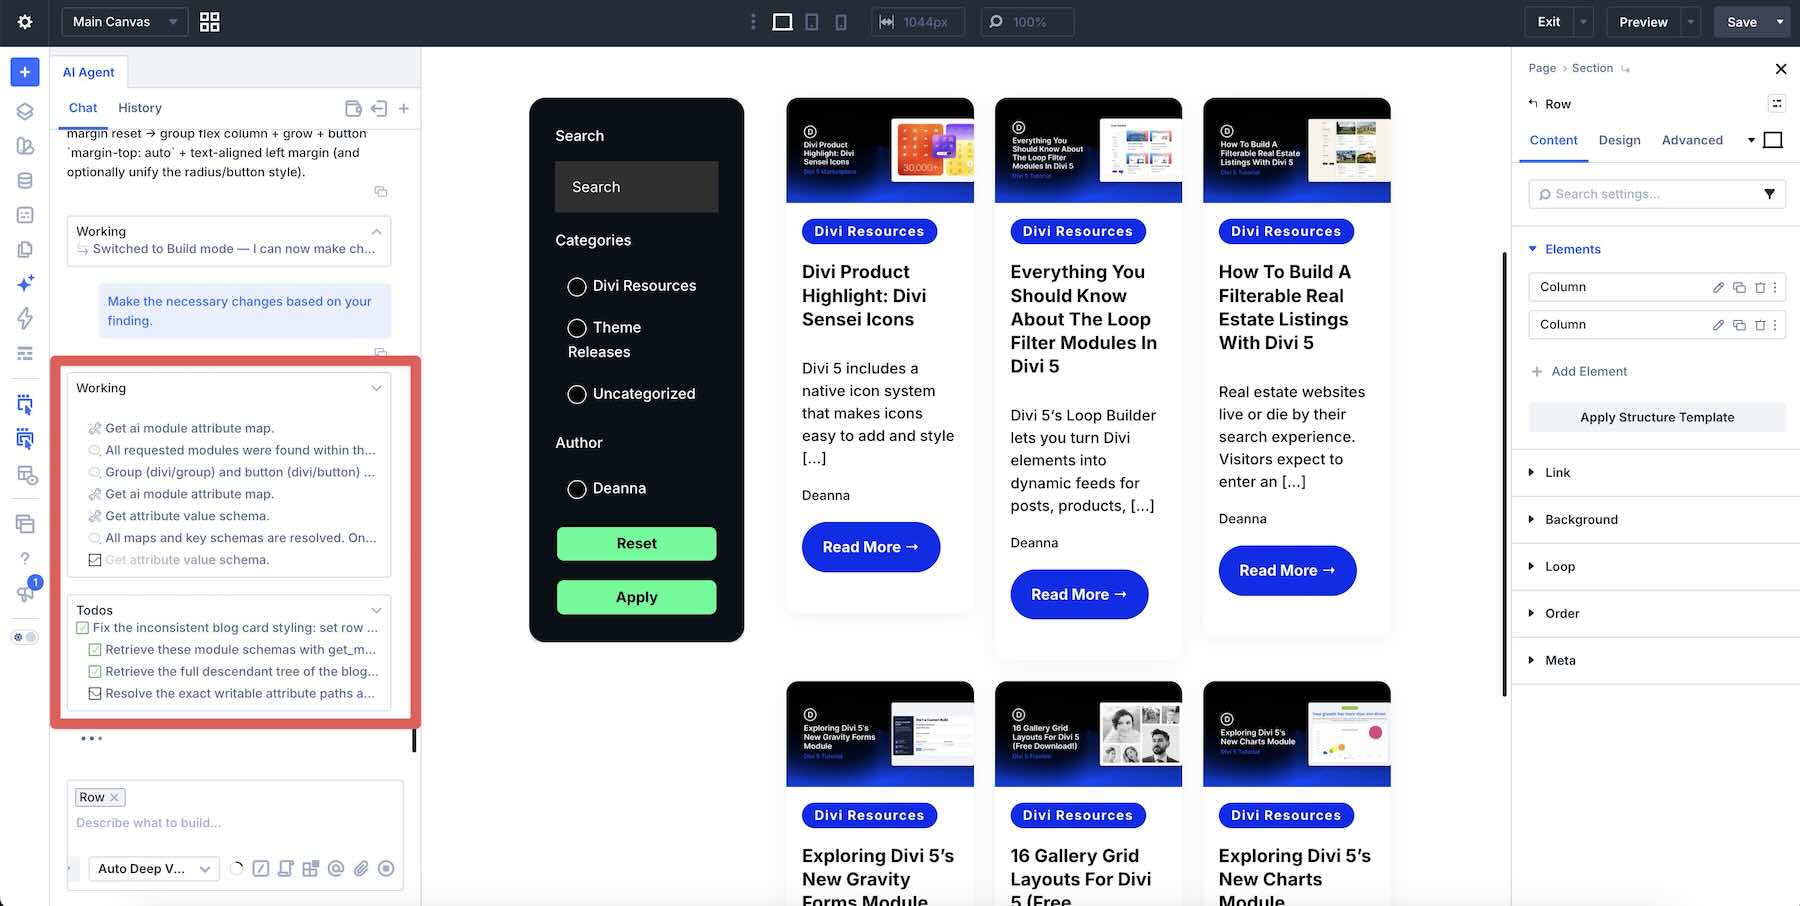
Once complete, the Agent outlines the steps it took to make changes to the layout.
Make Responsive Changes
Once the Desktop version is set, use Divi 5’s Customizable Responsive Breakpoints to fine-tune the layout on Tablet and Mobile. For this layout, use two cards per row on Tablet. On Phone, the sidebar should stack above the blog post grid, and each card should span the full width. If you discover any inconsistencies, add the element as context and instruct the Agent to make any necessary changes for smaller screens.
For example, on the Phone breakpoint, the Nested Row that houses our blog posts isn’t spanning the full width of the Column, so we use the following prompt:
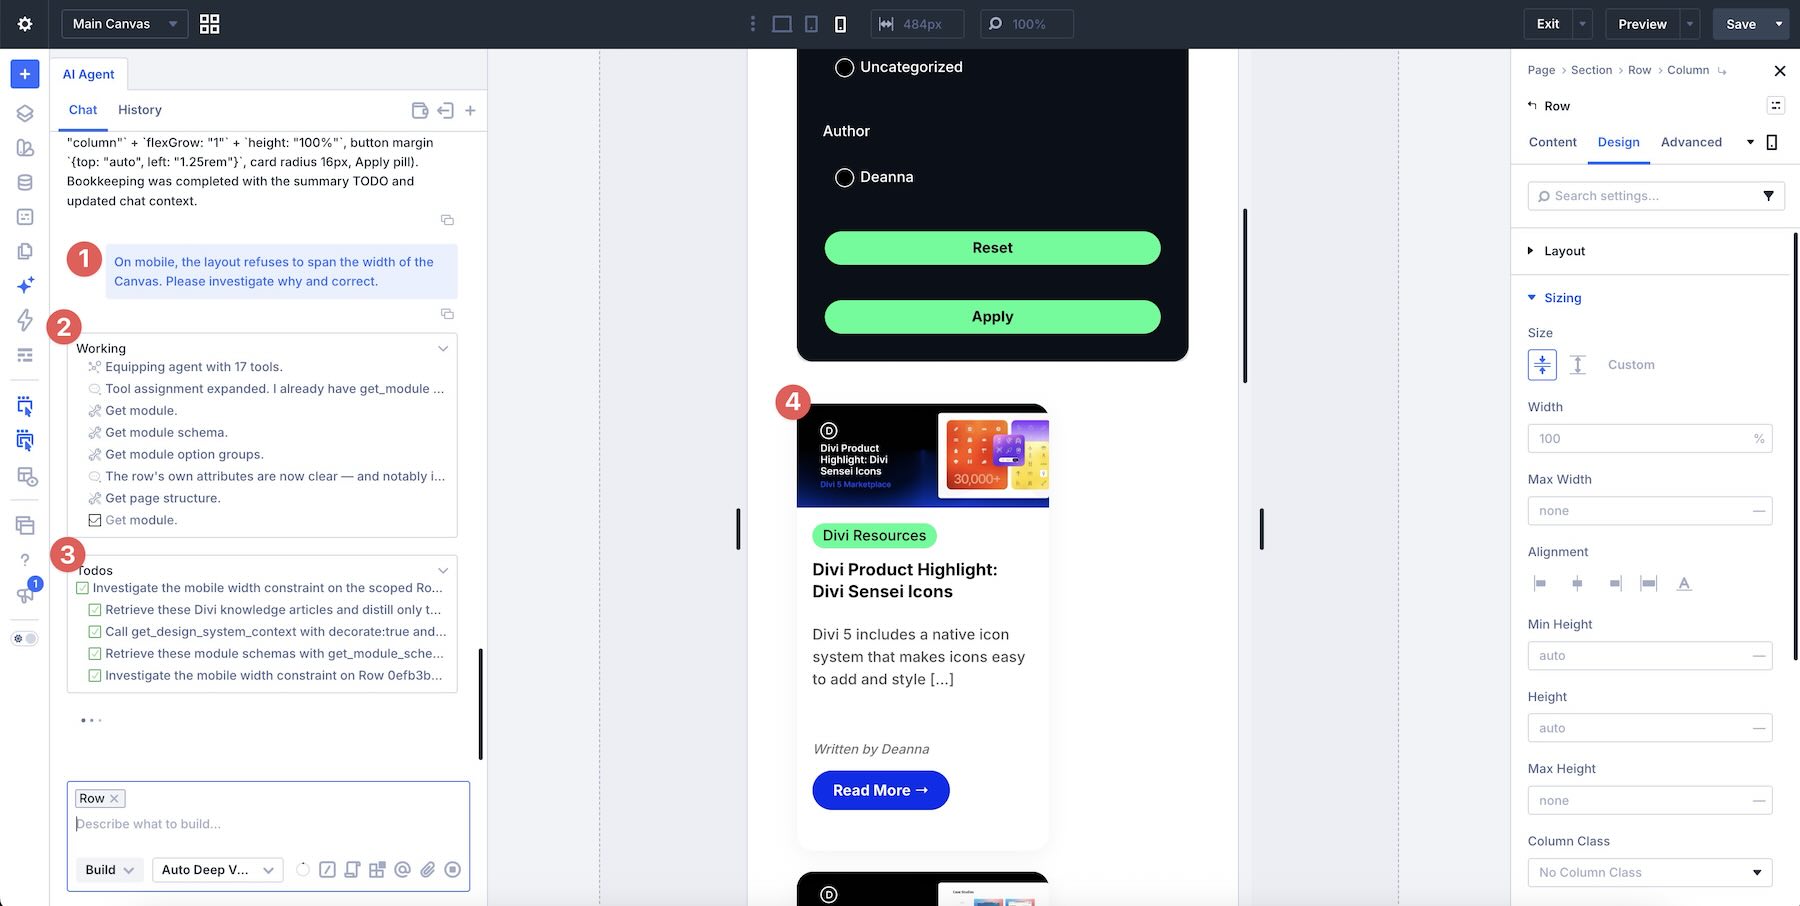
Once the Agent completes the task, cycle through each breakpoint to ensure everything looks as intended, then save the layout.
Prompting Habits
The Agent works best when each request has one clear job. These habits keep the conversation easy to review and the layout easy to correct.
Give The Agent One Job At A Time
Start with the layout you can see, then add the parts that depend on that layout. A screenshot or brief can produce the structure. Dynamic features, such as a loop or a filter, should wait until the element they belong to exists.
Say What Should Change And What Should Stay
Be specific about the outcome. “Make this section better” leaves too much open. “Tighten the spacing in this row and match the heading size to the one above it” gives the Agent both the change and a reference. Mention existing Color Variables, Number Variables, or Presets when you want the result to stay inside your design system.
Add Context Instead Of Describing A Location
Click the Section, Row, Group, or Module and add it to the request. Attach a screenshot when showing the result is clearer than describing it. The more precisely the Agent can see the target, the less it has to guess.
Keep Each Build Request Small Enough To Check
If a result is off, don’t stack another large prompt on top of it. Ask the Agent to change that one area, or use the Visual Builder’s History and Undo controls to step back through page edits. The Agent History tab stores past chats so you can reopen one and keep its context. Reopening a chat is separate from undoing page edits.
Save Rules And Commands You Repeat
Rules hold persistent instructions for the site: brand voice, Flex instead of Block, and which Variables or Presets to use. Commands turn a prompt you run often into a shortcut from chat. Accessibility checks, responsive reviews, and design-system cleanups are good candidates. Write the Rule or Command once, then reuse it instead of retyping the same constraints in every conversation.
Plan In Ask Mode, Then Review The Canvas
Use Ask Mode when you want a plan or an explanation. Switch to Build Mode when you are ready for the Agent to edit the page. After each pass, check the canvas before sending the next request.
Download The Files
Download the example layout below to use it as a starting point on your Divi 5 website. Once imported, you can adjust its design and settings with Divi AI Agents or edit it directly in the Visual Builder.
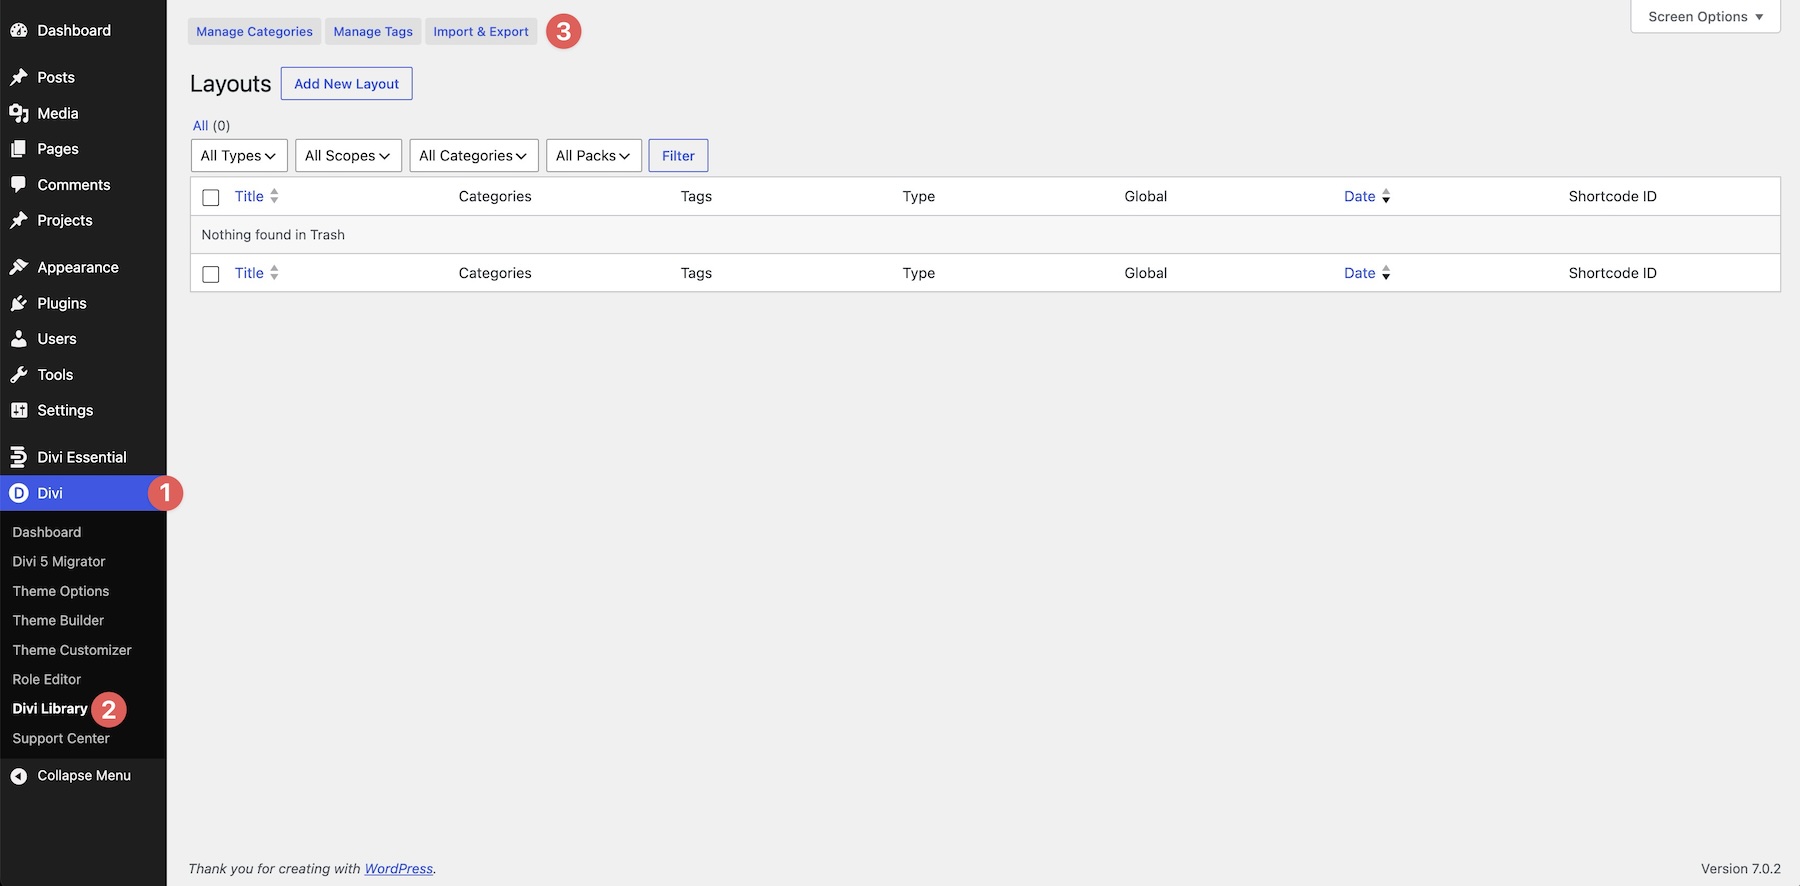
Download and extract the ZIP file, then head to the Divi Library and click Import & Export.
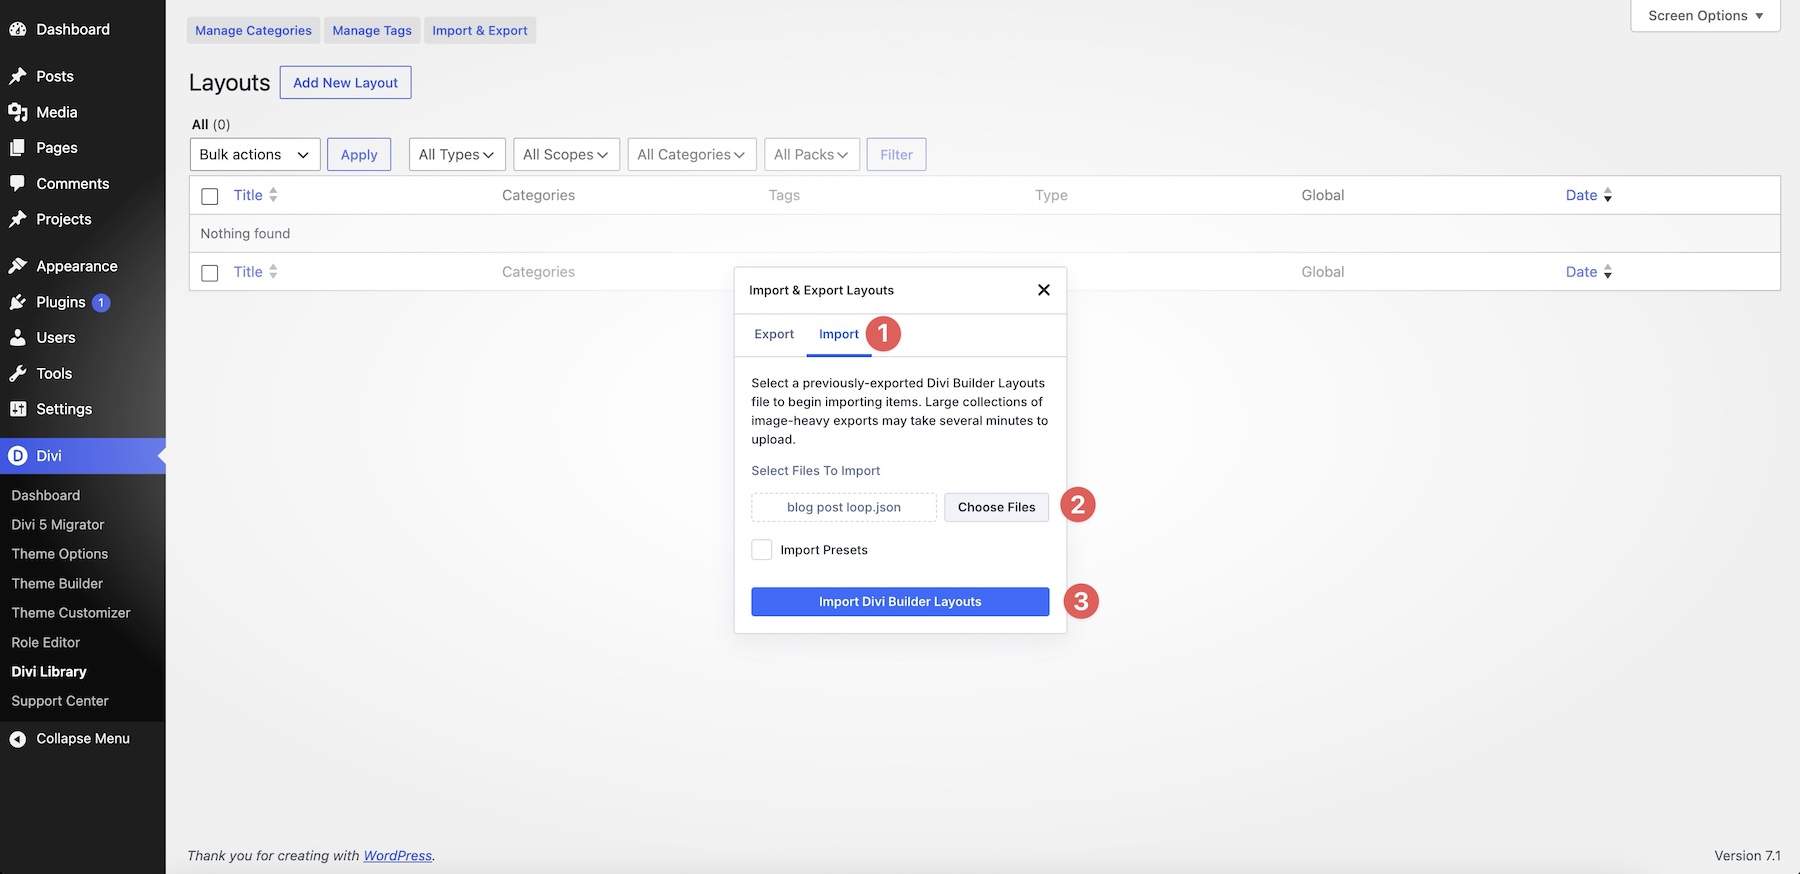
Select the Import tab, choose the blog post loop.JSON file from your computer, and tap Import Divi Builder Layouts.
Next, open an existing page or create a new one in the Visual Builder. Click to add a new section to the page.
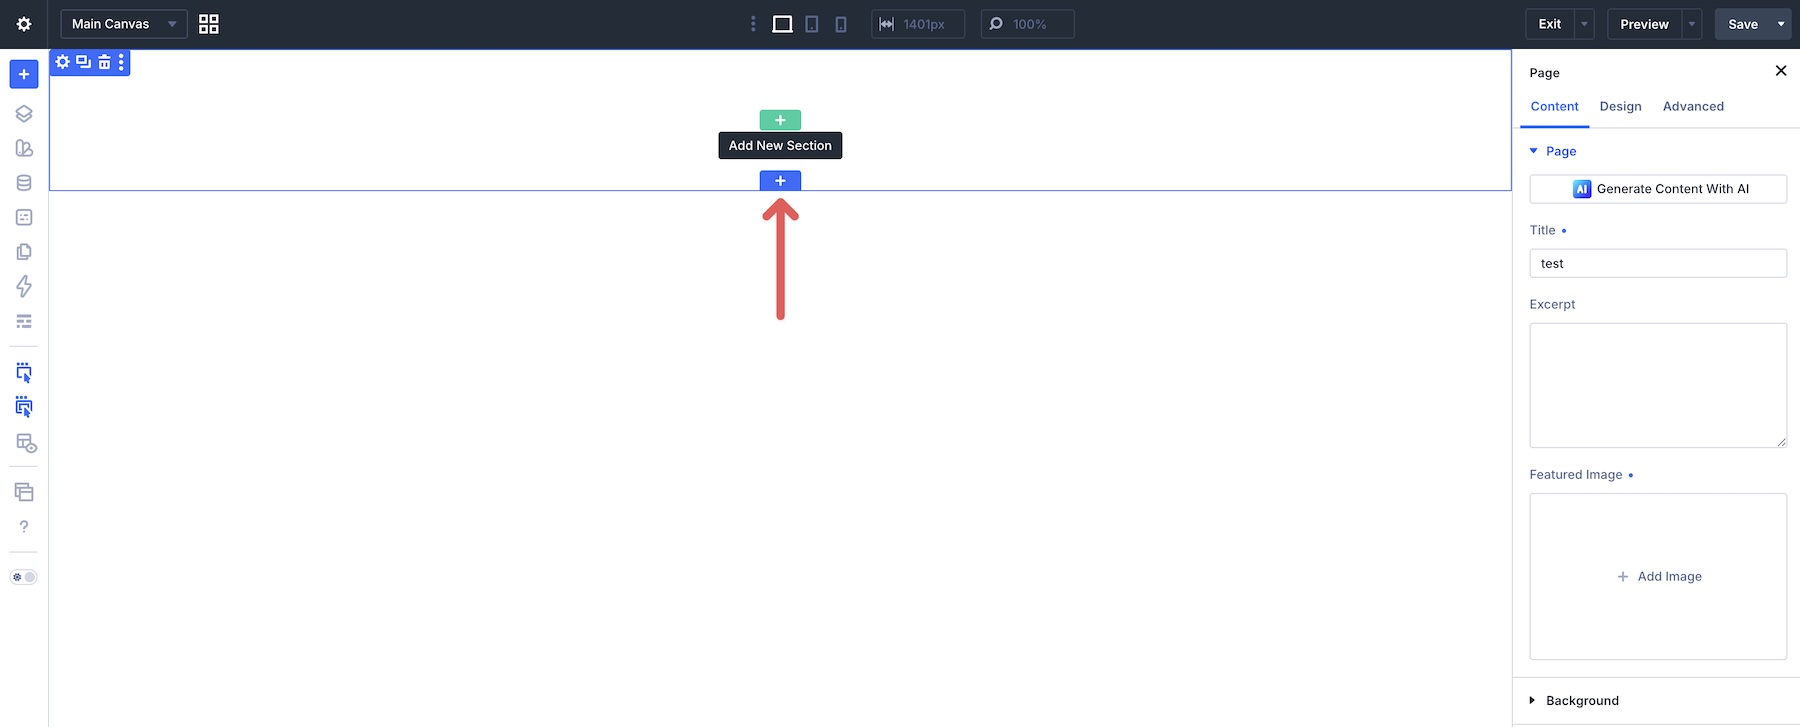
When the modal appears, choose the Add From Library tab, choose the layout, and tap Use This Section. Divi will add the layout to the page. Review its Loop query, dynamic fields, and Post Filter target using your own posts, then adjust the styling as needed.

Start Building Smarter With Divi AI Agents
Divi AI Agents give you a conversational way to build with Divi 5. In this tutorial, Flexbox provides the structure, Loop Builder supplies the posts, and Loop Filter Modules let readers narrow the results.
The workflow is easier to follow when you build it in stages: create the layout, connect one card to dynamic content, add the filters, and refine the responsive design. Each stage leaves you with native Divi elements you can inspect and edit.
Use the downloadable example or start with your own reference image. Download Divi 5 and explore Divi AI to try the workflow on your next project.
Let us know what you think in the comment section below or on our social media channels.
The post Building And Designing A Loop With Divi AI Agents appeared first on Elegant Themes Blog.