A product image needs to do two things at once: draw the reader in visually and give them enough context to take action. But loading every detail onto the card upfront quickly clutters the layout and competes with the image itself.
An image hover reveal solves that neatly. The image gets the full spotlight by default, and the supporting details appear only when the user hovers over it. In this tutorial, we’ll build exactly that in Divi 5, where hovering anywhere on a product card fades in an overlay with the product name, price, and a link to the product page.
What We’re Building
Here’s a look at the finished result before we start building it.
The overlay covers the full image area, so the reveal triggers smoothly no matter where the cursor lands. A soft fade brings in the product name, price, and button against a darkened background, giving the card a clean, layered feel without overcomplicating the layout.
The Key Steps Needed For This Effect
This build breaks down into three parts: setting up the product loop, layering the overlay content, and wiring up the hover effect.
Step 1. Set Up The Product Grid Using The Loop Builder
The layout starts with a simple structure. Add a new Section to your page, insert a Row inside it, and delete the two default columns so you’re left with a single column.
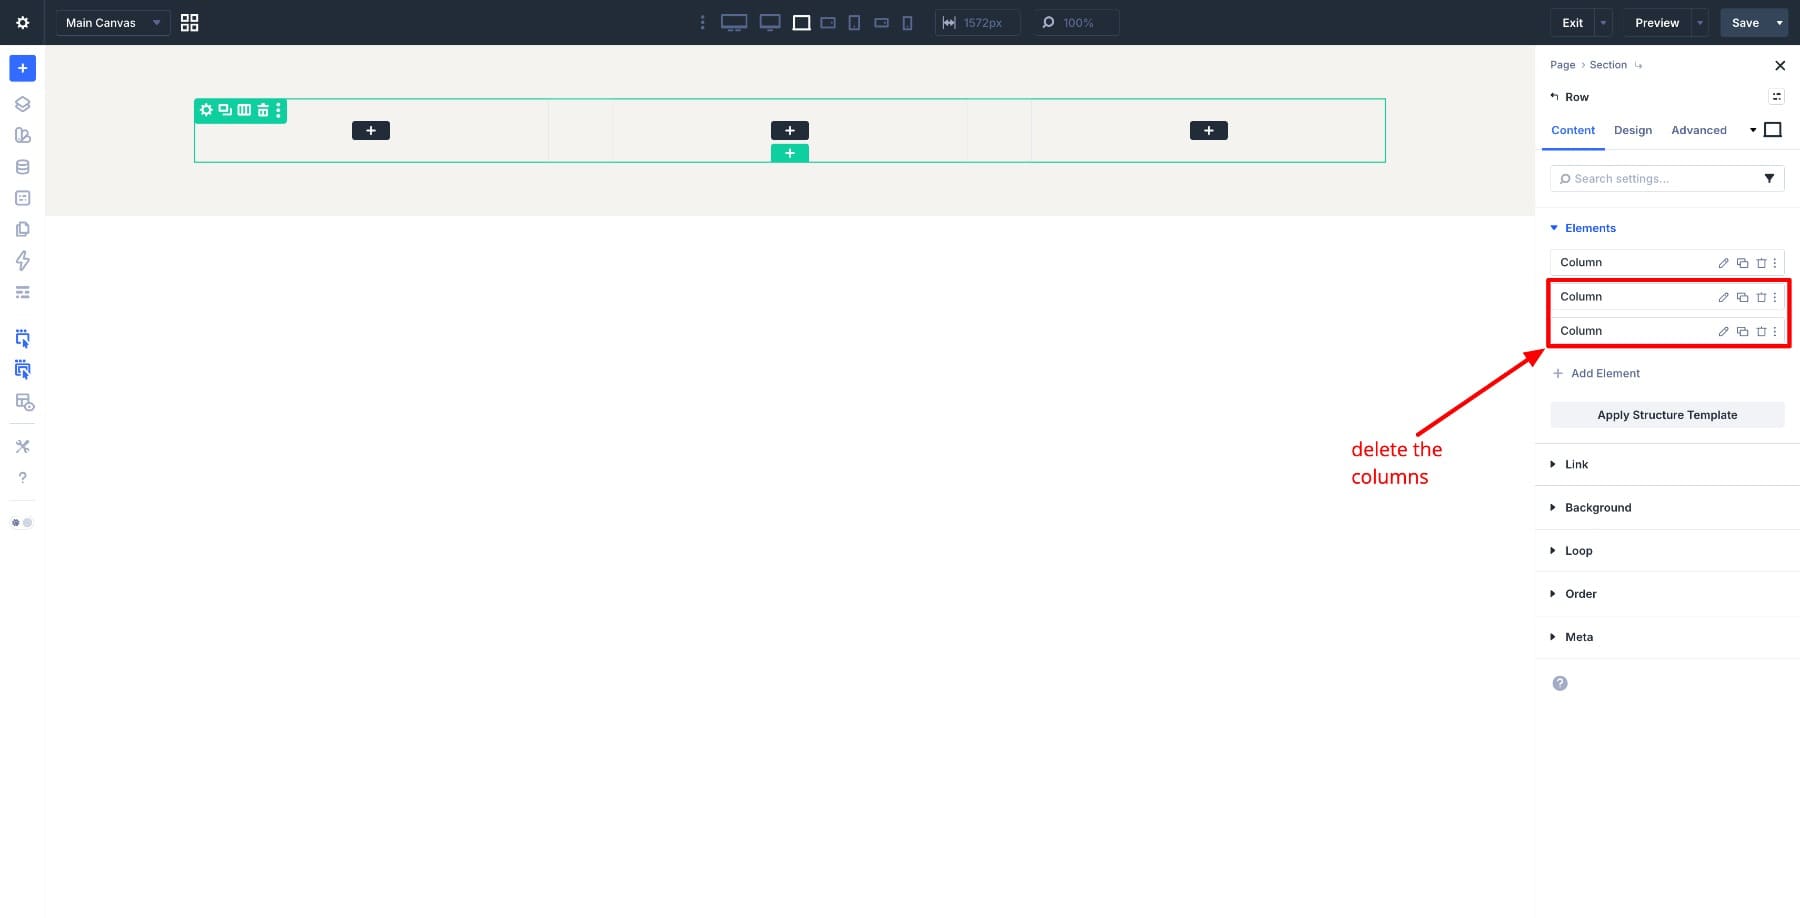
Now enable the Loop Builder on that column and set the Post Type to Products. This tells Divi to repeat the card layout automatically for each product in your store.
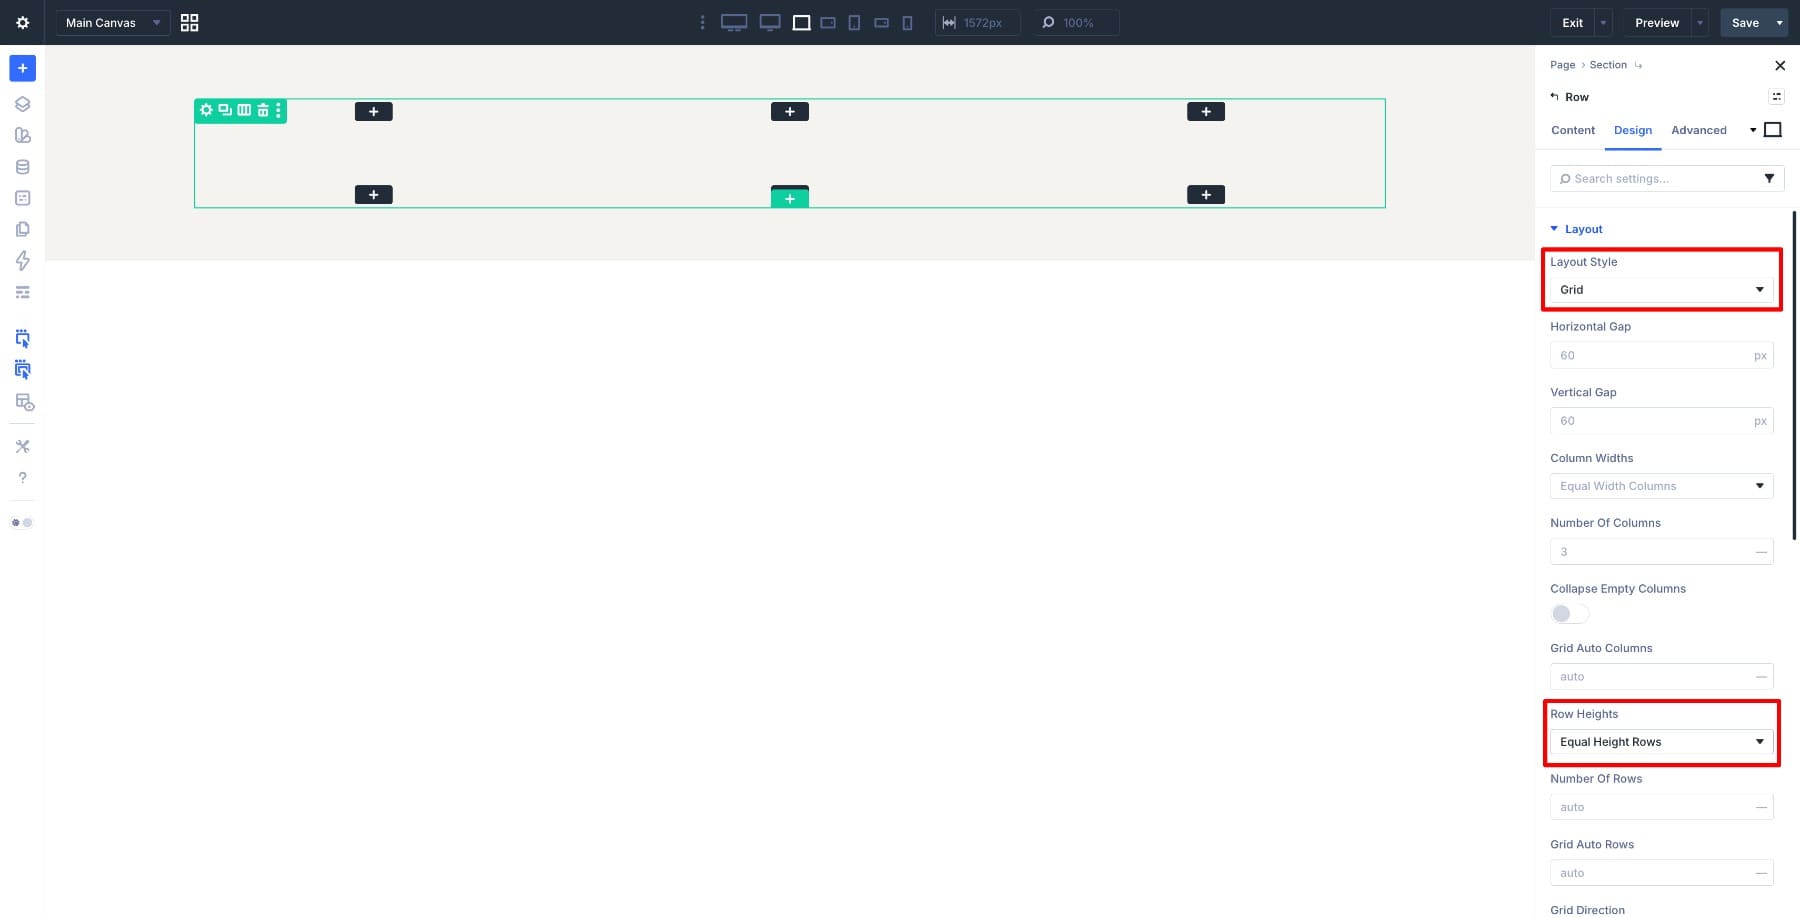
Set the row’s Layout Type to Grid and turn on Equal Height Rows to keep the cards uniform across the layout.
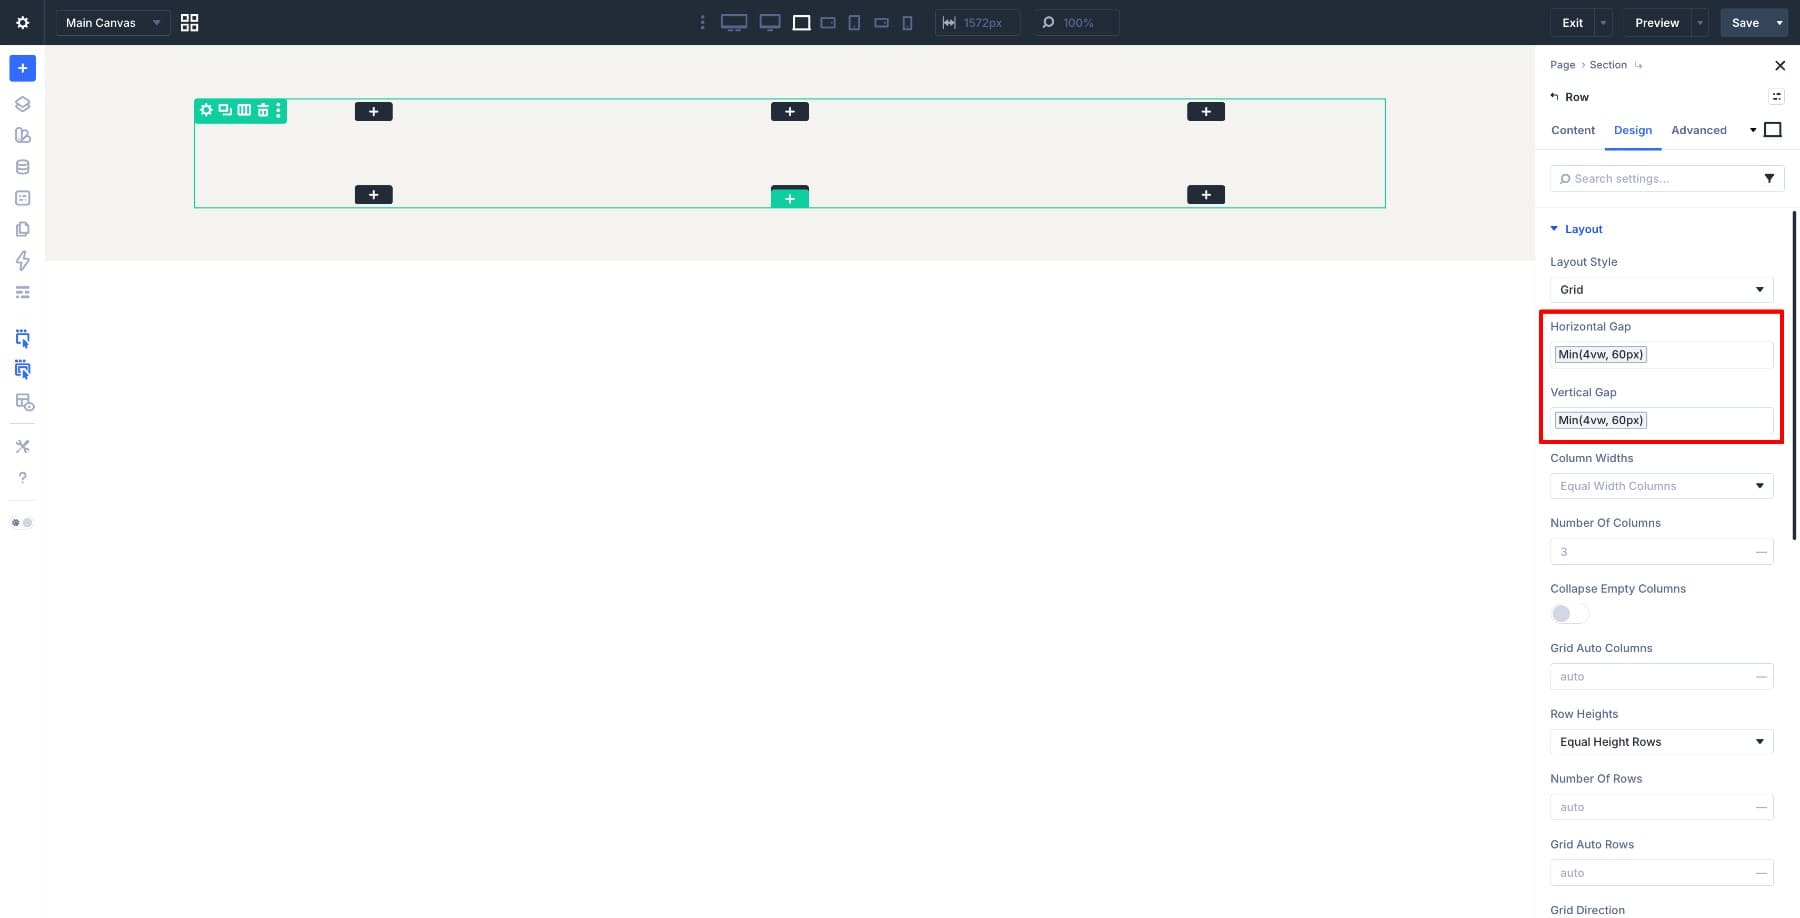
Then set the Horizontal and Vertical Gaps to Min (4vw, 60px) for consistent spacing between cards.
With the grid ready, go to the column’s Background Image settings and set the source to Dynamic Content > Loop Featured Image. Each card will now pull in its product image automatically.
Add an 8px Border Radius to round the corners slightly.
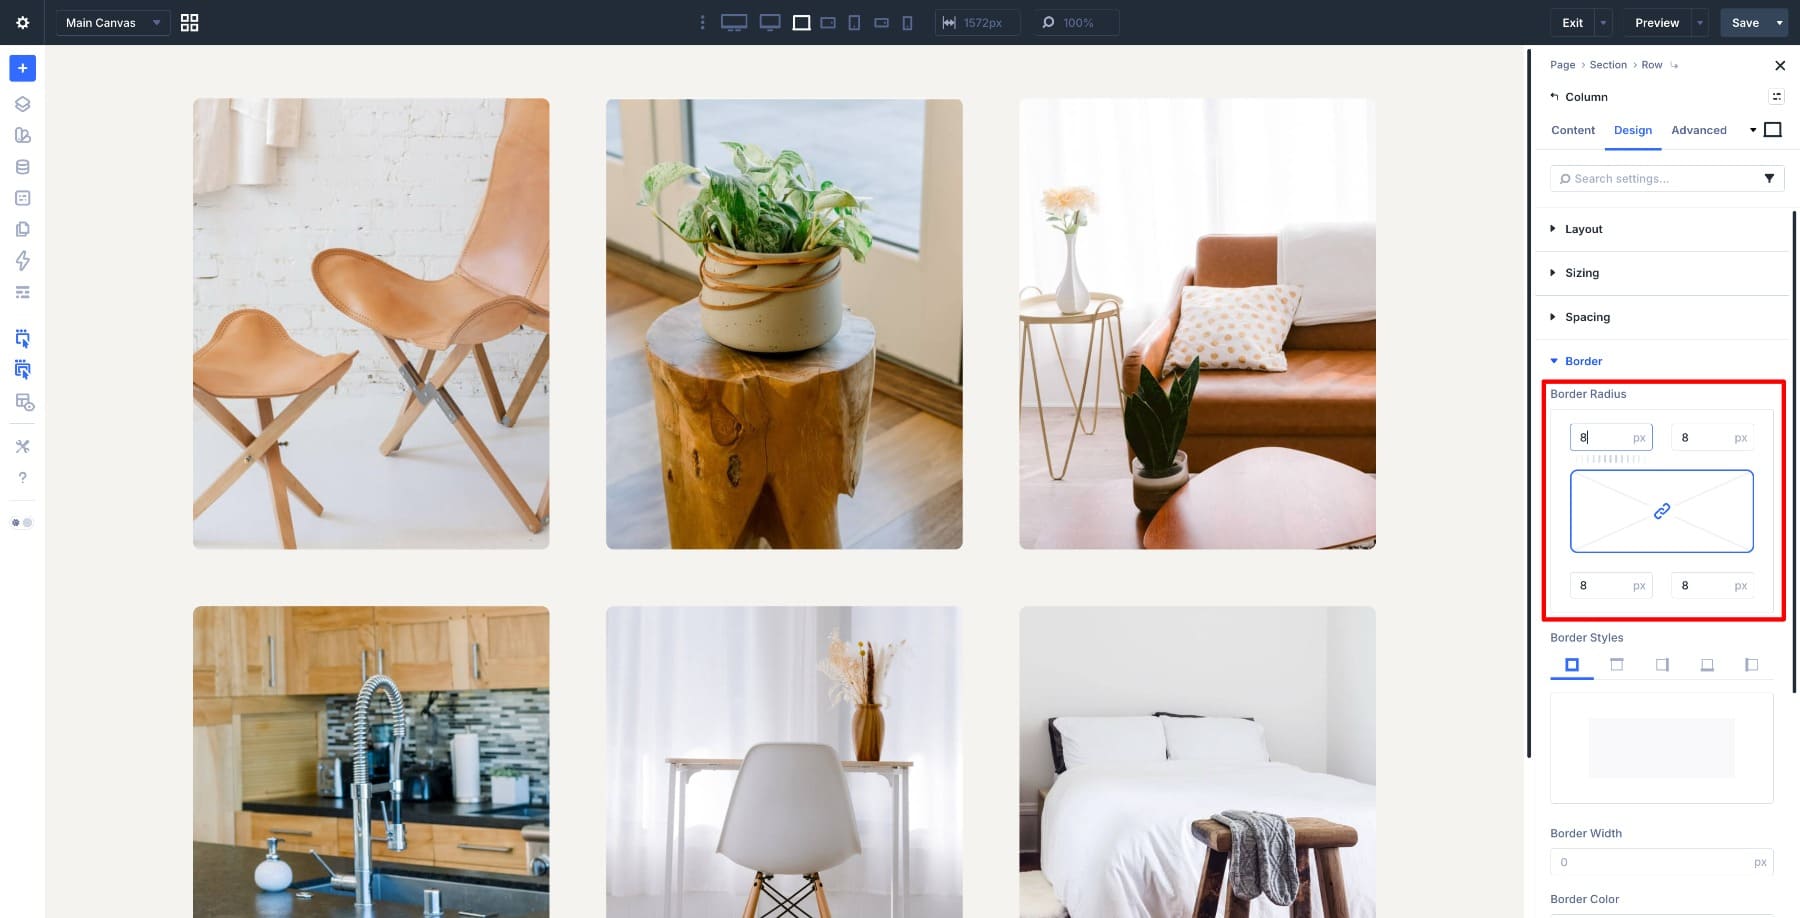
At this point, the grid should be displaying your product images in a clean, repeating layout. In the next step, we’ll build the overlay that sits on top of each card.
Step 2. Layer The Overlay On Each Card
Start by adding a Row inside the same column. This row will act as the overlay container.
Go to Background Color > Gradient, set the first color’s transparency to 0%, and set the second color to black. This creates the dark overlay tint on top of the product image.
Inside the row, insert a Group module with a 2-column layout, then add a Text module to each column.
In the left column, set the Text modules to Dynamic Content: one to Loop Product Title and the other to Loop Product Price. Each card will then pull in the correct product name and price automatically.
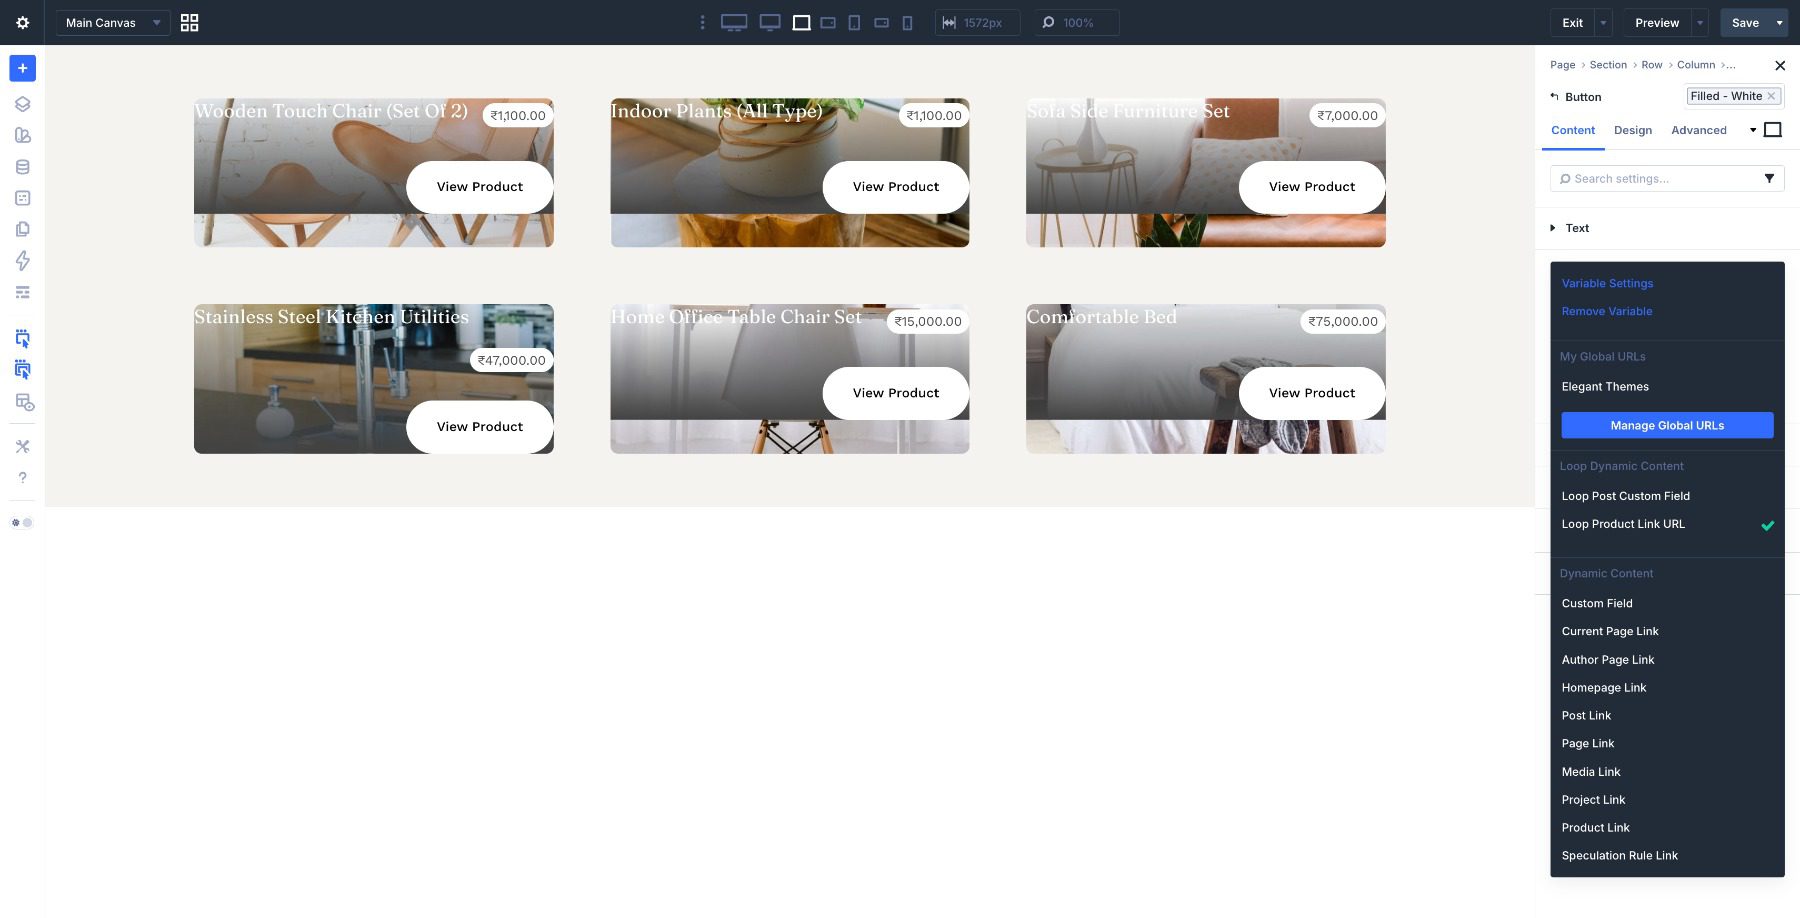
Below the Group, add a Button module and set its link to Dynamic Content > Loop Link so the button takes the user directly to that product’s page.
Now set the Row Height to 100% so the overlay stretches across the full product card.
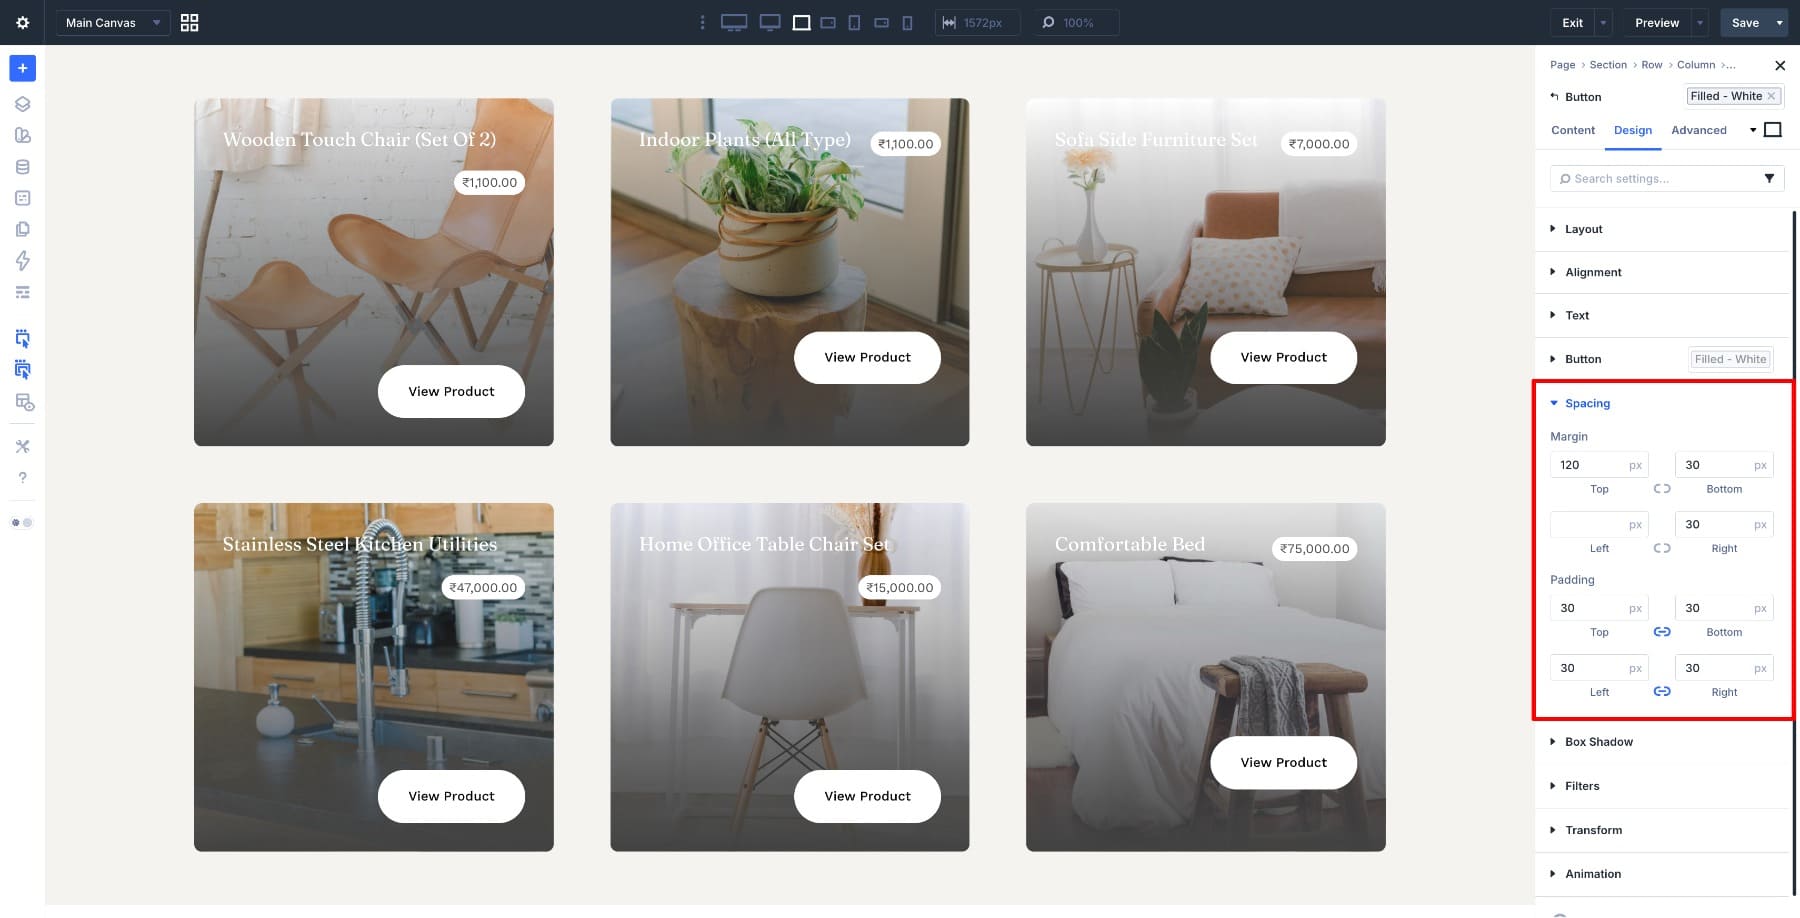
Finally, adjust the spacing on the Group and Button to position the content where you want it inside the overlay. Once that’s done, the card is fully built and ready for the hover effect.
Step 3. Wire Up The Hover Effect
The overlay is in place. Now we just need to tell Divi when to show it.
Select the overlay row and go to Filters. In the default state, set the Opacity to 0%. This keeps the overlay hidden until the user interacts with the card.
Switch to the Hover state and set the Opacity to 100%. Divi will handle the transition automatically, so the overlay fades in smoothly as soon as the cursor moves over the card.
Because the overlay spans the full card, the reveal triggers from anywhere on the image rather than a small hotspot. The product title, price, and button appear right where the user’s attention already is.
Final Result
Here’s the finished layout in action.
Start Building In Divi 5 Today!
This hover reveal layout is a simple way to keep product grids visually focused while still giving shoppers the information they need. By letting the image take center stage and revealing details only on interaction, the design stays clean without sacrificing usability.
Because the layout is built with Divi 5‘s Loop Builder and dynamic content, it automatically adapts to your store. Add, remove, or update products, and the grid updates itself without any extra layout work.
Once you understand the structure, you can reuse the same pattern across your site. The same technique works great for portfolios, team members, blog posts, and any image-based grid where you want details to appear only when the user interacts with the card.
Try experimenting with different overlay gradients, animations, or button styles to match your site’s branding and create a more engaging product browsing experience.
The post Creating Interactive Product Cards With Divi 5’s Loop Builder appeared first on Elegant Themes Blog.