Managing a large stable of WordPress sites usually requires a lot of clicking to execute repetitive tasks in administrative dashboards.
And as a WordPress administrator for an agency, you know automating repetitive tasks can save time. That’s the power of the Kinsta API. You can perform the same operational tasks normally run within MyKinsta without logging in.
Automation sounds like code: writing scripts, managing infrastructure, and having the programming expertise to glue everything together. But today, with automation tools like Zapier, n8n, and others, that barrier is much lower. You can schedule actions, loop through results, add conditions, handle asynchronous operations, and even send reports to Slack without writing a single line of code.
This article shows how Zapier can act as a workflow layer on top of the Kinsta API. Once you understand the pattern, you can apply it to almost anything.
How Zapier works with the Kinsta API
At a simple level, Zapier connects a trigger to one or more actions. A trigger can be something scheduled, like every Sunday at 2 a.m. It can also be something that happens, like a Slack message, a form submission, or even a manual button click in Zapier.
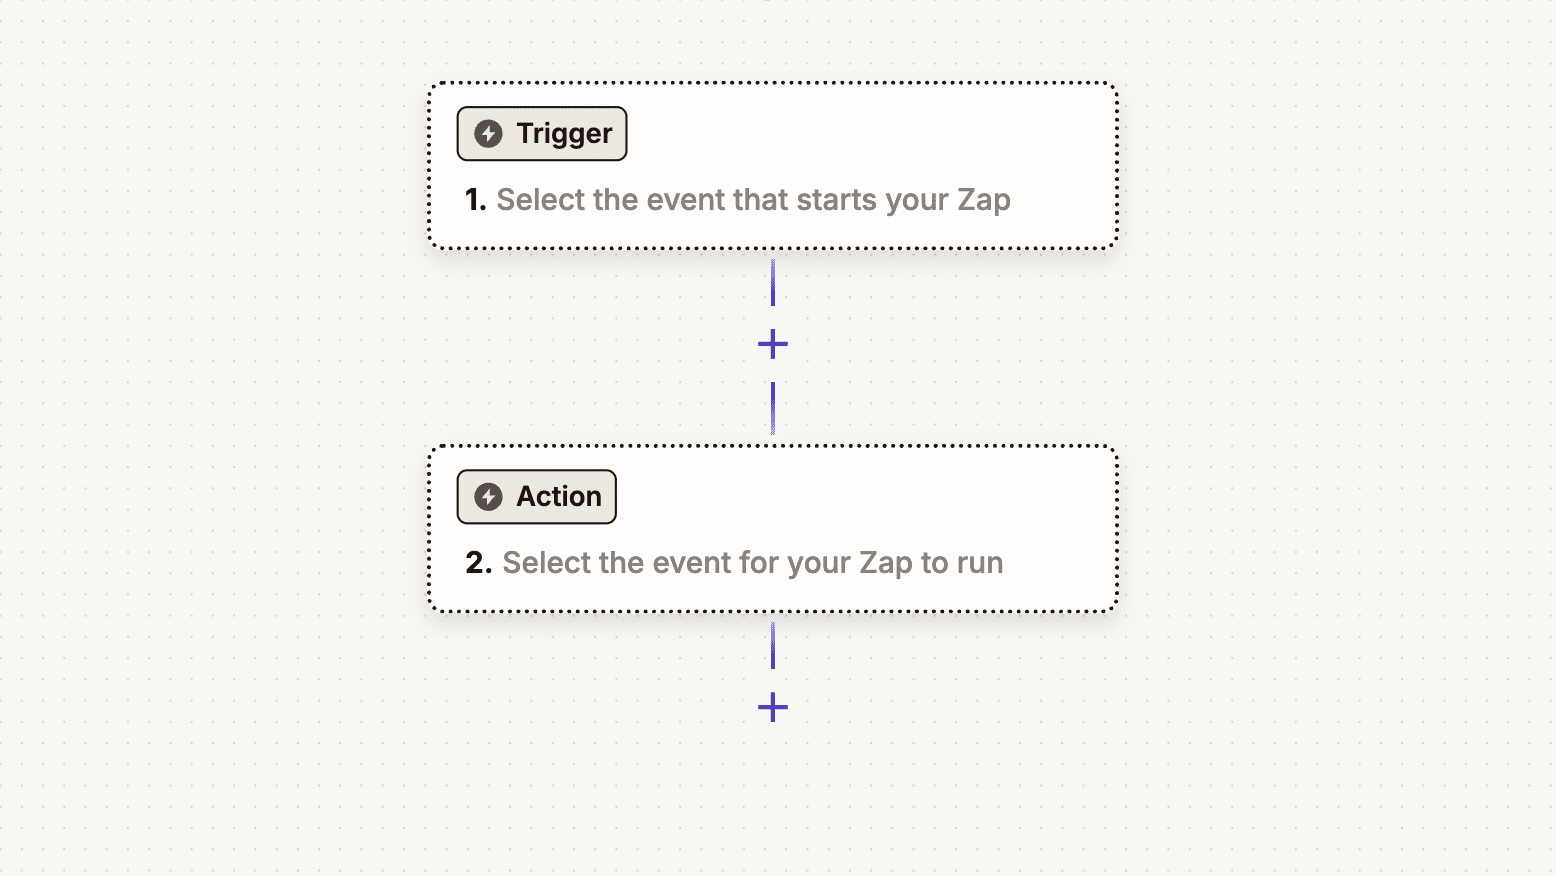
An action is what runs after the trigger. In our case, that action is usually a call to the Kinsta API.
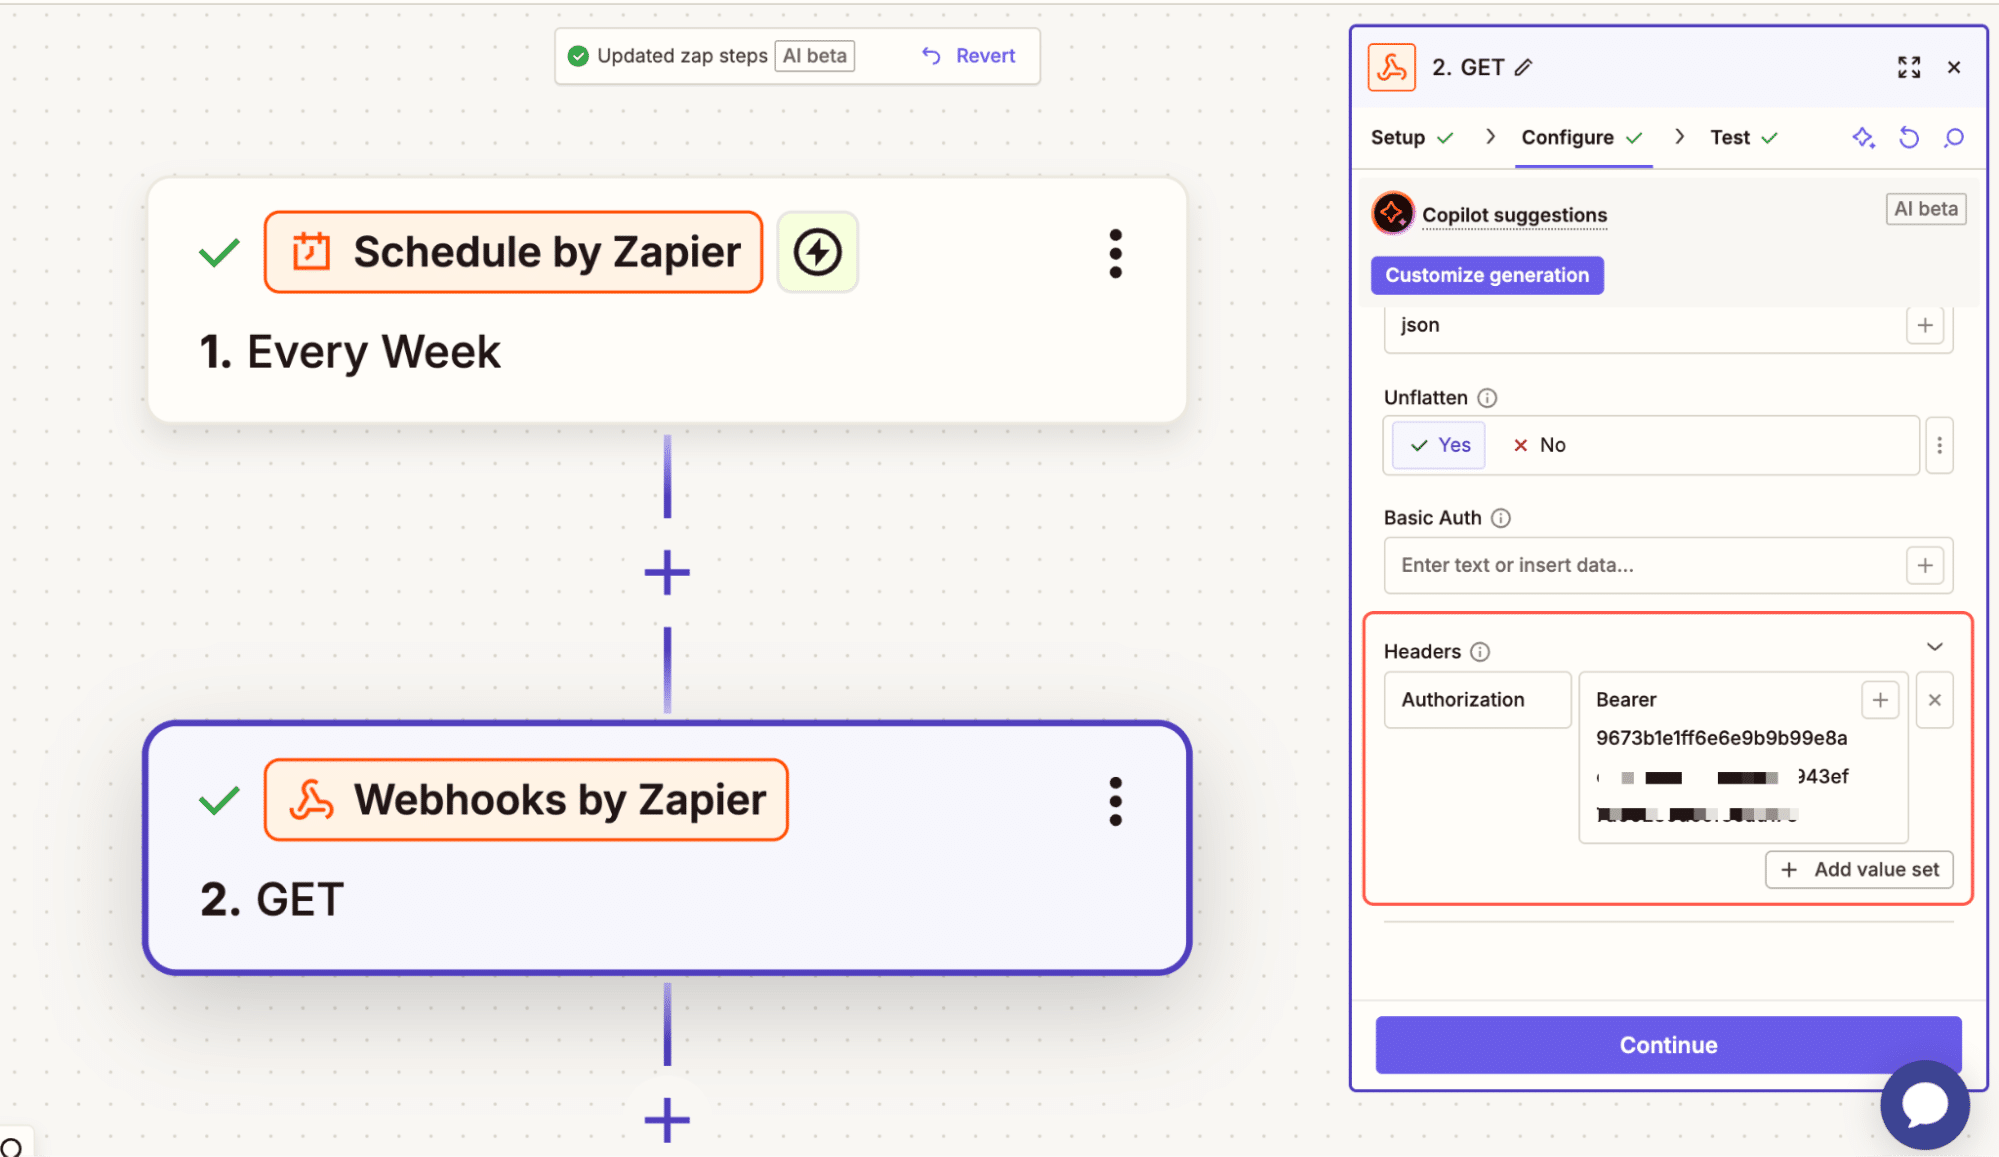
Zapier has a built-in Webhooks tool that can generate HTTP requests. That means you can send GET, POST, PUT, or DELETE requests directly to the Kinsta API endpoints.
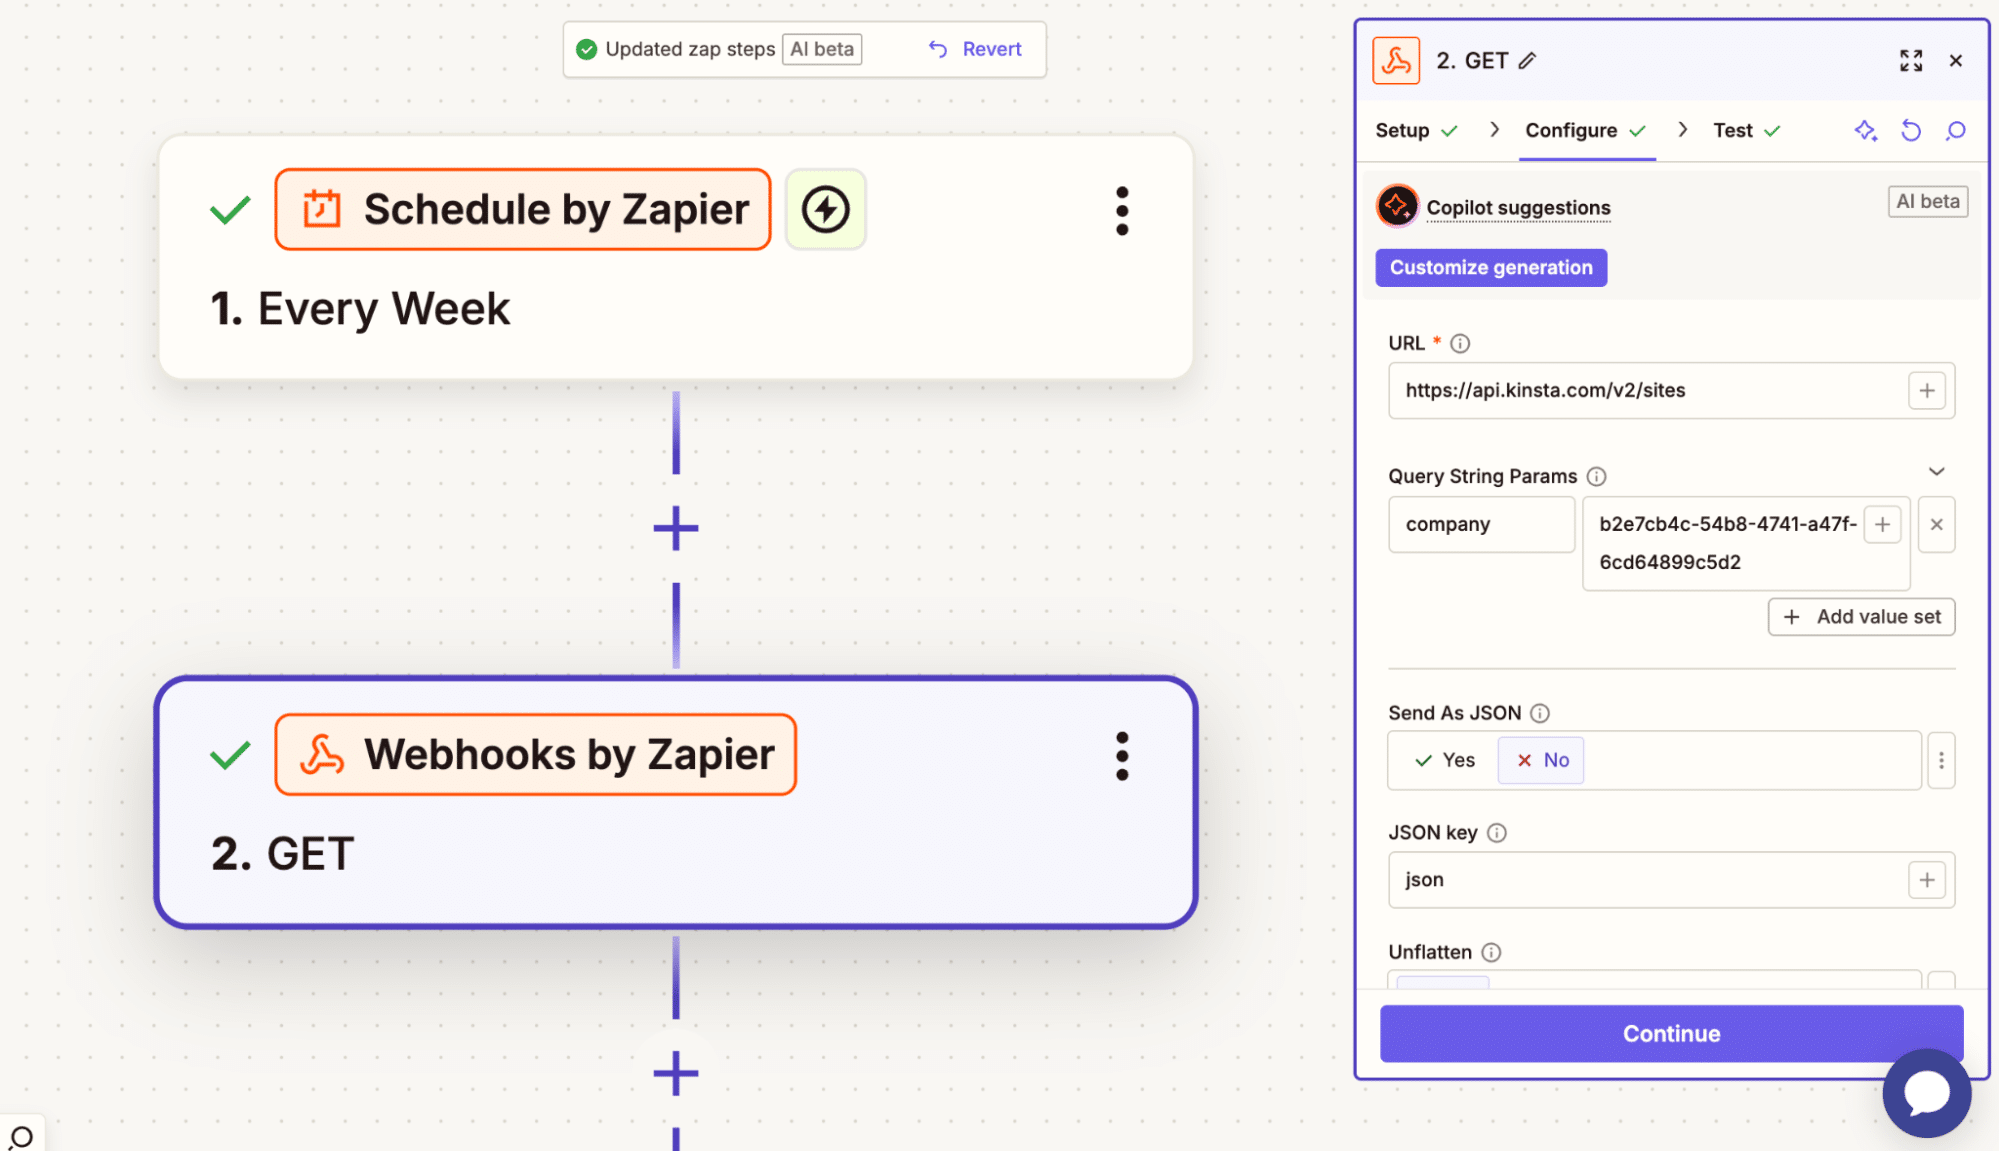
For example, the action above makes a GET request to the /sites endpoint to get a list of all WordPress sites in my company account.
You can also securely pass your API key and include the required parameters, such as environment_id, and Zapier handles the request.
Where it becomes powerful is when you start combining steps. You can fetch all your sites first. Then loop through each site.
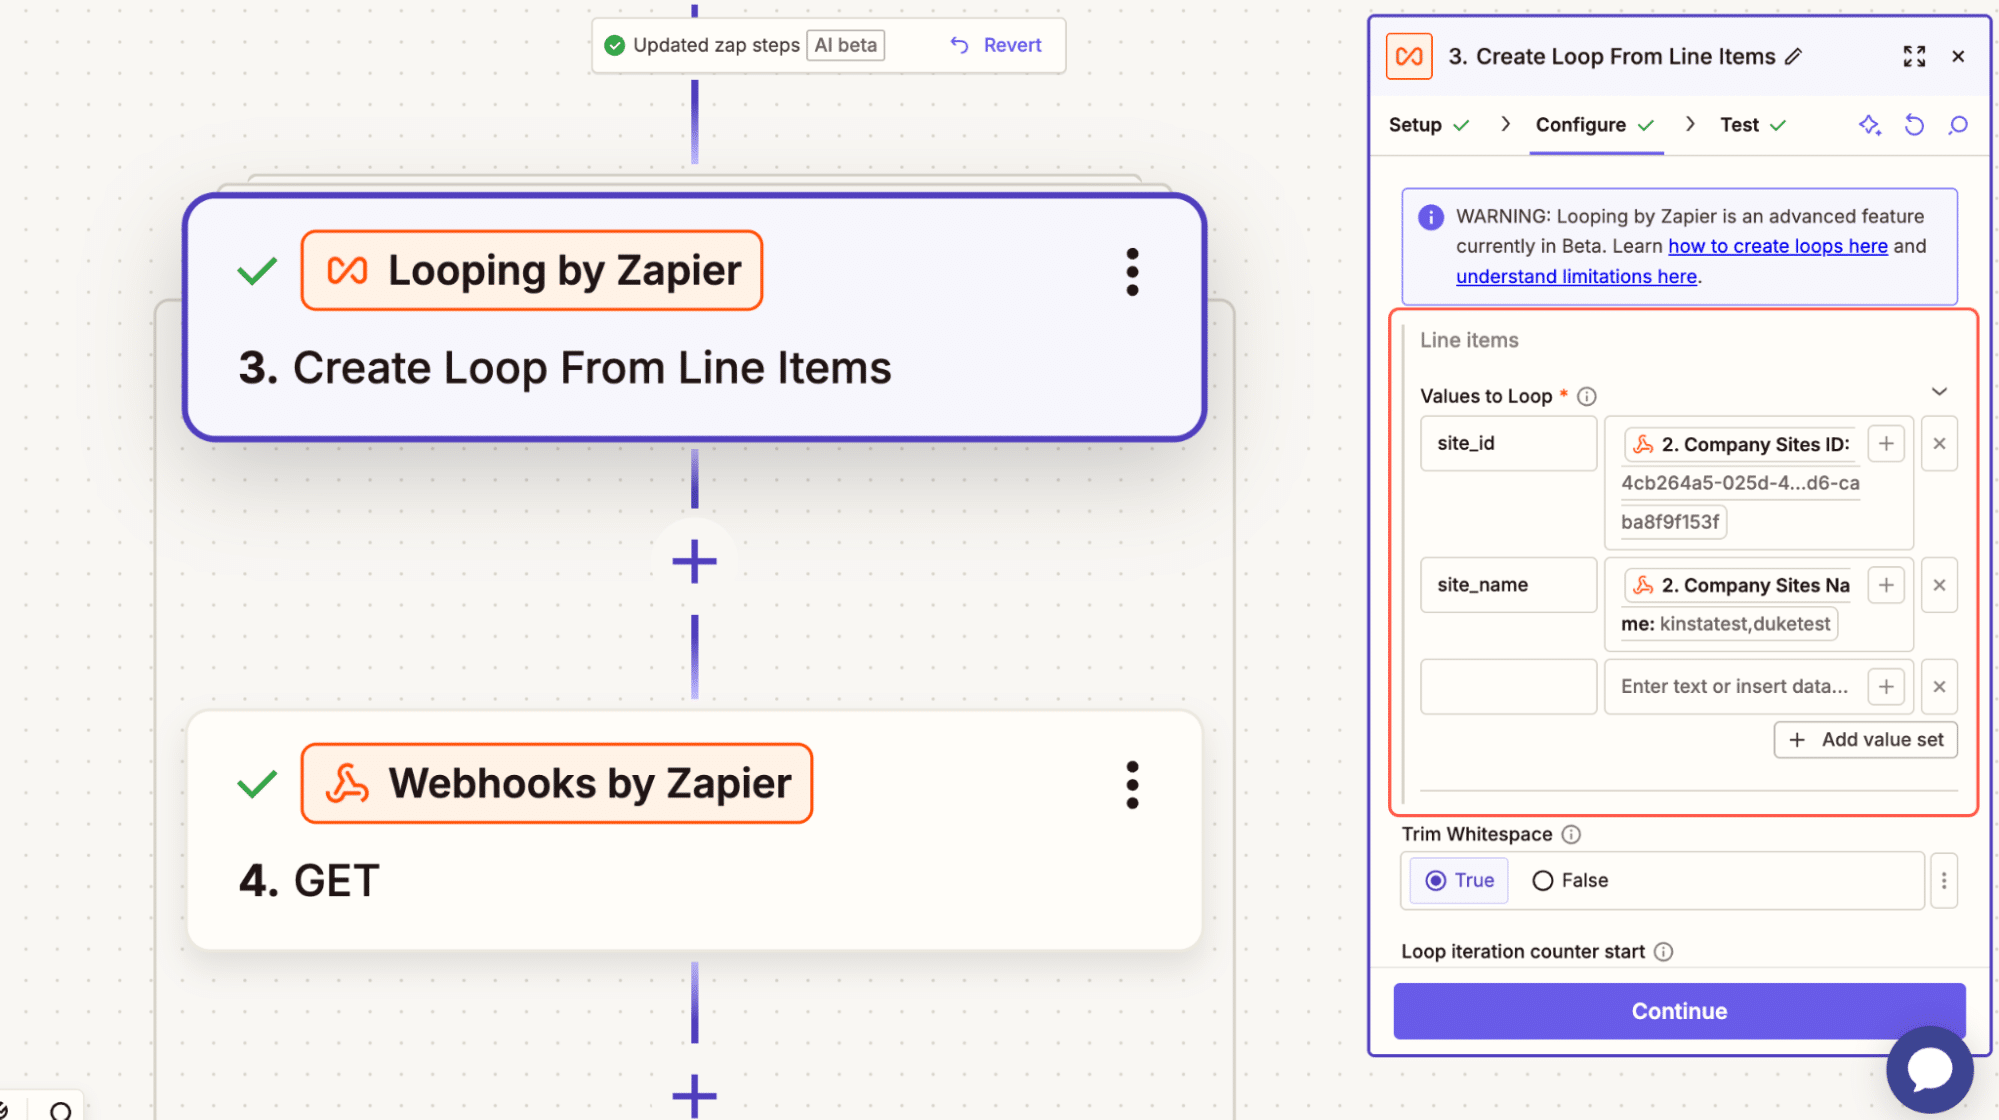
As shown in the image above, we extract the site_id and site_name for each site, then pass the site_id to fetch environments in another action.

In the example below, after retrieving the site ID, we use other actions to loop through, check for available plugin updates, and, if updates are available, run them. If not, skip.
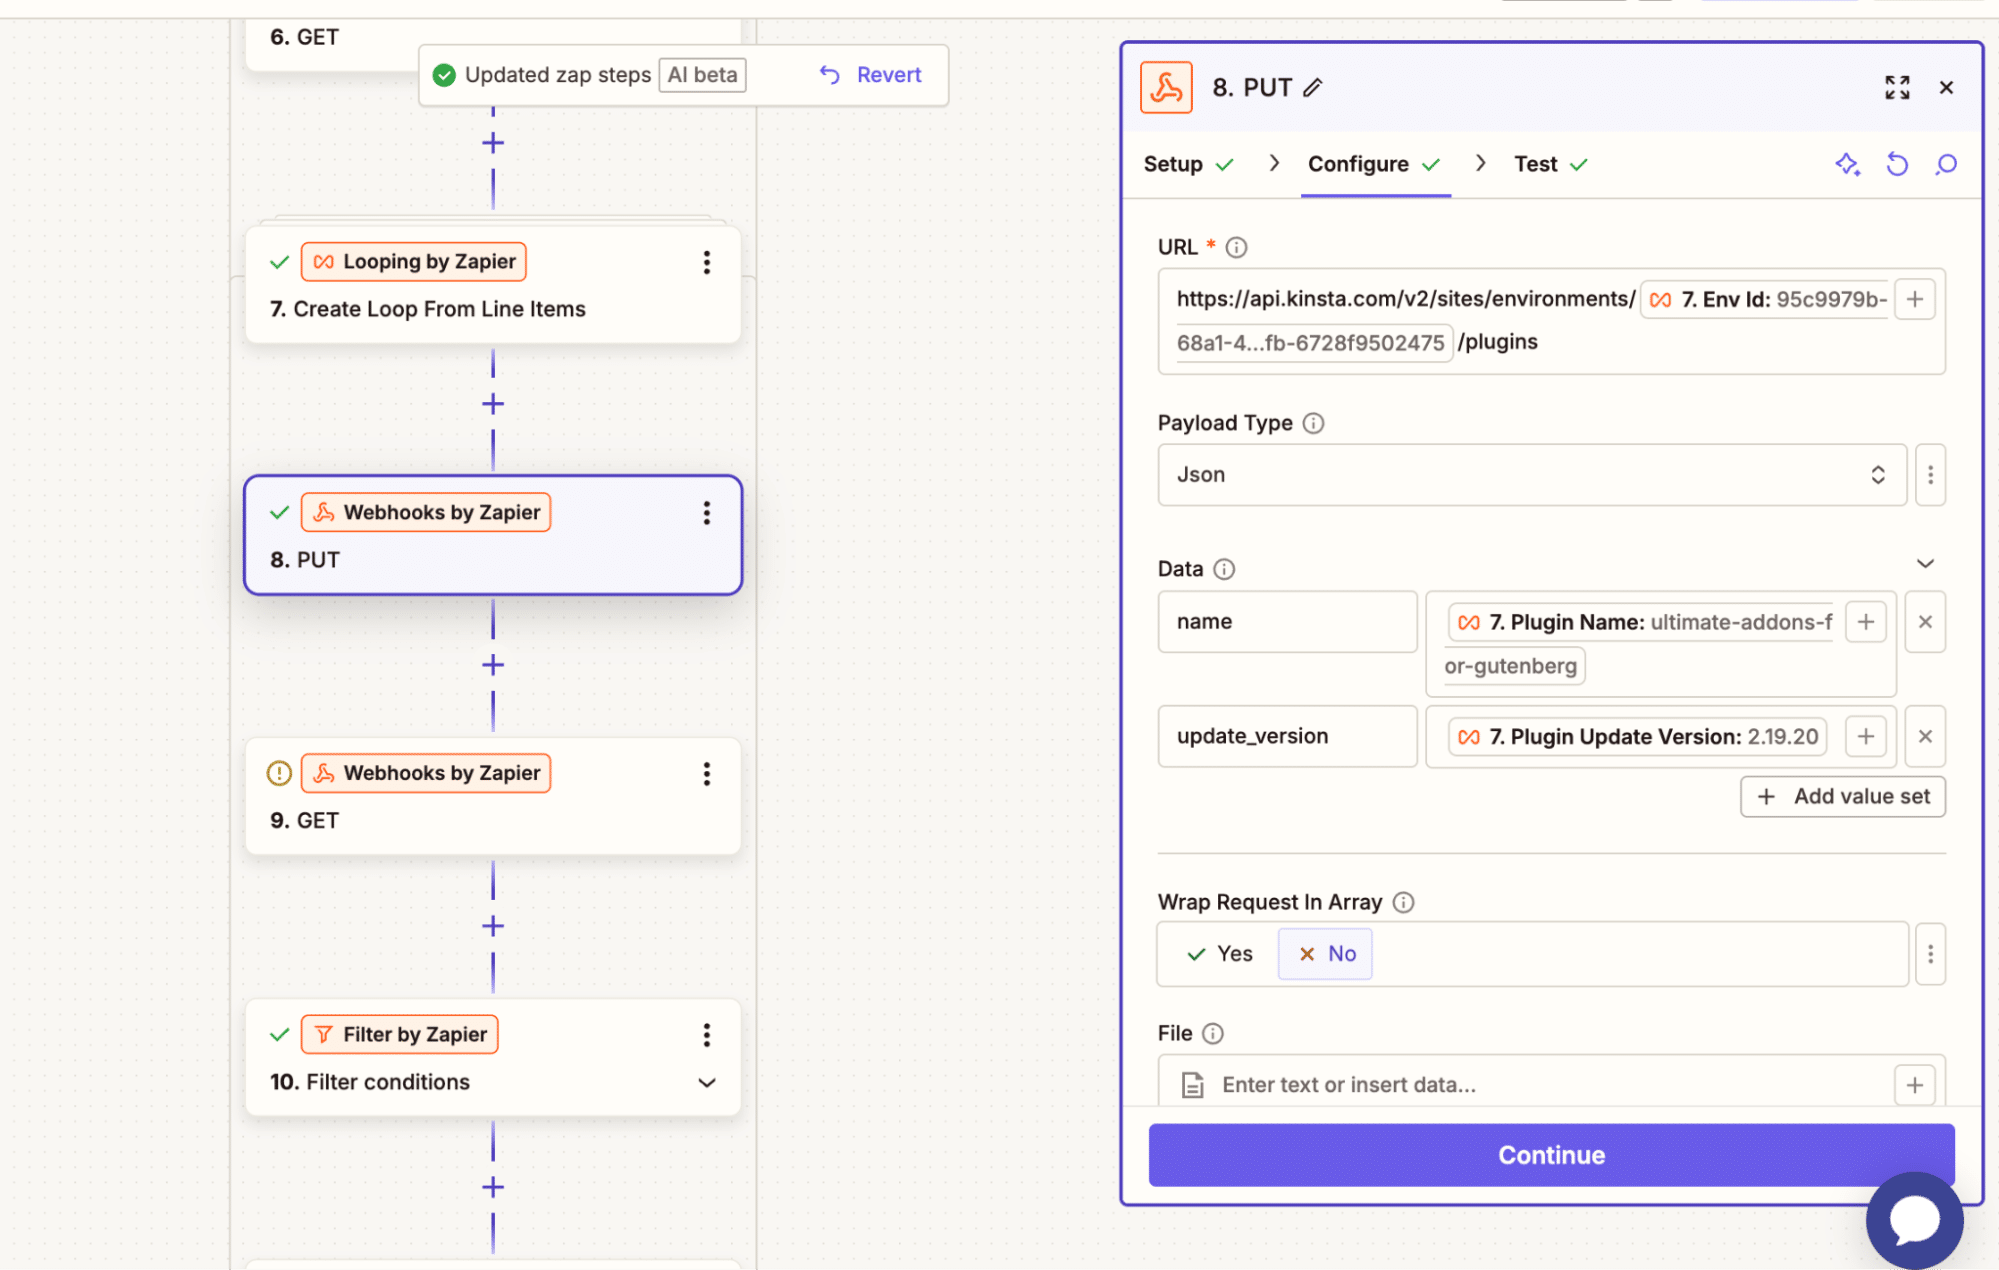
This is just one example of what can be done with Zapier. You can build a massive workflow without writing any line of code.
Another benefit is that you also have access to the Zapier AI agent or copilot, a chat interface similar to Claude that lets you explain what you need, share the API endpoints and parameters, and have it handle everything for you.
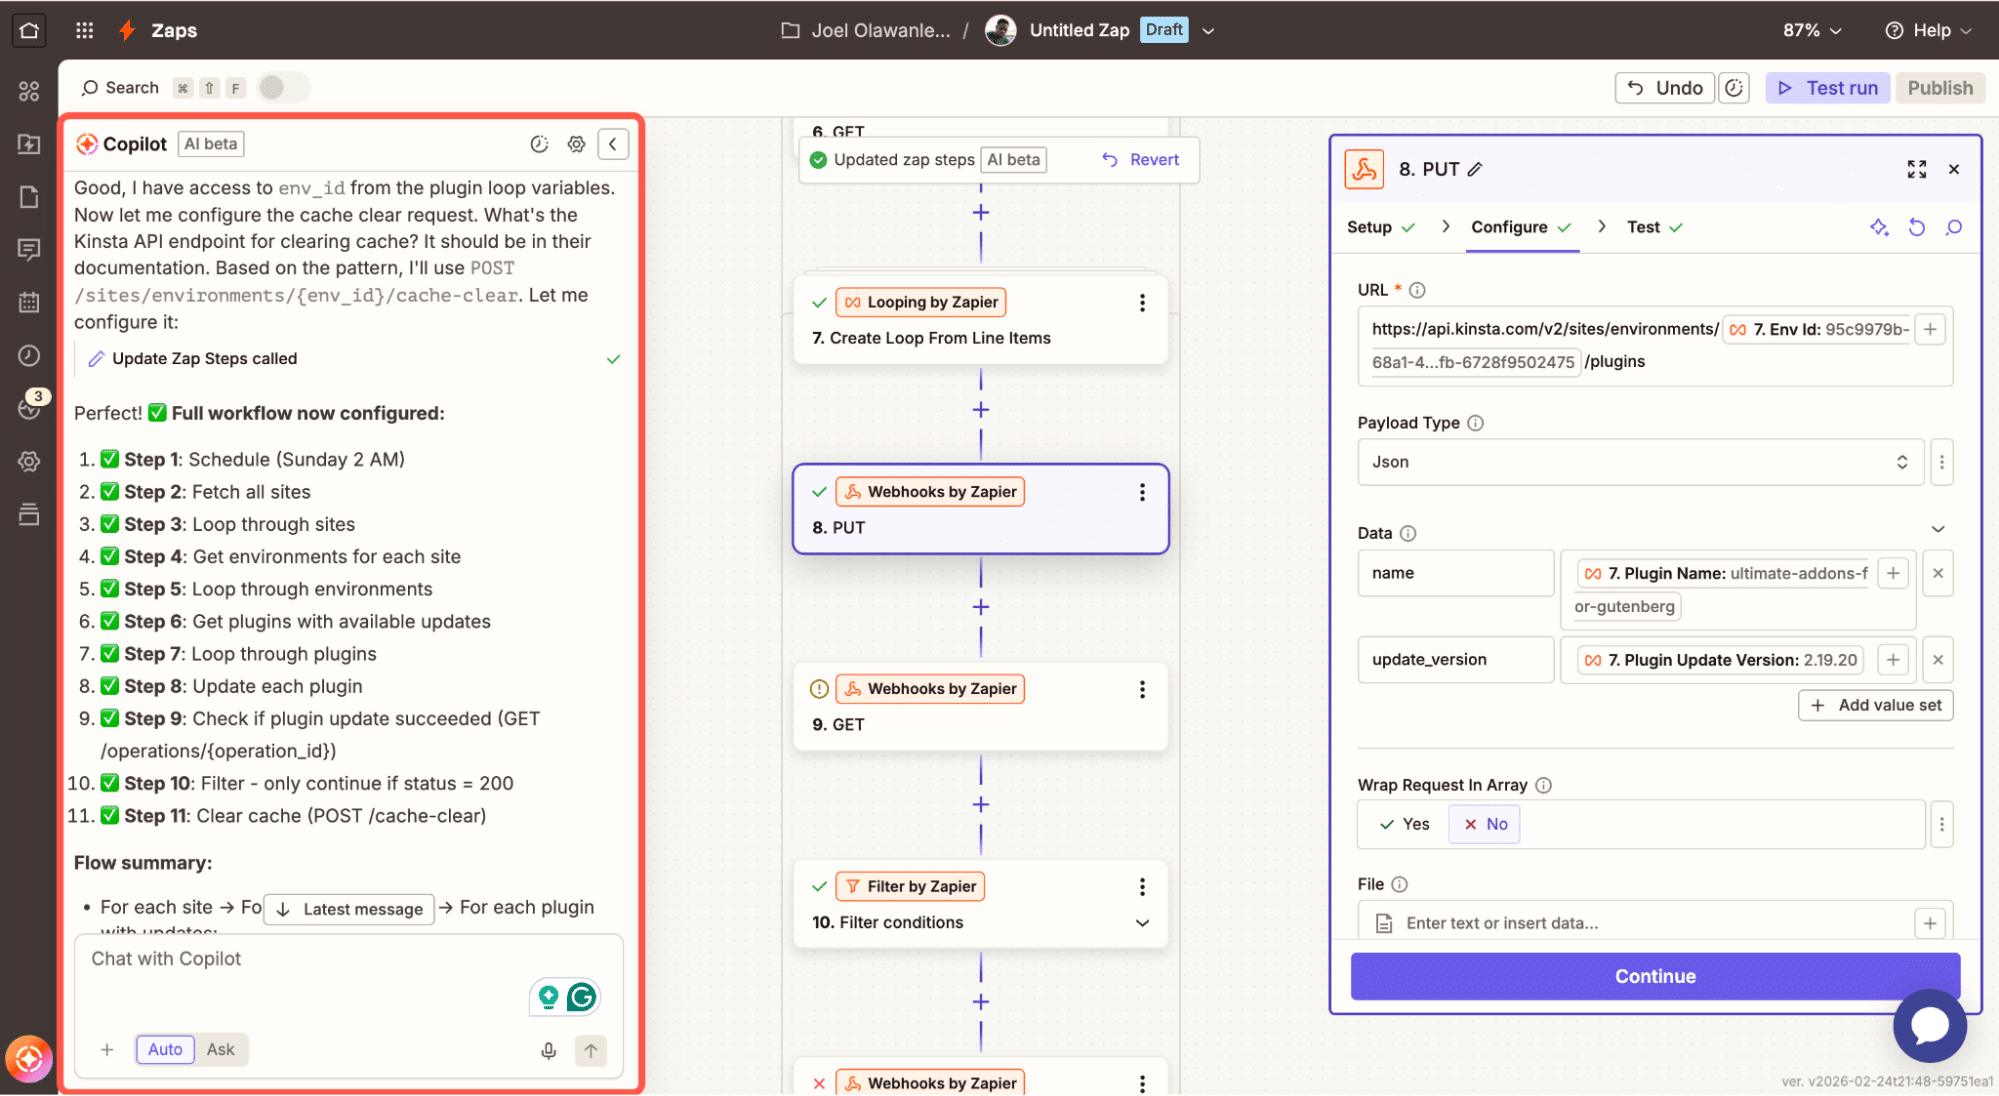
This gives you a big advantage as an agency.
Workflows you can build with Zapier and the Kinsta API
Once you understand that Zapier can trigger API calls, loop through results, and handle conditions, you start seeing real operational use cases.
Here are four that make sense in day-to-day agency work.
1. Scheduled maintenance across multiple sites
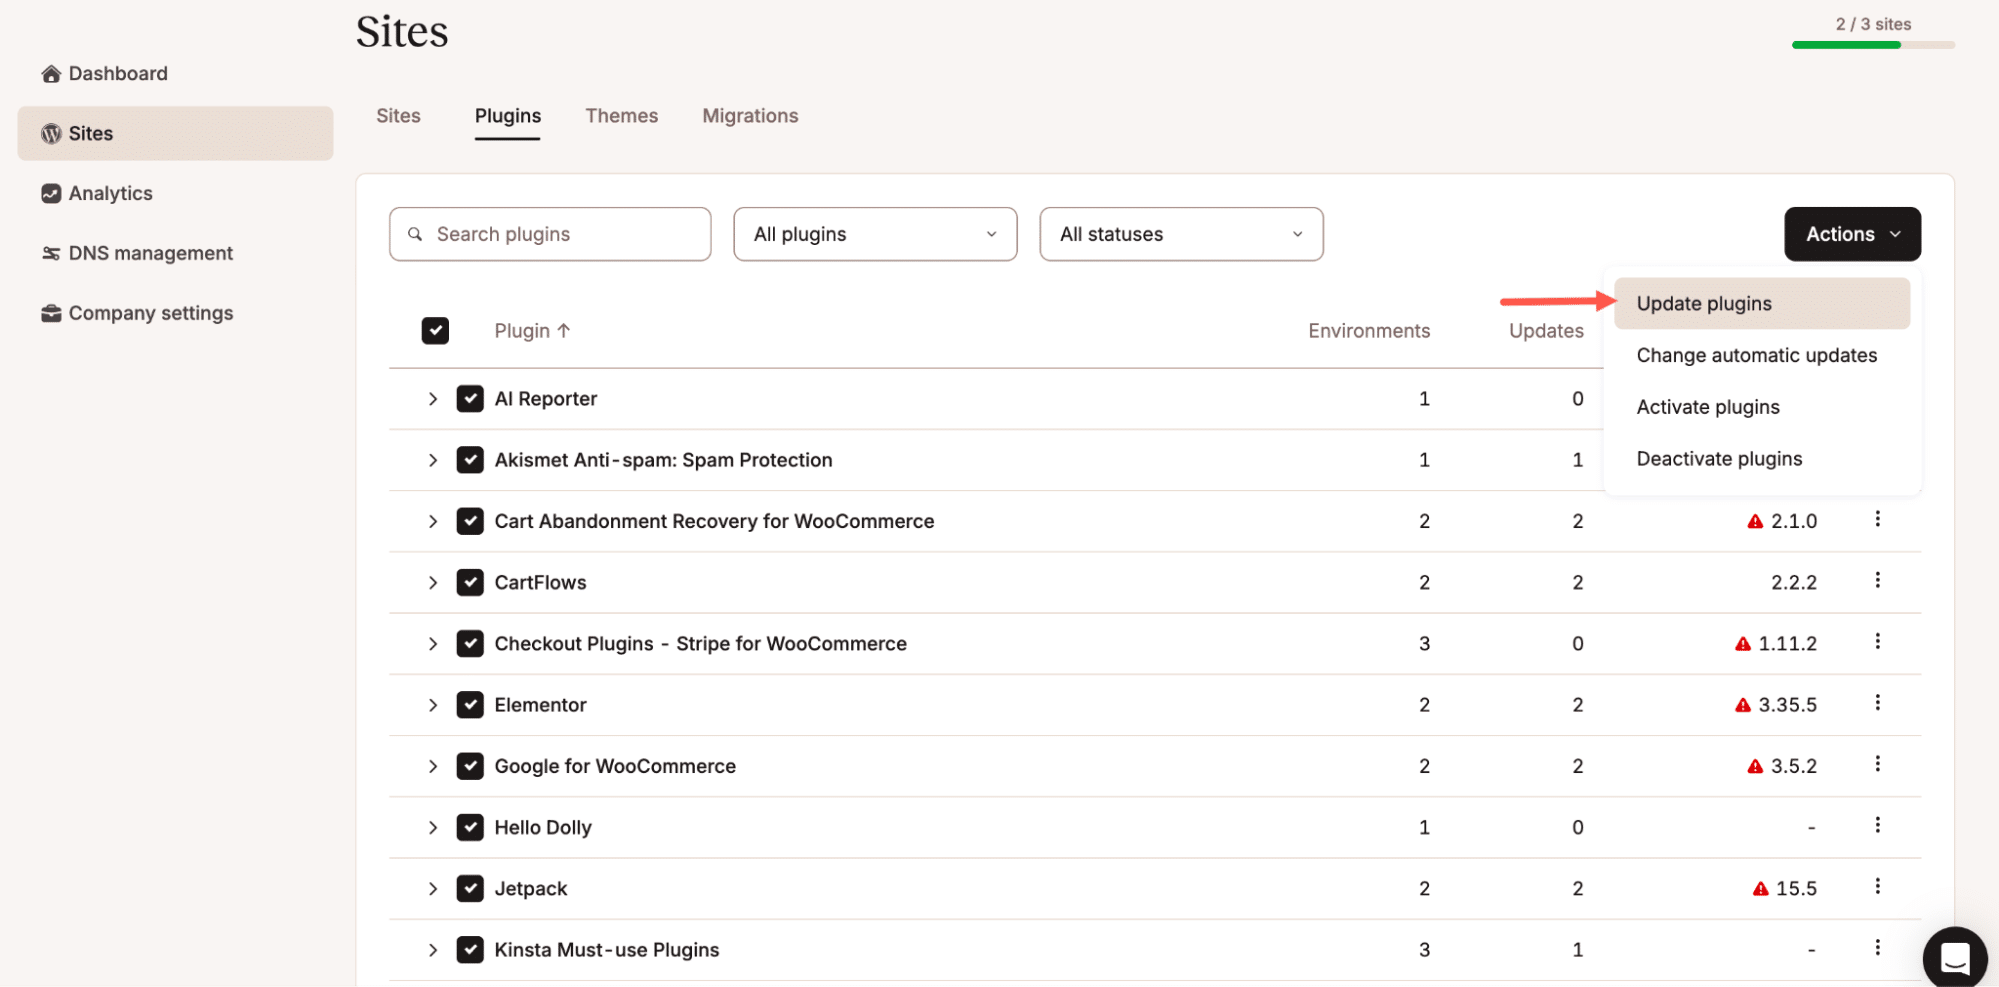
Plugin updates are not complicated, and in fact, with MyKinsta, you can do this within your MyKinsta dashboard, even across multiple sites, via Bulk Actions.
But if you don’t want to log into MyKinsta, or if you want to schedule this action or attach it to a specific workflow, Zapier can help.
With Zapier and the Kinsta API, you can create a scheduled workflow. For example, Zapier runs automatically every Sunday at 2 a.m. and fetches all your WordPress sites, retrieves their environments, checks which plugins have updates available, and updates only those that do. After each update, it confirms that the operation completed successfully. Once done, it clears the cache to ensure changes are reflected immediately.
This way, you move from manual checking to structured oversight. And when you multiply that across dozens of sites, the time saved becomes significant.
2. First-response troubleshooting workflow
When a client reports that a site feels slow or that something isn’t loading properly, most teams follow the same first steps: clear the cache, restart PHP, check the logs, and confirm the site is responding again.
You can do all of this from MyKinsta, and in many cases, that is enough. But when you are handling multiple sites and multiple tickets a day, even these small repetitive actions add up.
With Zapier and the Kinsta API, you can formalize this into a workflow. Instead of manually navigating to the site, you can trigger a Zap that clears cache, restarts PHP, waits for the operation to complete, and then sends a confirmation message to Slack. You can even attach this to a support workflow so that the first-response steps run automatically when a ticket is tagged in a certain way.
The goal is not to replace investigation. It is to standardize the initial response so your team does not have to repeat the same manual sequence every time.
3. Deployment support workflows
If you regularly work with staging environments, you probably already have a release pattern: test in staging, push to live, clear cache, and confirm everything works.
All of this is available in MyKinsta. But if you want to attach it to a broader process, such as a scheduled release window or a Slack-triggered deployment, Zapier can act as the glue.
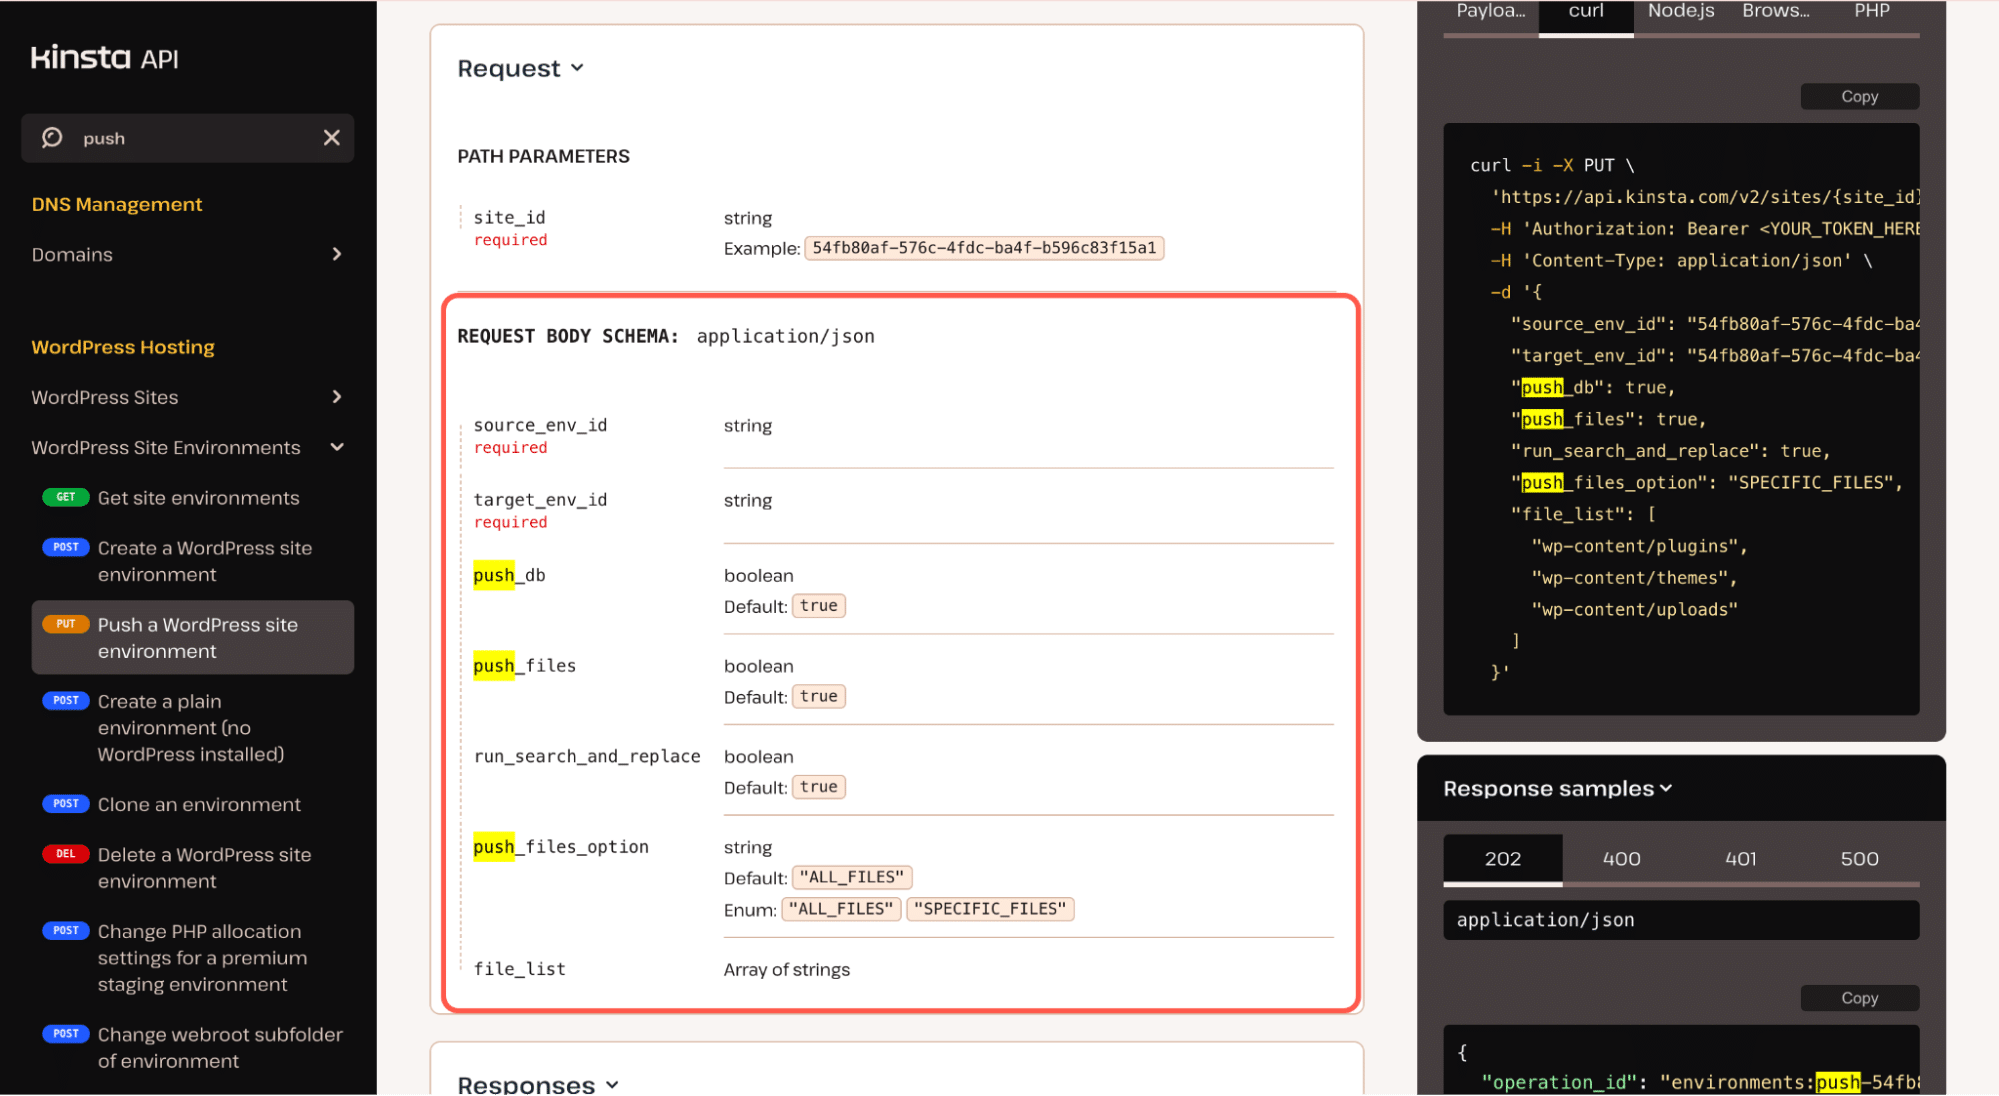
Using the Kinsta API, you can create a workflow that pushes staging to live and even specify which files to push, just as in MyKinsta.
You can then wait for confirmation that the operation completed, clear the cache automatically, and then notify the team that the deployment is done.
You are essentially turning your release checklist into a structured workflow. It removes the need to remember each step. It also gives you a record of when and how the action was performed.
4. Client onboarding support
When onboarding a new client, the setup steps are usually the same: create the site, set up staging, invite team members, and confirm access.
You can handle all of this manually in MyKinsta, and that works well. But if you are onboarding clients frequently, the time required even for small setup tasks can add up.
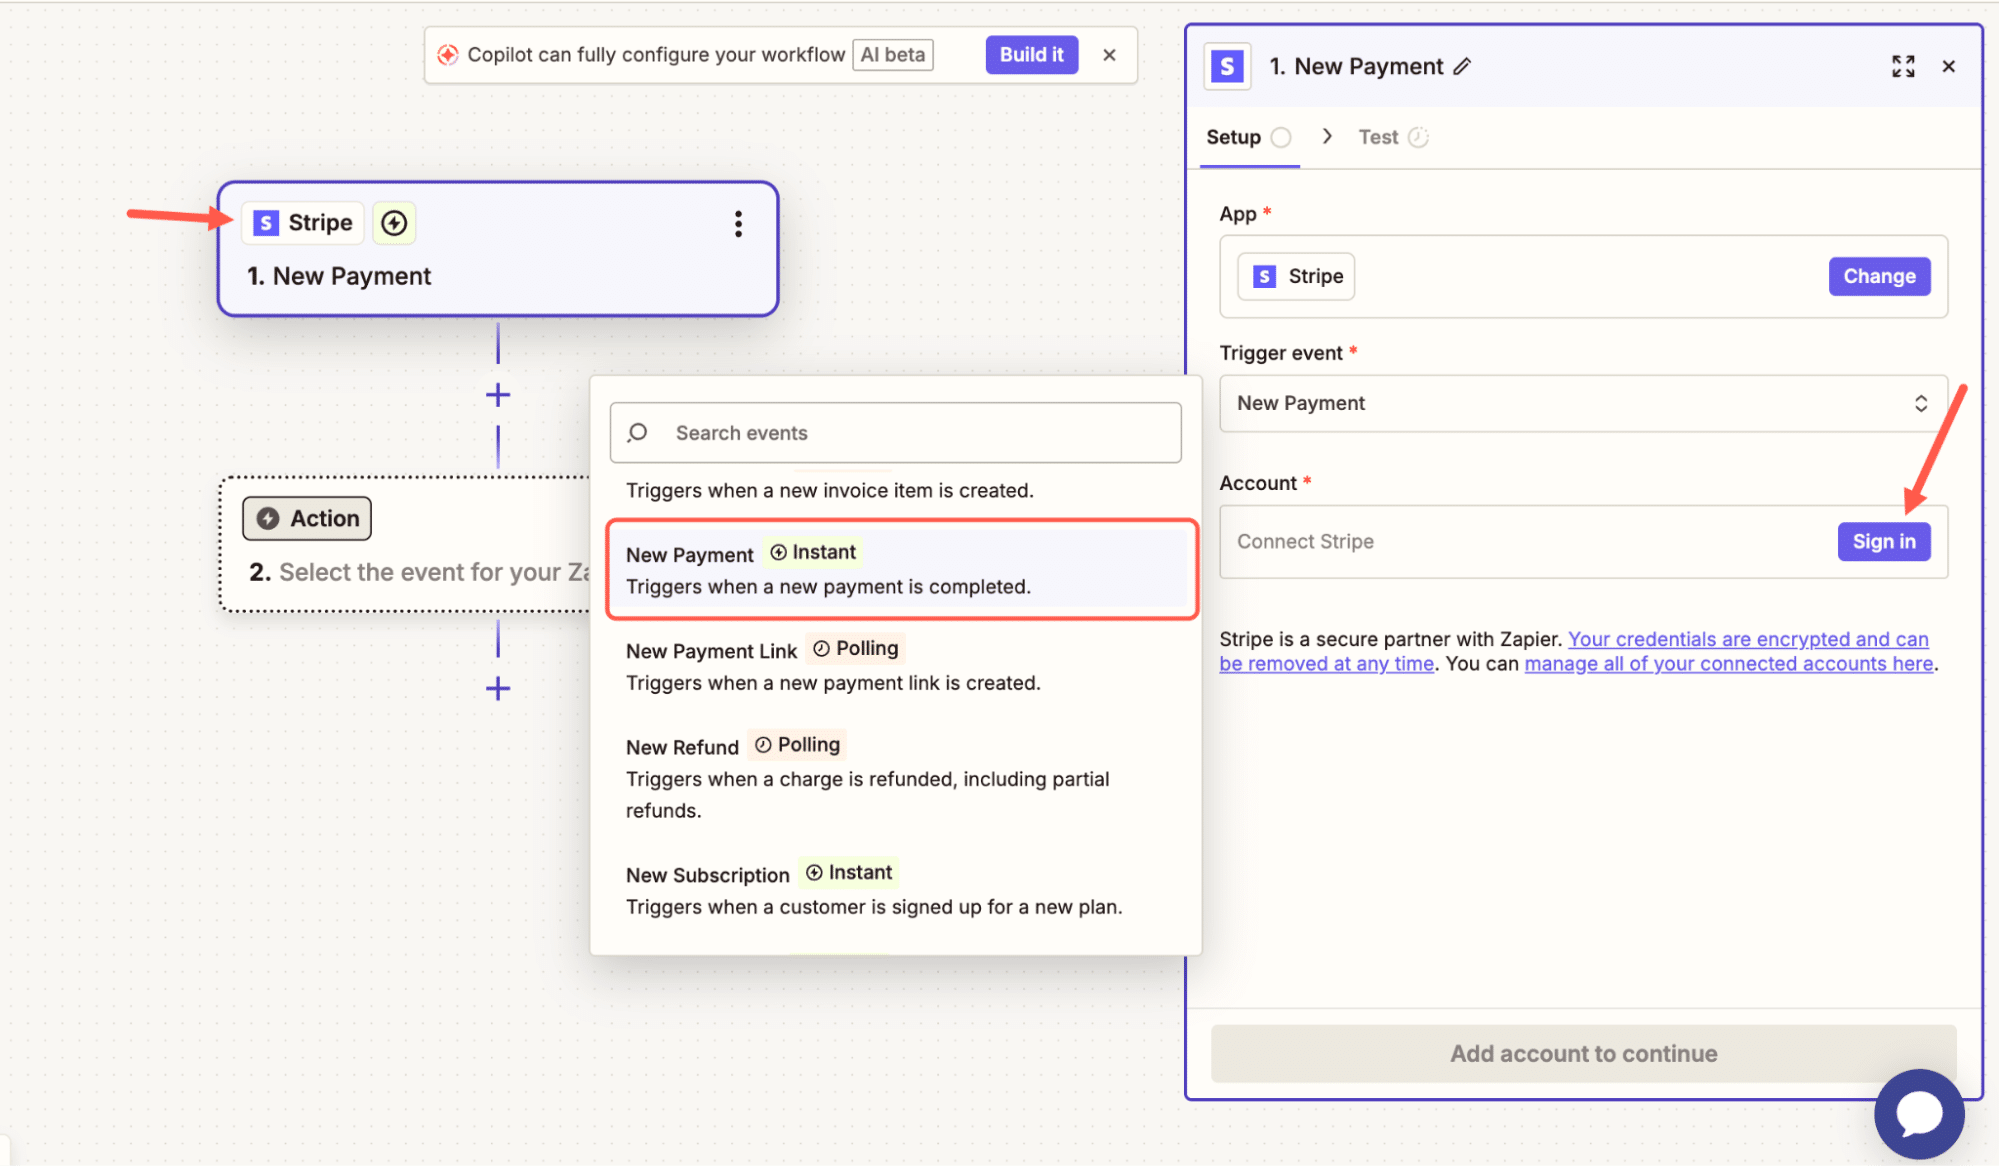
Using Zapier and the Kinsta API, you can automate parts of this process. A trigger, such as a payment successful from Stripe, can get things started, as shown below.
You then initiate site creation and environment setup. Once complete, Zapier can send a confirmation to your team to let them know the base setup is ready.
You still review the site manually where needed. But you remove the repetitive setup steps that do not require decision-making.
Making your hosting environment programmable
For many agencies, hosting is something you manage. But once you start using the Kinsta API together with Zapier, hosting becomes something you orchestrate.
The same actions you perform in MyKinsta can now be triggered on a schedule, attached to a support workflow, or connected to a broader operational process. Zapier serves as the workflow layer, and the Kinsta API provides operational controls.
If you are managing multiple client sites and looking for ways to standardize, scale, and reduce operational overhead, it may also be worth exploring how Kinsta supports agencies more broadly.
Our Agency Partner Program is perfect for teams managing multiple sites who want dedicated support, growth benefits, and long-term collaboration.
If you would like to understand how this could fit your workflow, reach out to our sales team and have a direct conversation about your setup and goals.
The post Automate your Kinsta workflows with Zapier and the Kinsta API appeared first on Kinsta®.